HOW-TO GUIDE
How to Test a Car Ground Wire With a Multimeter
By the OhmSavvy Research Team ·
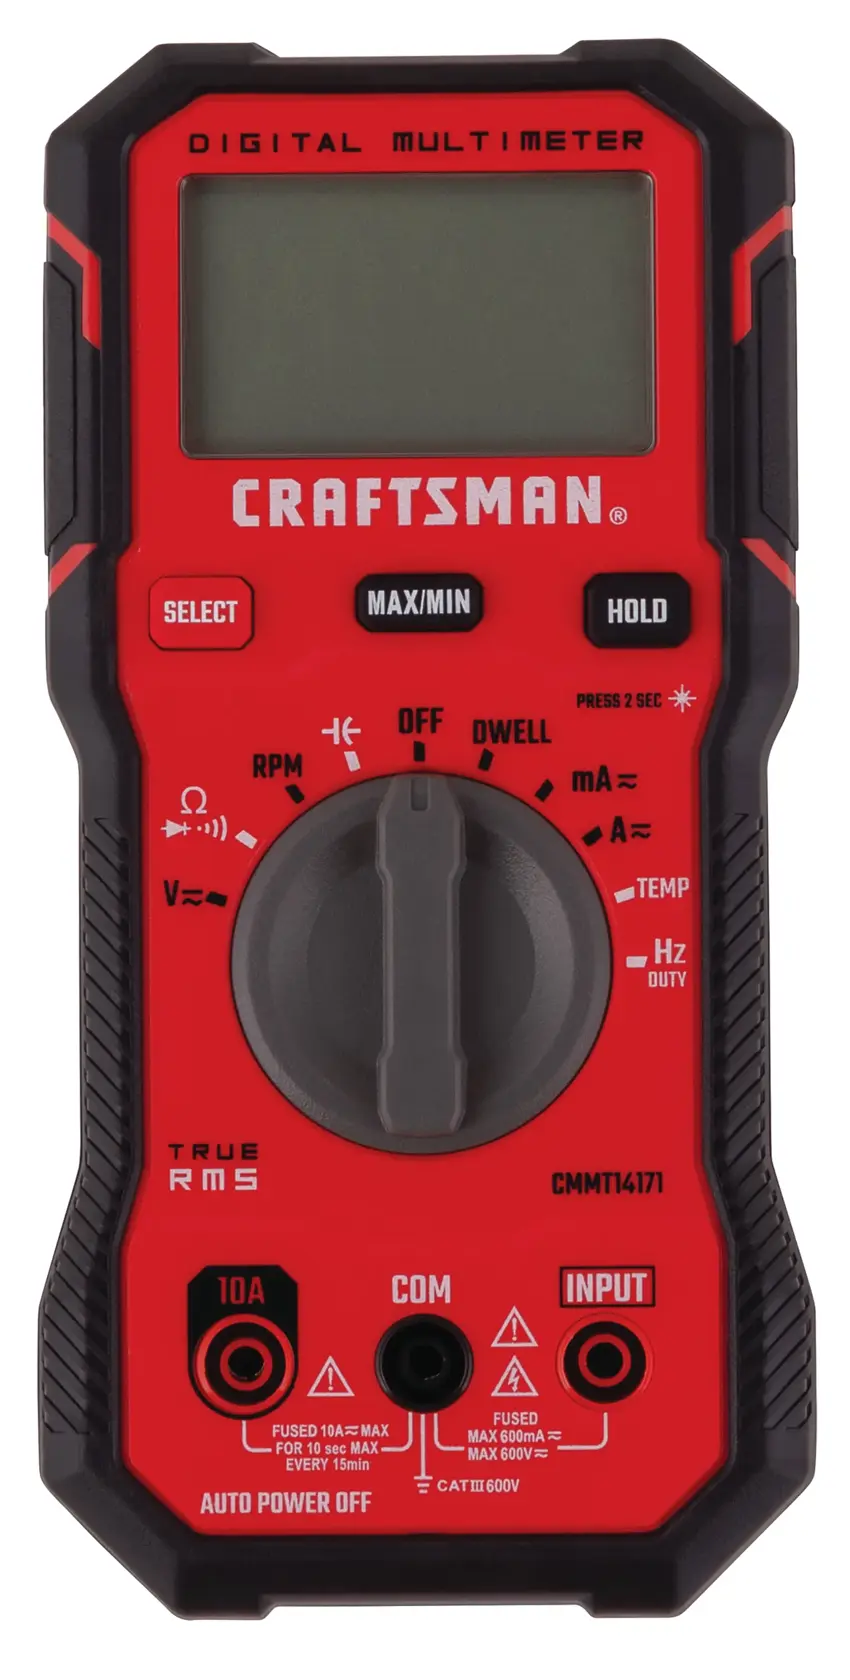
Test with the circuit live and under load
- This test needs the circuit switched on and drawing current — keep hands and tools clear of moving parts (fans, belts) and hot components while it runs.
- Set the meter to DC millivolts or a low DC volts range; a healthy ground drop is often well under 1 V, so a coarse range can hide the reading.
- For a cranking-circuit ground, have a second person crank while you read the meter, same as a cranking voltage test.
1Why a resistance check isn't enough
An ohmmeter applies a small test current of its own, often just a few milliamps, through the connection you're measuring. A ground connection with mild corrosion can pass that tiny current with barely any measurable resistance, yet choke under the real current a headlight circuit, motor, or starter actually draws. Voltage drop under the real load is the test that catches this.
2Measure voltage drop with the circuit under load
Set the meter to DC volts (millivolts if your meter has that range) and switch on the circuit you suspect — headlights, a motor, or crank the engine for a starting-circuit ground. With it running, touch one probe to the ground point closest to the component and the other to a known-good ground reference, such as the battery negative post directly.
3Where to test on the car
Work backward from the symptom: for dim headlights, test at the headlight's own ground point back to the battery; for a slow-cranking no-start, test engine block to chassis and chassis to battery negative separately, since either link can be the weak one; for a flickering accessory, test its nearest body ground point. Testing each link separately, rather than battery-to-component in one jump, tells you which specific connection is bad.
Once the meter points at a suspect link, a temporary jumper confirms it. Run a heavy jumper lead from the component's ground point straight to the battery negative and repeat the test, or simply operate the circuit. If the drop falls to near zero and the lights brighten or the motor speeds up, you've proved the original path is at fault before unbolting anything. Size the jumper for the load; a thin test lead is fine for a lamp but will heat up quickly on a starter or cooling-fan circuit.
4Interpreting the readings
| Voltage drop | Likely condition |
|---|---|
| Under about 0.1-0.2 V per connection | Normal — connection is carrying current well |
| 0.2-0.5 V | Marginal; worth cleaning the connection before it gets worse |
| Above 0.5 V, or rising as the load increases | Poor connection — clean, re-terminate, or replace the ground strap |
| Full battery voltage across the ground point | Open circuit — the ground path is broken entirely |
Symptoms a bad ground causes
Dim or flickering lights, a slow or intermittent power window or seat motor, erratic gauge readings, a no-crank or slow-crank condition despite a good battery, and warning lights that come and go are all classic bad-ground symptoms, especially when several unrelated-seeming things misbehave together.
Clean and re-torque before you condemn it
Worked example: why load current matters
Ohm's law explains the whole problem. Voltage lost across a connection is its resistance multiplied by the current through it (V = I × R). Take a corroded body ground with an illustrative resistance of 0.02Ω, small enough that most meters show it as 0.0Ω or close to the reading of the leads themselves.
Bars use a logarithmic scale: each step is ten times the last.
The arithmetic: 0.02Ω × 10A = 0.2V, 0.02Ω × 20A = 0.4V, and 0.02Ω × 150A = 3V. The currents are round, typical figures for illustration, not specifications for any vehicle. The same joint that's invisible to an ohmmeter is borderline on a headlight circuit and enough to make a starter click instead of crank, which is why engine-to-chassis and battery-cable grounds are the first suspects in a slow-crank complaint. If that's your symptom, see why a starter clicks but the engine won't start, and for the same test on the positive side of a circuit, our car voltage drop guide.
Which meter to use
A meter with a millivolt DC range and auto-ranging makes small voltage drops easy to read accurately. See the full best multimeter for automotive picks.
Meters in our reviews
Built for automotive voltage-drop and ground diagnosis.

Hands-on tested. Auto-ranging DC volts resolves small ground-drop readings cleanly.
As an Amazon Associate I earn from qualifying purchases. Prices and availability are shown on Amazon.
Frequently asked questions
Why does my ground wire test fine with an ohmmeter but the symptom is still there?
An ohmmeter sends a tiny test current through the connection, far less than the circuit actually draws when working. A connection with a thin layer of corrosion can measure close to 0 Ω at that tiny current yet produce a real voltage drop once dozens of amps try to pass through it — which is exactly why a voltage-drop test under real load is the more reliable check.
What's a normal voltage drop across a ground connection?
As a rule of thumb, a single ground connection carrying a meaningful load should drop no more than about 0.1-0.2 V; a full ground circuit (strap plus body and engine connections) is often specified around 0.2-0.3 V or less. Check your vehicle's service specification where one exists, since acceptable drop depends on how much current the circuit carries.
Can a bad ground affect more than one circuit?
Yes, often several at once if it's a shared body or engine ground point rather than a dedicated wire for one component. Flickering interior lights alongside a slow power window, or multiple warning lights behaving oddly together, is a classic sign of a shared ground gone bad rather than several unrelated faults.
Where are the most common bad grounds on a car?
The engine-to-body/chassis ground strap, the battery negative cable's chassis connection point, and body ground points behind interior trim or under the dash (often just a bolted ring terminal that corrodes over years) are the usual places. Door-mounted grounds for window and lock motors are another common spot, since the hinge flexes the strap constantly.
Do I need the circuit's load actually running to test voltage drop?
Yes — voltage drop only shows up when current is actually flowing, so the headlights, motor, or module you're testing needs to be switched on and working (or being cranked, for a starting-circuit ground) during the measurement. Testing with the load off will simply show 0 V regardless of the connection's real condition.


