HOW-TO GUIDE
How to Check Voltage Drop on a Car
By the OhmSavvy Research Team ·
Safety first: car batteries and running engines
- A 12 V battery can deliver hundreds of amps into a short. A wrench or ring bridging the positive terminal to the body can weld, burn you or start a fire. Remove jewelry and keep tools clear of the positive terminal.
- Batteries can give off hydrogen, which is explosive. Avoid sparks and flames near the battery, and work in a ventilated space.
- Some tests need the engine cranking or running. Route the leads away from belts, pulleys and the cooling fan (an electric fan can start even with the engine off), keep hands and loose clothing clear, set the parking brake, and select Park or neutral.
- For starter tests, stop the engine from starting as your service manual describes, and crank only in short bursts. Never connect the meter in current mode for these tests; leave the red lead in the V jack.
What voltage drop means
Every cable, terminal, switch and ground connection has some resistance. When current flows through it, a voltage appears across it: V = I × R (Ohm's law). That lost voltage is the voltage drop. The load at the end, such as a starter motor, headlight or fuel pump, receives the battery voltage minus every drop along the way.
To rule out the battery itself first, see how to test a car battery with a multimeter.
A voltage drop test measures that loss directly. Instead of measuring from a point to ground, you put the meter's two probes on the two ends of the path you suspect, so the meter is in parallel with that cable or connection. Whatever the meter shows is the voltage being wasted there.
Why static voltage and resistance tests miss bad grounds
With nothing switched on, almost no current flows, so even a badly corroded connection drops almost no voltage. The battery reads 12.6 V at its posts and 12.6 V at the starter, and the circuit looks perfect. Only under load does the problem appear.
Take a connection with 0.01 Ω of resistance, which is far too small for a handheld meter's ohms range to resolve reliably. At 1 A it drops 0.01 × 1 = 0.01 V, which is invisible. At 10 A, about what a pair of headlights might draw, it drops 0.1 V. If a starter draws 150 A through it, the same connection drops 0.01 × 150 = 1.5 V.
A continuity or resistance check, covered in our guide to testing electrical wires, is still the right tool for finding an open or shorted wire. But a cable hanging on by a few strands still beeps for continuity. Voltage drop testing is how you find the high-resistance faults that only matter at high current.
1Set up the meter
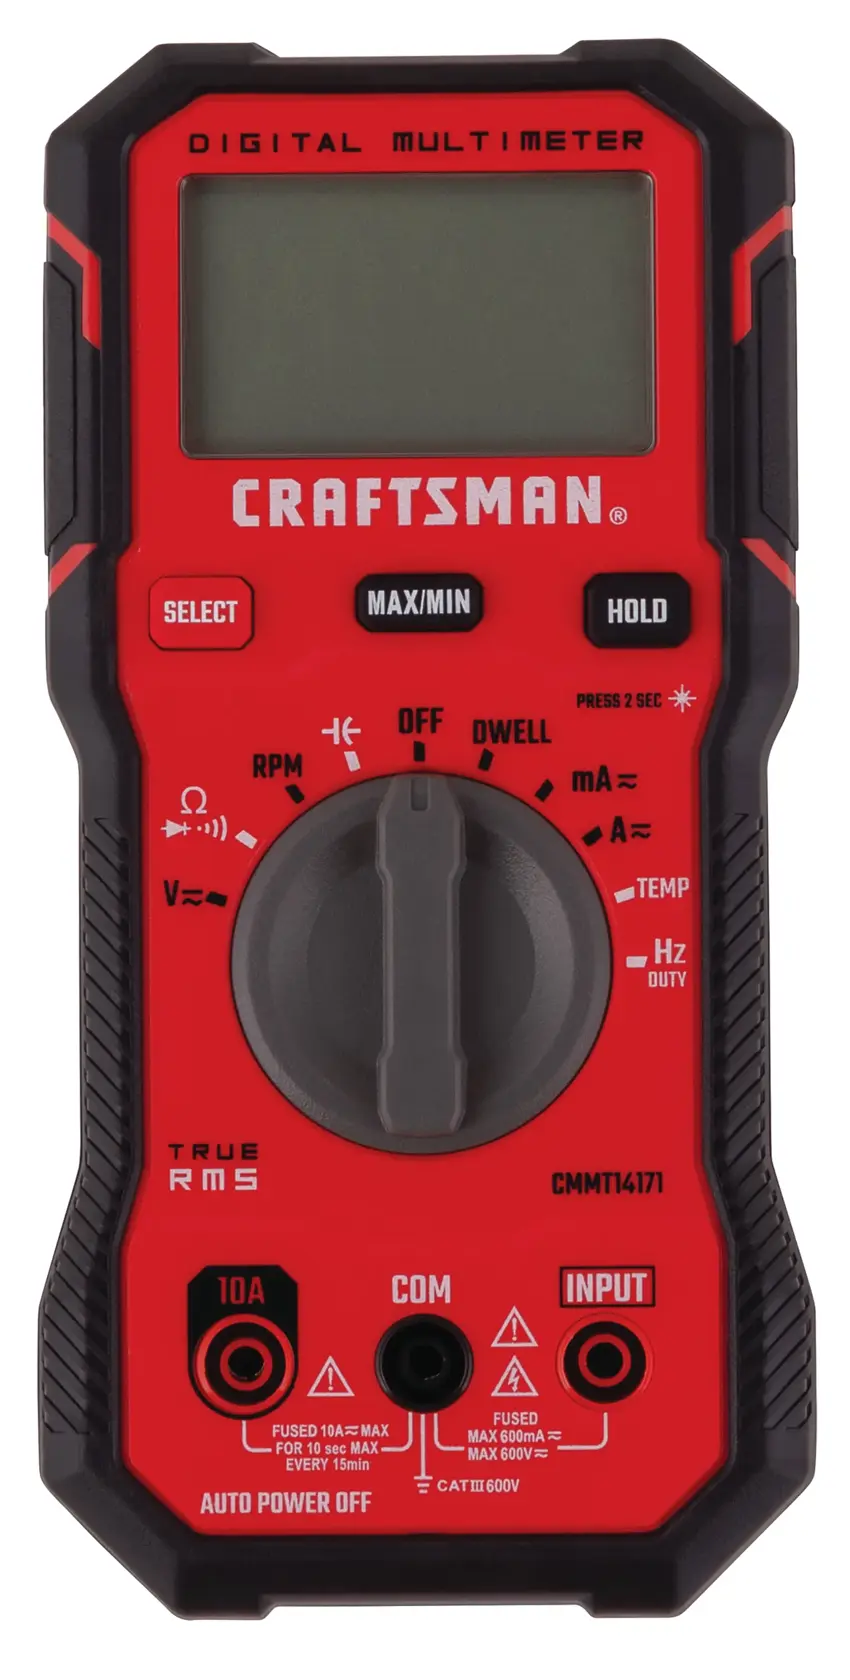
Put the black lead in COM and the red lead in the V jack. Select DC volts; an auto-ranging meter will pick a range that reads to hundredths of a volt, and on a manual meter choose the lowest DC range above about 2 V. You will often need to reach from the battery to the starter, so use long leads or a pair of extension leads with clips. If your meter has a MIN/MAX record function, turn it on: starter tests last only a few seconds, and it captures the reading for you. First, measure across the battery posts to note the resting voltage. Then have a helper crank or run the engine while you watch the meter.
2Test the positive side of the starter circuit
Put the red probe on the battery positive post itself, not the clamp, and the black probe on the starter's main battery terminal (the large stud where the positive cable lands). With the engine disabled, crank for a few seconds and read the meter. This one reading covers the clamp, the cable, any junction block in between and the terminal at the starter.
If the reading shows a minus sign, the leads are simply reversed; the size of the number is what matters. With the engine not cranking, the meter should read close to zero. If it reads battery voltage, the probes are not on the same cable path.
3Test the ground side
Now put the red probe on clean metal of the starter body or engine block, and the black probe on the battery negative post. Crank again. This tests the return path: the engine ground strap, the negative cable, the clamp and any body ground in between. Ground-side faults are common because straps corrode and get disturbed during repairs, and they are easy to overlook.
In that example, if the battery holds 10.5 V at its posts while cranking, the starter receives only about 10.5 − 1.17 ≈ 9.3 V. Cleaning and tightening the ground connections, or replacing a corroded strap, gives that voltage back to the starter.
4Test the charging circuit and other circuits
The same method works on the charging circuit, with the engine running and loads such as the headlights, blower and rear defroster switched on so the alternator is delivering real current. For the positive side, put the red probe on the alternator's output (B+) terminal and the black probe on the battery positive post. For the ground side, put the red probe on the battery negative post and the black probe on the alternator case. A high drop here can leave the battery undercharged even when the alternator itself is fine. For a quick look at charging voltage at the battery, see the automotive section of how to test electrical wires.
Any other circuit works the same way. With a dim headlight switched on, measure across its feed wire, across the switch or relay contacts, across each connector, and from the bulb's ground terminal to the battery negative post.
| Test | Red probe | Black probe | Circuit condition |
|---|---|---|---|
| Starter positive | Battery + post | Starter main terminal | Cranking, engine disabled |
| Starter ground | Starter body or engine block | Battery − post | Cranking, engine disabled |
| Charging positive | Alternator output (B+) | Battery + post | Engine running, loads on |
| Charging ground | Battery − post | Alternator case | Engine running, loads on |
| Battery clamp | Battery post | Its cable clamp | Cranking or under load |
| Any connection | One side of the joint | The other side | Circuit switched on |
Typical voltage drop guideline limits
There is no single universal number. Vehicle manufacturers, training courses and textbooks use slightly different limits, and some circuits have their own specification. The figures below are commonly used rules of thumb; when your service manual gives a number, use that instead.
| Circuit section | Commonly used guideline |
|---|---|
| Starter positive side, while cranking | About 0.5 V or less |
| Starter ground side, while cranking | About 0.2–0.3 V or less |
| Charging positive side, engine running with loads on | About 0.2–0.5 V or less |
| Charging ground side, engine running with loads on | About 0.2 V or less |
| A single terminal, clamp or connection | About 0.1 V or less; close to 0 V is ideal |
Compare, not just pass or fail
Find the bad section by splitting the path
A high reading tells you the problem is somewhere between your two probes. To find exactly where, keep one probe where it is and move the other one step closer, repeating the test each time:
- Battery post to its own clamp. A drop here means corrosion or a loose clamp at the post.
- Clamp to the cable just past the clamp. A drop here points to a bad clamp-to-cable joint.
- Cable end to cable end. A drop here suggests internal corrosion or broken strands in the cable.
- Cable lug to the starter stud or ground bolt. A drop here means a loose, dirty or painted connection.
Where the reading jumps is the fault. Clean the joint to bright metal, tighten it to the correct torque, or replace the cable, then repeat the full test to confirm the drop has come down.
Which meter to use for voltage drop tests
Voltage drop testing needs nothing more than a reliable DC volts range that reads to hundredths of a volt. Automotive extras such as RPM and duty cycle help with other diagnostics, not this test. See our best multimeter for automotive picks, the full best multimeters roundup, or how to use a multimeter if you are new to the dial. If the battery keeps going flat with the car parked, the next test is measuring parasitic battery drain.
Meters in our reviews
True RMS, auto-ranging, CAT III 600V. The one pick in our roundup built specifically for diagnosing cars.

True RMS, auto-ranging, CAT III 600V. The meter working electricians buy with their own money.

6,000-count resolution and manual ranging for small drop readings, plus Min/Max-Average to capture the worst drop during cranking.
As an Amazon Associate I earn from qualifying purchases. Prices and availability are shown on Amazon.
Frequently asked questions
Can you check voltage drop without cranking the engine?
Yes, for circuits you can switch on. Turn on the headlights, blower or rear defroster and measure across their feeds, switches and grounds while they run. The starter circuit is different: its cables only carry heavy current while cranking, so that is the only time a starter cable voltage drop test means anything. A battery or carbon-pile load tester can also supply the load.
Can a bad ground cause a no-start even with a good battery?
Yes. A starter can draw well over a hundred amps, so even a small resistance in the engine ground strap or battery negative cable drops enough voltage to leave the starter clicking or cranking slowly. The battery tests fine at rest because no current is flowing. A ground-side voltage drop test while cranking shows the problem directly.
What causes high voltage drop on a battery cable?
Usually corrosion between the post and the clamp, a loose or poorly crimped terminal, corrosion that has crept inside the cable under the insulation, broken strands, or a cable that is too small for the current. Paint, rust or a loose bolt at a ground point does the same on the ground side.
Do I need a special meter for voltage drop testing?
No. Any digital multimeter with a DC volts range that reads to hundredths of a volt will do. Long leads or extension leads make it easier to reach from the battery to the starter, and a MIN/MAX record function, where a meter has one, helps capture the reading during a short crank. Keep the leads in the V jack, never the current jacks.
Do voltage drop readings change with engine temperature?
They can. Copper and corroded joints both gain resistance as they warm, while a cold engine with thick oil pulls more cranking current, which raises the drop across every connection in the path. A cable that scrapes through on a mild afternoon may fail on a frosty morning. Test at similar temperatures when comparing before and after a repair, and distrust borderline readings if the car only struggles in one season.

