HOW-TO GUIDE
How to Check a 12V Power Supply Under Load
By the OhmSavvy Research Team ·
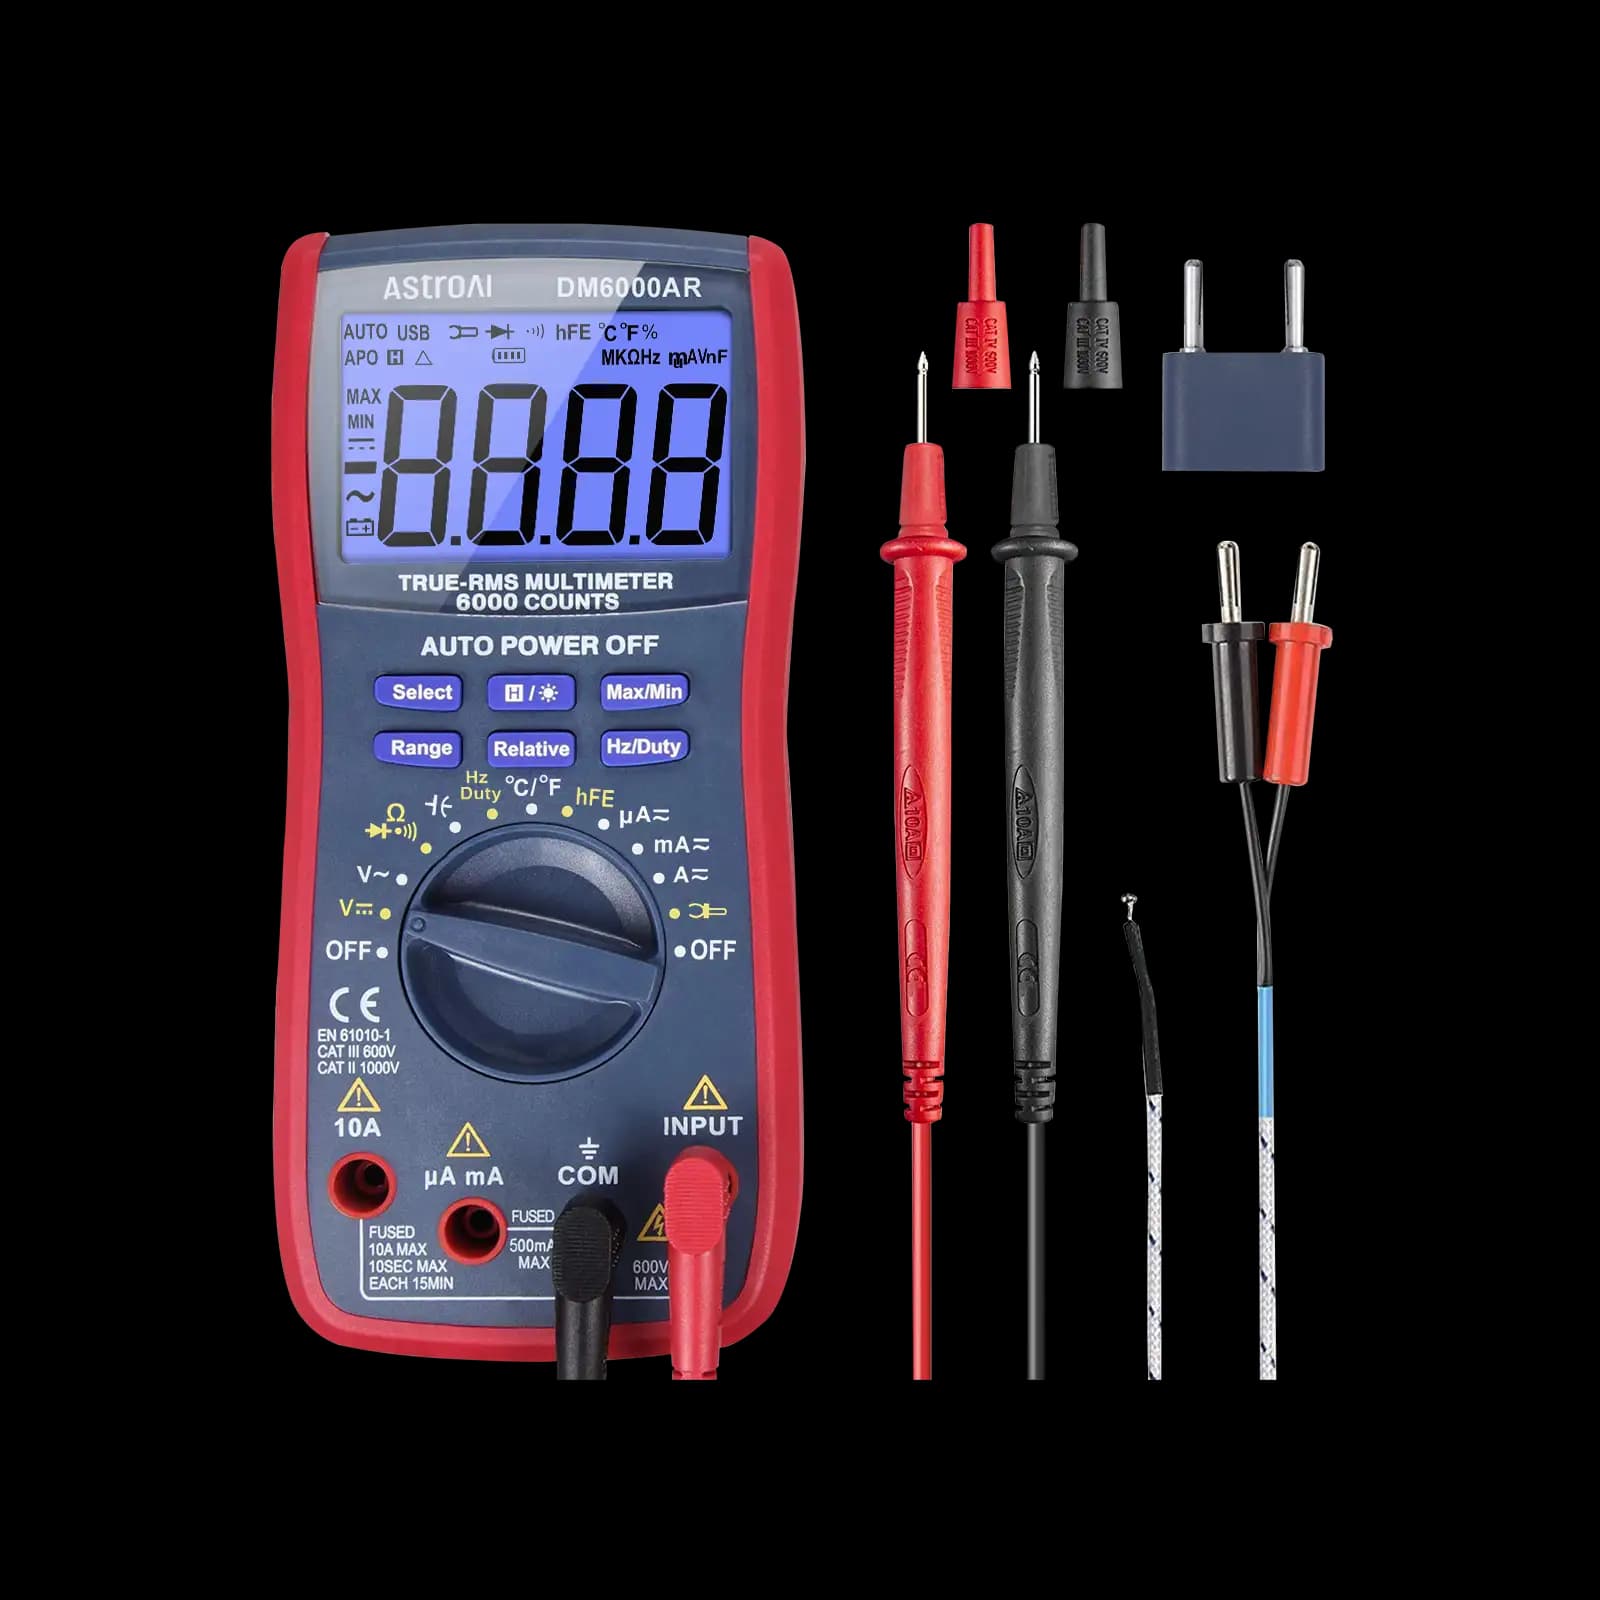
Why an unloaded reading can be misleading
With nothing connected but the meter, almost any 12V source can show a voltage that looks completely normal — a multimeter draws essentially no current itself, so it doesn't expose weaknesses in the supply's ability to deliver real current. A supply only reveals a problem once something actually asks it to source current, which is exactly what an unloaded reading never tests.
For caravan and motorhome batteries rather than power supplies, see how to check a 12V leisure battery with a multimeter.
What you need to load it properly
A multimeter with DC voltage mode, and a load that actually draws meaningful current — the real device the supply is meant to power, a purpose-built electronic load, or a simple power resistor sized with Ohm's law for the test current you want.
1Checking a 12V supply under load
Measure and record the open-circuit voltage with nothing connected but the meter. Connect the load, let it draw current for a moment, and measure the voltage again while the load is still connected and drawing current. Compare the two readings — the difference is how much the supply actually sags under that specific current demand.
How much sag is actually normal
| Supply type | Typical acceptable sag | Notes |
|---|---|---|
| Regulated bench/wall supply | Small, often well under 5% at rated current | Larger sag suggests an undersized or failing supply |
| Healthy battery, light load | Small and proportional to current drawn | Internal resistance naturally rises somewhat with age/discharge |
| Aging or damaged battery | Noticeably larger, sometimes dramatic | High internal resistance is a classic sign of a battery nearing end of life |
Match the test current to the real use case
Interpreting the results
Small, proportional sag under a realistic load is normal and expected. Large sag — especially voltage dropping well below what the connected device needs to operate correctly — points at a genuinely weak supply, a tired battery, or excessive resistance somewhere in the supply path (a corroded connector, undersized wiring, or a failing component), worth investigating further with a voltage-drop check along the supply path itself.
The core idea
Meters for load-testing 12V supplies
A loaded test needs only DC volts, plus DC amps if you want to know the exact current. These verified picks all read both with auto-ranging.
Meters for supply and battery checks

Hands-on tested. True RMS, CAT III 600V and a 6,000-count backlit display for clean before-and-after voltage readings.
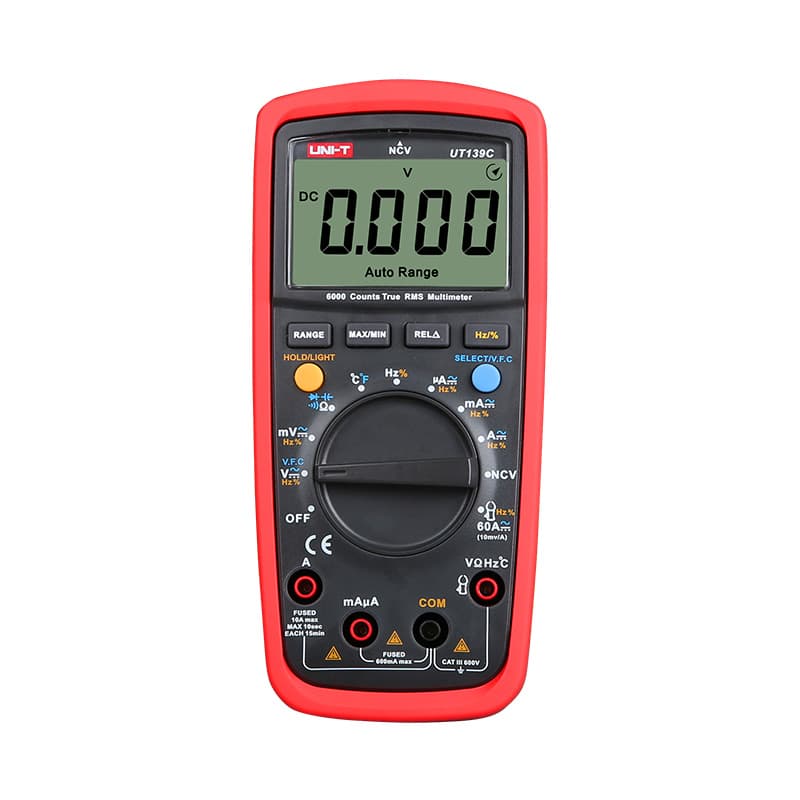
True RMS, 6,000-count and CAT III 600V, with manual ranging when you want a fixed range during a sag test.

Budget True RMS auto-ranging meter with a backlight. CAT II 600V, so keep it to low-voltage supplies, not panels.
As an Amazon Associate I earn from qualifying purchases. Prices and availability are shown on Amazon.
Frequently asked questions
Can I just use the device I'm troubleshooting as the load?
Yes, often that's the most realistic test — it draws exactly the current the real application needs. A dedicated load resistor is useful mainly when you want a precisely known, repeatable current for comparing multiple supplies or batteries against each other.
What resistor value should I use as a test load?
Pick a resistor using Ohm's law for the current you want to test at: R = V ÷ I. For example, testing at roughly 1A on a 12V supply calls for about a 12Ω resistor, rated for at least the resulting 12W (ideally with headroom above that) so it can dissipate the heat safely.
Is sag always a sign the supply is bad?
Not always — some sag under load is completely normal and expected, especially on batteries, which have inherent internal resistance that increases somewhat as they discharge or age. The question is whether the sag is small and proportional, or large enough that the voltage drops below what the connected device actually needs to function.
Does this same technique apply to testing a car battery?
Yes, the same core idea applies, though automotive testing often uses the engine's starter motor itself as a very heavy, brief load (a "load test"), or a dedicated battery load tester, rather than a simple resistor — the current demand during cranking is much higher than most bench loads can safely provide.
How do I measure how much current my 12V load actually draws?
Move the red lead to the meter's 10A (or mA) jack, select DC amps, and break the positive wire so the meter sits in series with the load. Start on the highest range. Note the current, then return the lead to the volts jack before measuring voltage again, or the next reading can blow the meter's fuse.


