HOW-TO GUIDE
Why Won't Solder Stick to Copper Wire?
By the OhmSavvy Research Team ·
What solder needs from the wire
Solder bonds by wetting. Molten tin reacts with clean copper and forms a thin intermetallic layer, and that layer is what holds the joint together. For it to form, three things must be true at the same moment: the copper surface is bare metal, flux is present to clear any oxide that appears while it heats, and the copper itself is above the solder's melting point. Missing any one of the three and the solder sits on the wire as a bead, or wraps around it in a dull lump that pulls off with a fingernail.
This page is about the wire side of that bond. If solder won't stay on the iron, start with why solder won't stick to the soldering iron tip, because a dead tip cannot transfer heat to any wire. If the tip wets fine and the solder melts onto the wire but stays in round drops, read on.
Why solder won't stick to copper wire: the causes
| Symptom | Likely cause | How to check | Fix |
|---|---|---|---|
| Solder beads on brown or dull wire | Oxidized or tarnished copper | Scrape a spot; bright pink-orange copper underneath confirms it | Cut back to fresh wire or scrape clean, then flux |
| Solder slides off shiny, bare-looking wire | Enamel (magnet wire) or clear anti-tarnish lacquer | Meter continuity probes on the surface read open; scrape and retest | Strip the coating; burn through only solderable enamel |
| Wire looks copper but cut end is silver | Copper-clad aluminum (CCA) | Cut the wire and look at the center; scrape the surface | Use crimp or screw connectors rated for it; replace with copper where you can |
| Silver wire that never wets at all | Aluminum wire | Lighter than copper; silver all through when cut | Do not use electronics solder; use rated connectors |
| Solder melts but sets dull and grainy on thick wire | Wire too cold for its thermal mass | Does the solder only melt where the tip touches? | Bigger tip, more powerful iron, more contact area |
| Wets in patches with dark spots | Grease, fingerprints or insulation residue | Spots where solder pulls back | Wipe with isopropyl alcohol, flux, re-tin |
| Flux smokes away before solder flows | Old, little or no flux | Fresh rosin smell and bubbling on the wire? | Brush on separate flux before heating |
Clear lacquer is the one people miss. Some craft, jewelry and transformer wire is coated with a transparent finish to stop tarnish, so it looks like perfectly bare copper. A multimeter makes it obvious: if the probes touching the outside of the wire give an open reading, but the same wire beeps once a spot is scraped, there is a coating. Our page on continuity mode that will not beep helps if the meter itself is in doubt.
Is it really copper?
From the outside, five quite different conductors can look the same. Tinned copper is silver on the surface but solders easily, because the tin coat is itself solder-friendly. Copper-clad aluminum, sold widely as cheap speaker, network and automotive cable, has a thin copper skin over an aluminum core. Aluminum forms a tough oxide almost instantly in air, and the rosin-based fluxes used for electronics cannot remove it, so ordinary solder will not bond to it. On CCA, the copper skin may take solder for a moment and then the joint fails where heat or stripping has exposed the aluminum.
Heat and wire size
Copper is an excellent conductor of heat, which is exactly why it is hard to solder in heavy gauges: it pulls heat away from the contact point as fast as the tip delivers it. What matters is the amount of copper, and that grows with the square of the diameter. Standard AWG cross-sections show how quickly it climbs:
Every six AWG steps double the diameter and so multiply the copper by about four. 12 AWG carries about 3.31 ÷ 0.205 ≈ 16 times the copper of 24 AWG, so it needs roughly 16 times the heat to reach the same temperature. A small conical tip that solders 24 AWG in two seconds may never get 12 AWG hot enough, and the solder melts on the tip and freezes on the wire. Power and tip size are covered in detail in why a soldering iron fails on thick wires.
The fix at a glance
01
Fresh copper
Cut back or scrape clean
02
No coating
Strip enamel or lacquer
03
Flux
On the wire, before heat
04
Heat the wire
Solder flows to it
1Cut back to fresh wire
Snip off the old end and strip a fresh length. Wire that has been stripped and left for months, or that came out of a damp cable, has usually tarnished. Bright copper strands that you have not touched are the best starting point you can get. Look at the cut end now to confirm it is copper all through, and twist stranded wire lightly so the strands stay together.
2Remove any coating
For enamel or lacquer, scrape with a craft knife or fine abrasive until the metal is uniformly bright, rotating the wire so no strip of coating survives on the far side. Solderable enamel can instead be cooked off in a bead of solder on the tip, but only that type. The full method, and how to tell the enamel types apart, is in how to solder magnet wire; if the wire is going onto a board, see soldering enamelled wire to a PCB pad. Wipe off grease or insulation residue with isopropyl alcohol.
3Apply flux
Brush or dab rosin or no-clean flux onto the bare copper before you bring the iron near it. The flux needs to be on the wire as it heats, clearing oxide as it forms. The core of the solder wire is a backup, not the main supply, on anything other than fresh, clean wire. Afterwards, residue can be removed with the methods in our guide to cleaning flux residue.
4Heat the wire, not the solder
Put a small amount of solder on the tip first; that liquid bridge transfers heat far better than a dry tip touching a round wire. Lay the tip along the wire for maximum contact, then feed solder to the wire on the side opposite the tip. When the copper is hot enough, the solder flows toward the heat and soaks into the strands. If it only melts where it touches the tip, the wire is still too cold; wait, or use a larger tip. Start your setpoint from our soldering temperature guide and protect nearby insulation as described in soldering wires without overheating insulation.
5Pre-tin, then join
Tin each wire end on its own first. A wire that is already coated in solder joins to a terminal or another wire in a second or two, because the hard part, getting solder to wet clean copper, is done. On stranded wire, stop before the solder runs far under the insulation; our guide to stopping solder wicking too far explains why. Then make the splice as in how to solder wires together.
6Inspect the result
A good result is smooth and shiny (leaded) or smooth and slightly satin (lead-free), with the strand outline still faintly visible under the solder. Round drops sitting on top of the wire, or a lump you can twist loose, mean the wire was not wetted. If the solder flowed but formed beads on a pad or terminal, the issue has moved to the other part of the joint; see why solder beads up instead of flowing.
Power off, ventilate, and leave building wiring to an electrician
In short
Irons with the heat for wire work
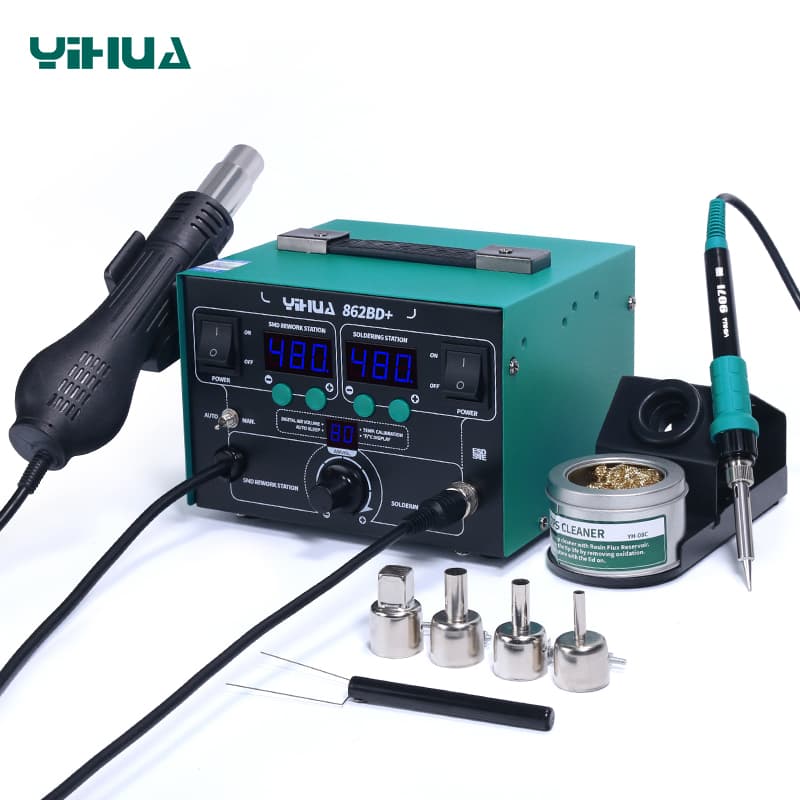
70W iron on an 85W station, 100–450°C, for heavier gauges at the bench.

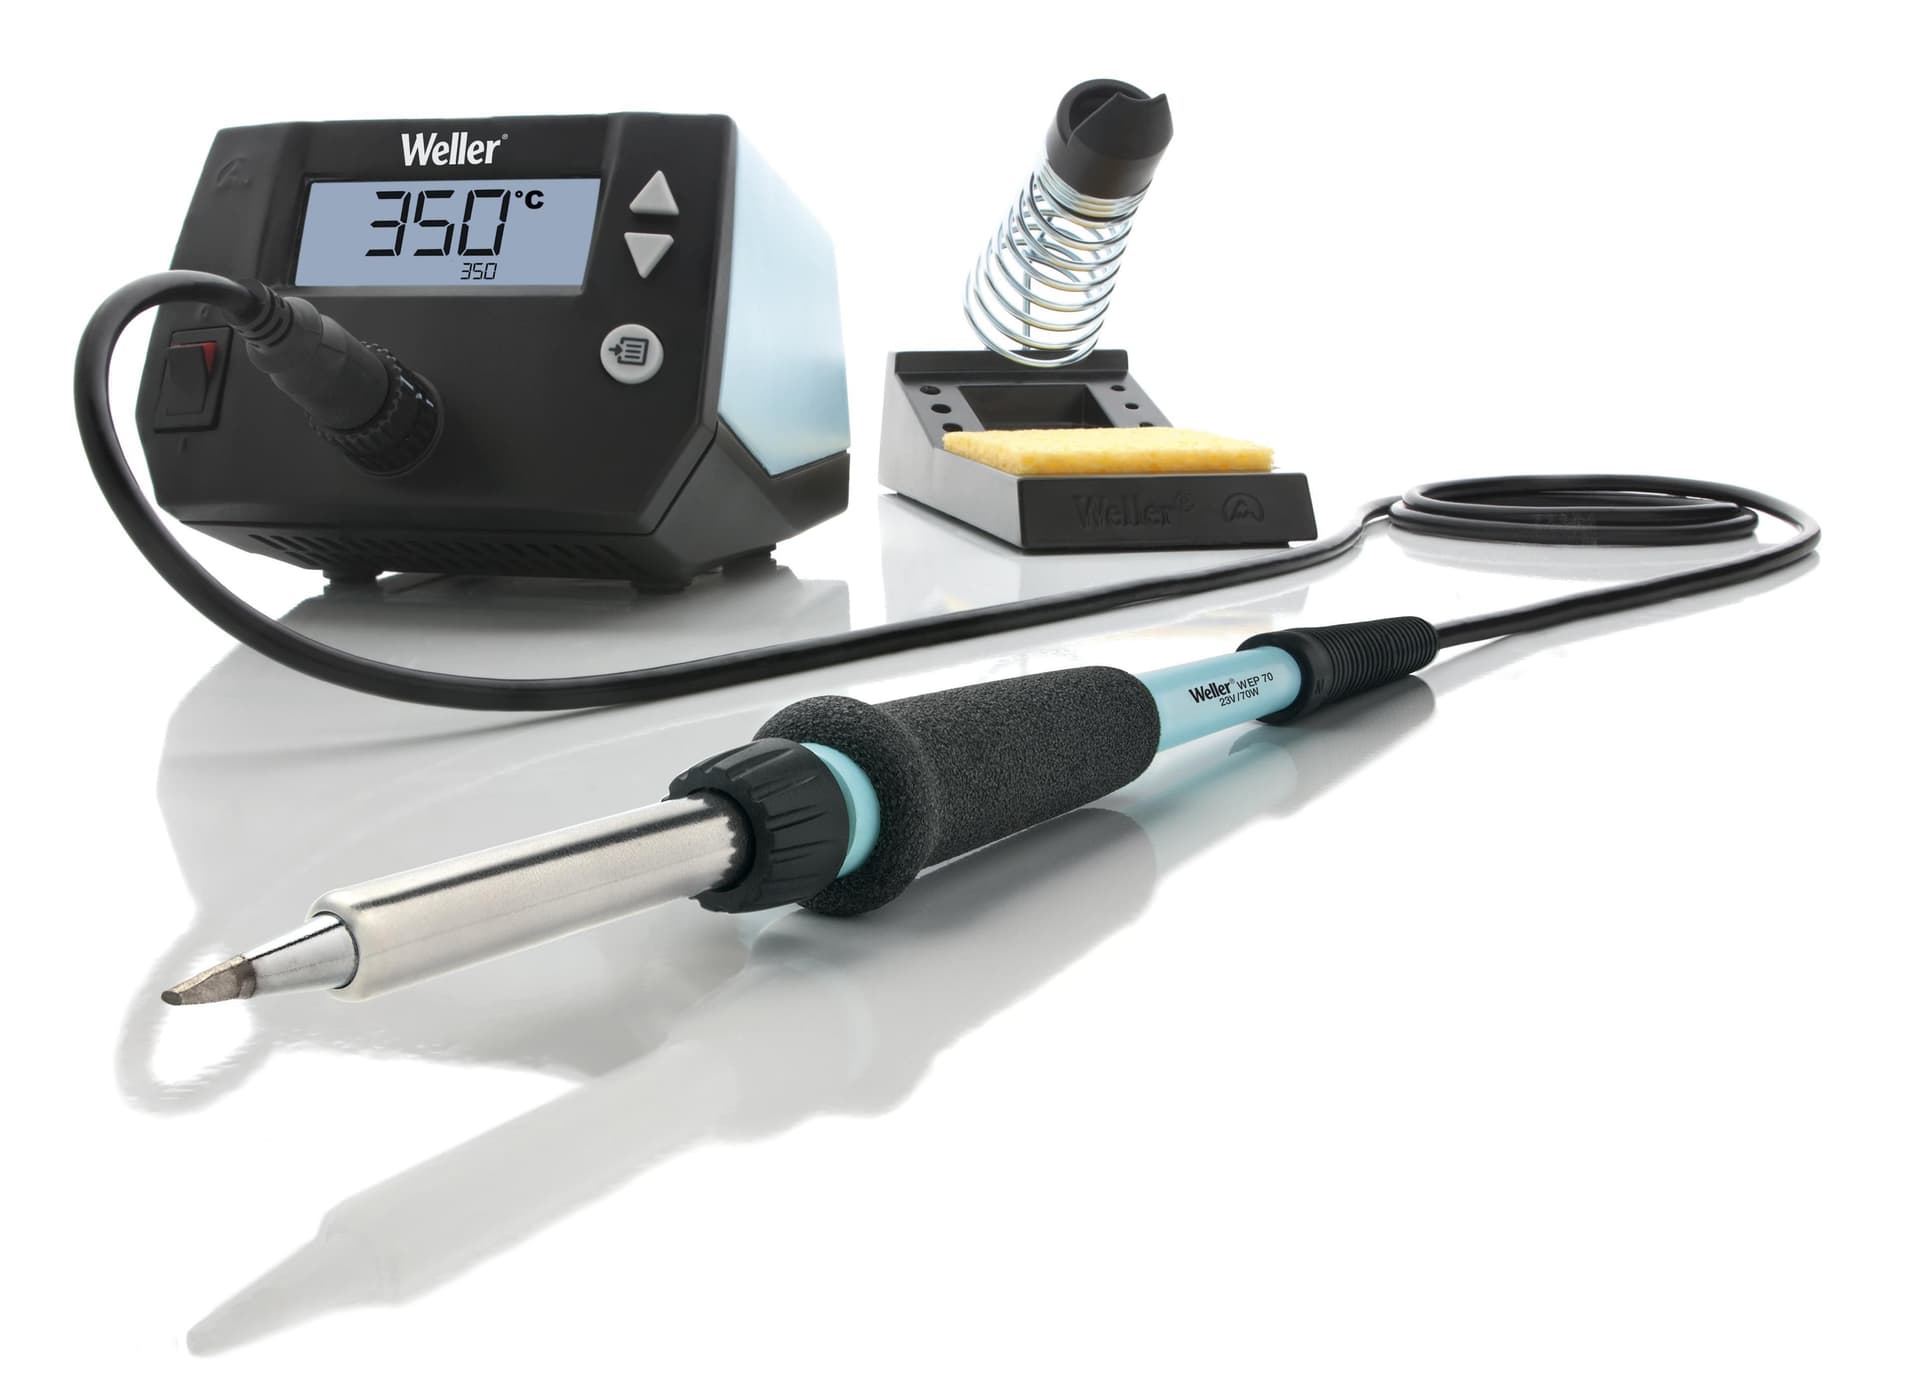
65W iron with interchangeable T18 tips, so a wide chisel is a quick swap for wire.
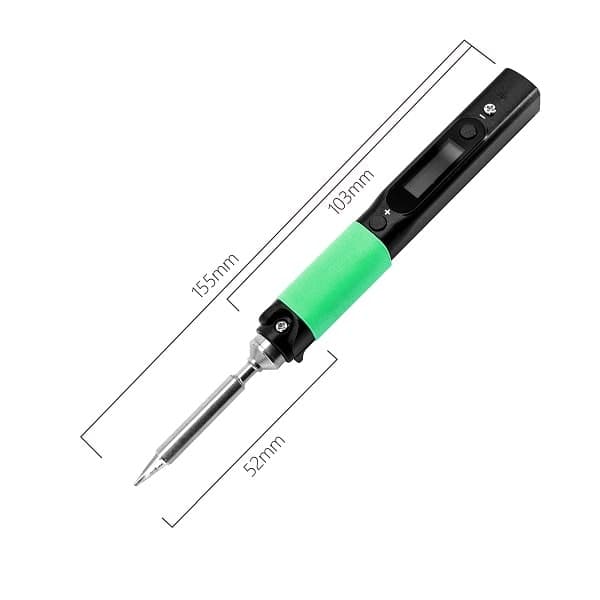
Up to 88W on a 24V supply, handy for tinning wire away from the bench.
As an Amazon Associate I earn from qualifying purchases. Prices and availability are shown on Amazon.
Frequently asked questions
Why does solder ball up on copper wire instead of soaking in?
A bead that sits on the wire means the solder melted but did not wet the copper. Either there is a layer between them, such as oxide, enamel, lacquer or grease, or the wire itself is below the solder's melting point and the solder is only being melted by the tip. Clean or strip the wire, add flux, and hold the tip on the wire until the solder flows in on its own.
Can you solder copper wire without flux?
Rarely well. Flux removes the thin oxide that forms on copper and keeps it from re-forming while the joint heats. Flux-core solder carries enough for clean, fresh wire, but if the solder has to melt first to release its flux, the flux often boils away on the tip before it reaches the copper. For tarnished or older wire, brush on a separate rosin or no-clean flux first.
How do I know if my wire is copper-clad aluminum?
Cut the wire and look at the cut end under a light. Solid copper is copper-colored all the way through. Copper-clad aluminum shows a silver-gray center inside a thin copper ring, and scraping the surface reveals silver metal quickly. CCA cable is also noticeably lighter than copper cable of the same size, and the jacket or packaging is often printed with CCA.
Why won't solder stick to old copper wire?
Copper oxidizes over time, from bright orange to brown and sometimes to green corrosion that creeps under the insulation of older cables. That film blocks wetting. Cut back until the strands look bright, or scrape them with a blade or fine abrasive, then flux generously. If the green corrosion runs a long way into the cable, replacing that length is usually quicker.
What temperature should I use to solder copper wire?
Choose by solder alloy and wire size rather than by a single number. Leaded Sn63/Pb37 melts at 183°C and lead-free SAC305 at roughly 217–220°C, so setpoints somewhere around 315–370°C are common starting points for small wire, raised for heavy gauges. If the wire takes more than a few seconds to accept solder, use a bigger tip before turning the heat up.
Can I burn the enamel off magnet wire with a soldering iron?
Only if it is a solderable enamel, usually polyurethane-based, which breaks down in a pool of hot solder. High-temperature enamels such as polyimide types do not, and must be scraped or chemically stripped. If the wire stays dark under the solder after a few seconds, the enamel is not the solderable kind. Ventilate, because burning enamel gives off irritating fumes.