HOW-TO GUIDE
Why Does Solder Bead Up Instead of Flowing?
By the OhmSavvy Research Team ·
Hot tools and flux fumes
- A soldering tip typically runs at roughly 300–400°C. Keep it in its stand between joints and never test heat with a finger.
- Hold small wires in helping hands or a clamp: re-flowing a stubborn joint heats the whole wire.
- Flux smoke irritates the airways. Work with a fan or fume extractor pulling it away from your face.
- Wash your hands after handling leaded solder and keep food off the bench.
Wetting vs. beading
Properly wetted solder spreads into a thin, continuous layer that clings to the metal underneath — the same wetting action that lets solder wick into a twisted wire splice or flow smoothly across a clean pad. Beading is the opposite: surface tension wins, and the molten solder pulls itself into a ball that sits on top of the surface rather than bonding to it, usually rolling off entirely if the surface is tilted.
1Oxidized or contaminated surface
By far the most common cause. Solder needs clean, bare metal to bond to — an oxide layer, old flux residue, insulation residue, oil, or grease on the wire all block that bond the same way an oxidized iron tip blocks heat transfer. Strip back to bright, clean metal, or clean the existing surface thoroughly, before trying again.
2Not enough flux reaching the surface
Flux's job is removing the thin oxide layer that forms the instant bare metal is exposed to air, so solder can actually reach and bond to the metal underneath. Core flux built into solder wire is often enough for a quick, clean joint, but a surface that's already a bit oxidized, larger, or has been reheated a few times benefits from a touch of additional liquid or paste flux applied directly before soldering.
3The workpiece itself isn't hot enough
Beading also happens when solder is melted mostly by contact with the hot solder wire or tip, without the wire or pad underneath actually reaching temperature — the classic mistake of heating the solder instead of heating the joint, covered in our main how-to guide. Hold the iron against the workpiece itself first, then feed solder once the workpiece is genuinely up to temperature.
How flux actually fixes this
Flux doesn't make solder stickier — it chemically strips the thin oxide layer off the metal surface right as heat is applied, exposing bare metal for solder to bond to underneath. Without that cleaning action, solder has nothing but oxide to try to wet, which is exactly when it draws up into a ball instead.
Does lead-free solder bead more easily?
4Remove the bead and start clean
Don't try to persuade the existing ball to spread. Melt it and flick it off with the tip, or lift it with a strand of desoldering braid. The bead is now full of spent flux and oxide, and it will only make the next attempt harder.
5Clean the metal until it's bright
Strip a few millimeters of fresh wire, or scrape a dull pad lightly with a fiberglass pen or a blade, then wipe off any finger grease with isopropyl alcohol. Bright copper or a shiny tinned surface is the target; a brown or rainbow-tinted film means oxide is still there.
6Flux, heat the joint, then feed solder
Brush on a thin coat of rosin or no-clean flux. Wipe and re-tin the iron tip so it's shiny, press it against the wire or pad for two or three seconds, then feed solder into the joint on the side opposite the tip. If the workpiece is hot enough, the solder melts on contact with the metal and runs toward the heat in a thin film. If it still balls up, raise the temperature in small steps or move to a broader tip that transfers more heat.
Melting points and working temperatures
Wetting only starts once the workpiece is above the alloy's melting point, so it helps to know the numbers. These are the standard published values for the three alloys people use most; check the label on your own spool for its exact figure.
A tip set well above these figures is normal, because a small tip loses heat quickly into the joint. A common starting point is roughly 330–350°C for leaded solder and about 350–370°C for lead-free, adjusted up for heavy wires and ground planes. Lead-free has the narrower margin: its melting point is roughly 35°C higher, so an iron that sags under load drops out of the wetting window sooner. Our 60/40 vs. 63/37 comparison explains why the eutectic alloy is the more forgiving of the two leaded options.
Causes at a glance
| Symptom | Likely cause | How to check | Fix |
|---|---|---|---|
| Ball forms the moment solder touches the wire | Oxidized, dirty or greasy surface | Wire or pad looks dull, brown or rainbow-tinted | Strip or clean back to bright, bare metal |
| Solder spreads briefly, then pulls back into a ball | Flux used up before the joint finished | Little or no flux smoke after the first second | Add fresh liquid or paste flux before reheating |
| Solder melts on the tip but not on the wire | Workpiece not up to temperature | Wire touched with solder alone doesn't melt it | Hold the iron on the workpiece itself, not just the solder |
| Started after switching to lead-free | Lead-free alloy with marginal heat or flux | Same joint flows with leaded solder | Raise temperature to suit the alloy; add flux generously |
| Beads on one big pad, fine on small ones | Iron can't keep up with the heat sink | Tip temperature drops on contact | Use a broader tip or a higher-power iron |
Solder flows toward clean heat
Irons that hold temperature
A temperature-controlled iron with a usable range of tips solves the "not hot enough" cause for good, because it feeds heat back as the joint draws it away. These are picks from our best soldering irons roundup.
Picks from our soldering iron reviews

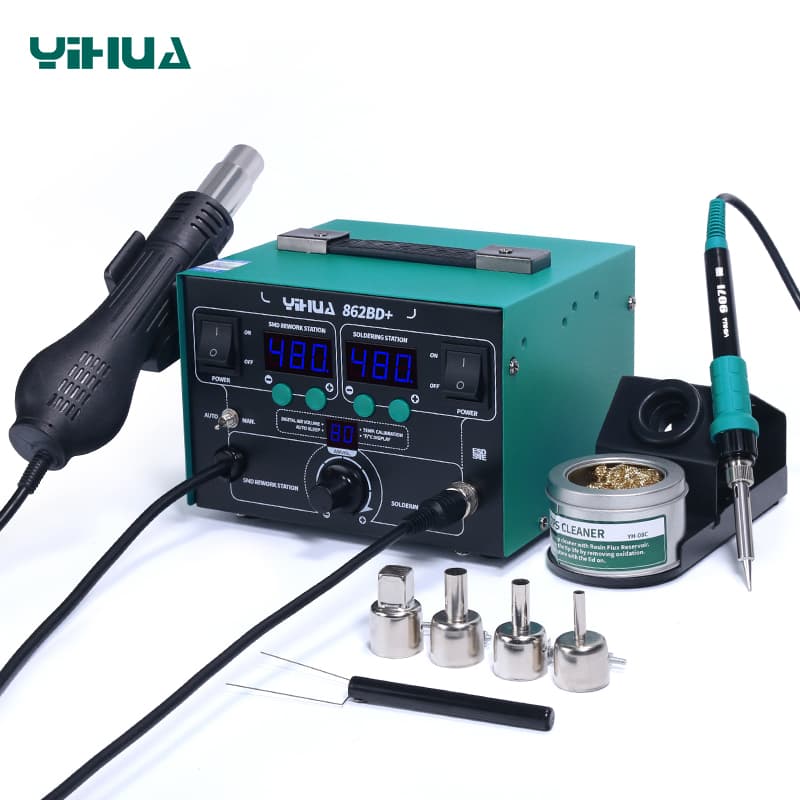
100W station, digital 50–480°C control and ±1°C idle stability, T18 tips.
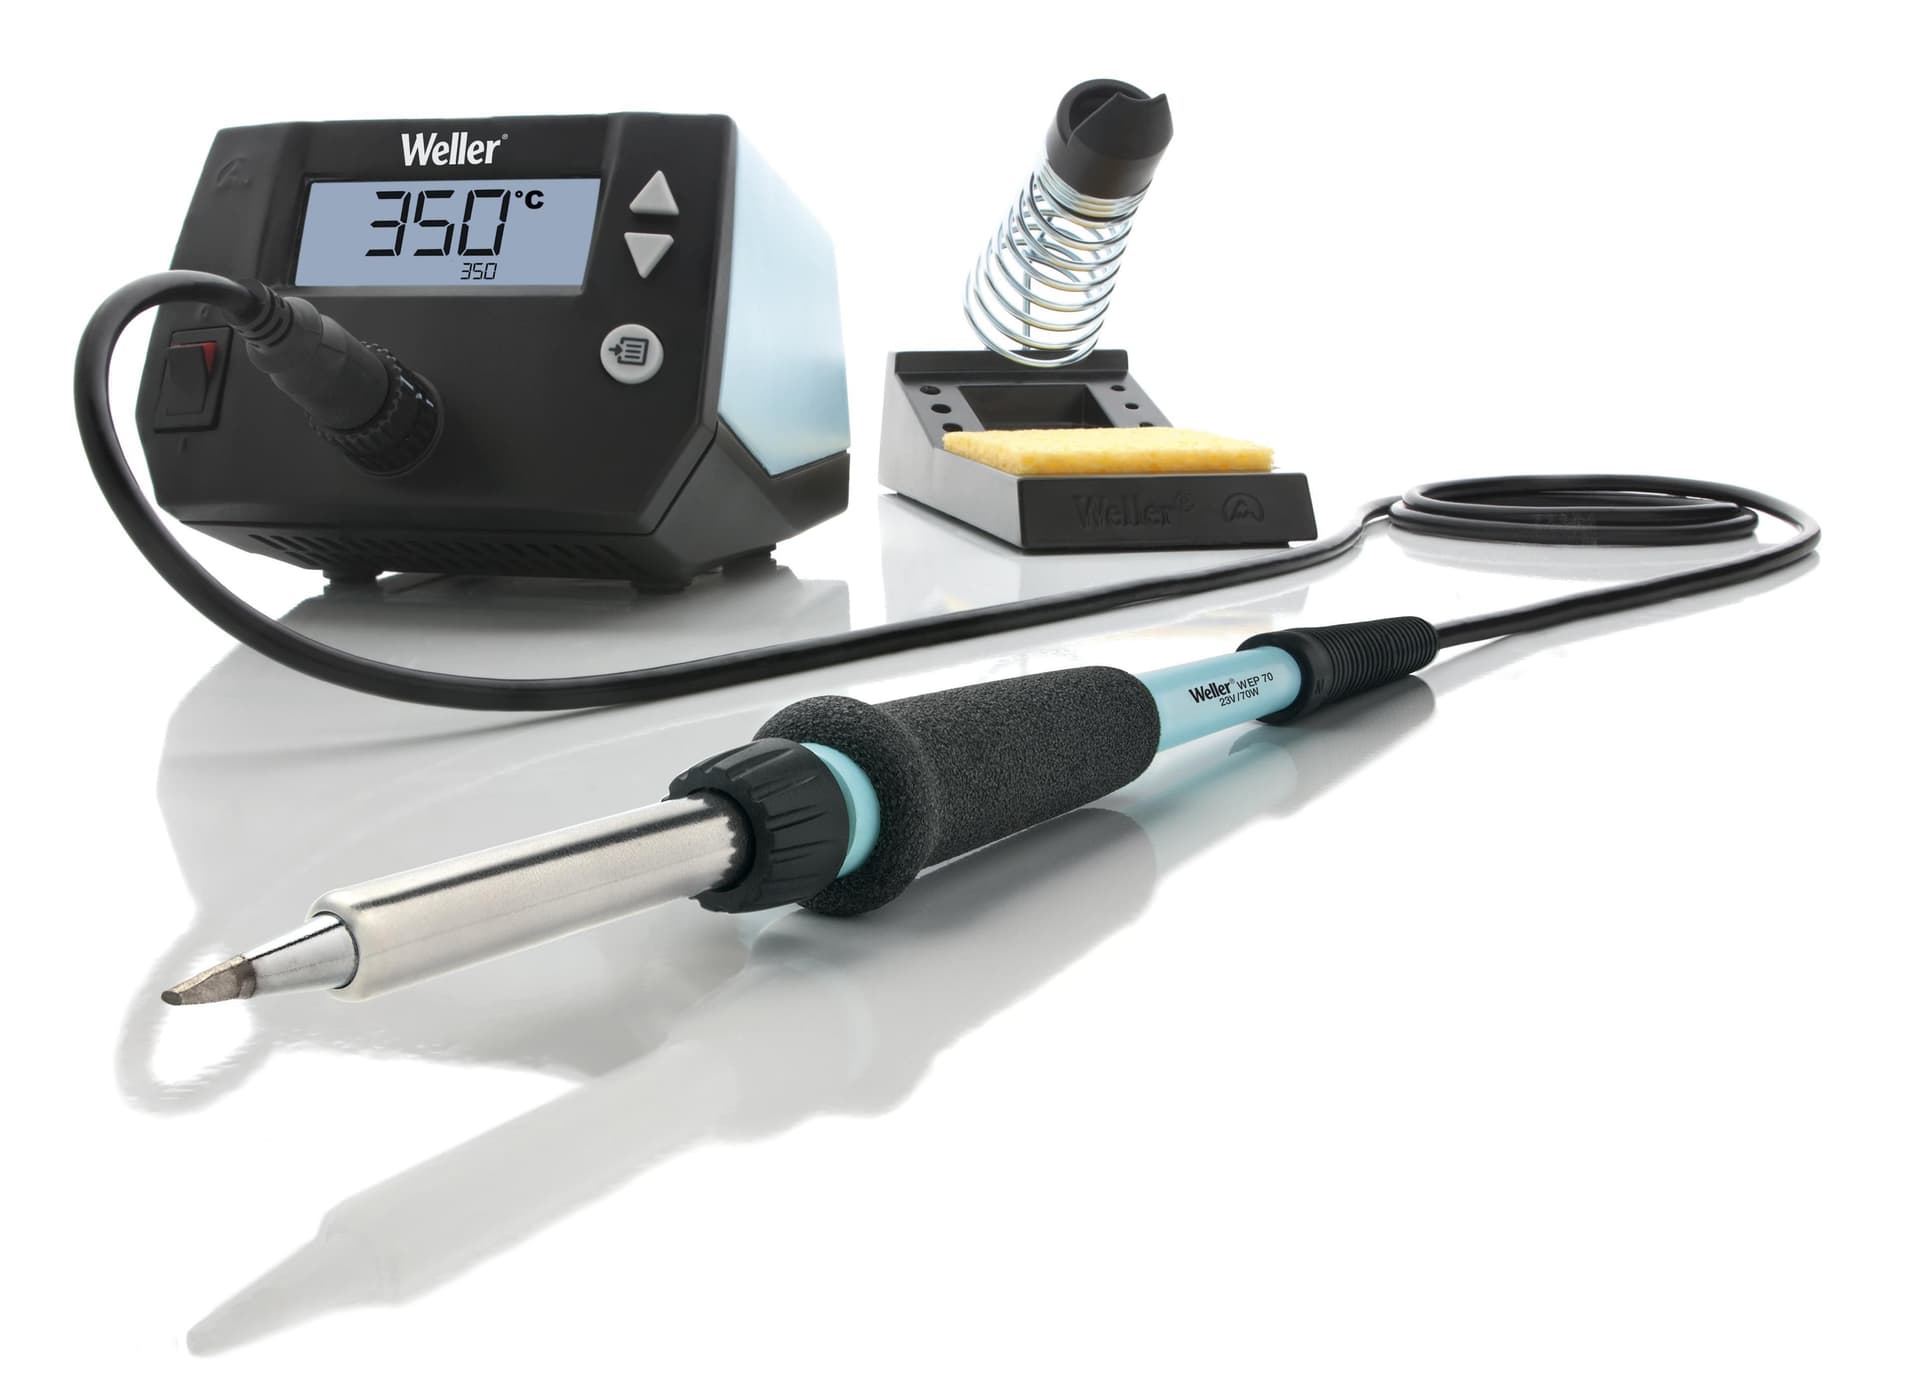
85W ESD-safe digital station (70W iron), about 28 seconds from 50 to 350°C.
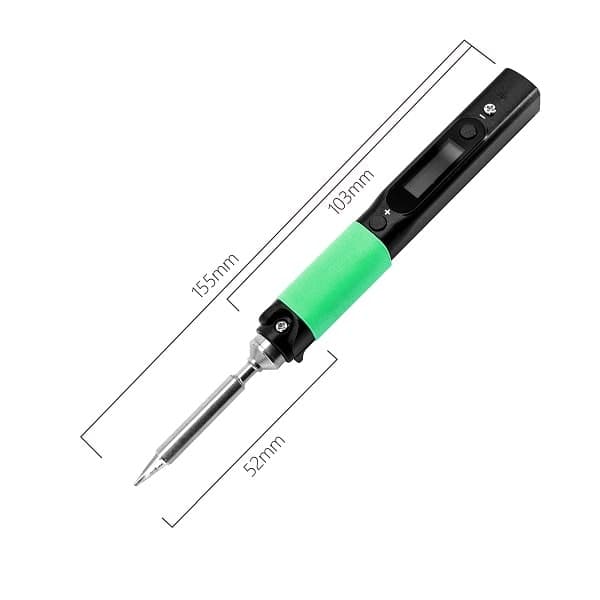
Portable USB-C iron, up to 88W at 24V, for fixes away from the bench.
As an Amazon Associate I earn from qualifying purchases. Prices and availability are shown on Amazon.
Frequently asked questions
Is beading the same thing as a cold solder joint?
They're related but not identical. Beading describes solder failing to wet the surface in the first place, usually visible as it's being applied. A cold joint can look different — dull and cracked rather than ball-shaped — and happens when a joint that did wet initially is disturbed or wasn't fully heated before cooling. Beading often leads to a weak or cold joint if forced to "stick" anyway, but the root cause is different.
Can I just push the beaded solder onto the wire with the iron tip?
You can mechanically force contact, but it won't create a proper bonded, wetted joint — pressing an unwetted ball of solder against the wire leaves a weak mechanical contact rather than the metallurgical bond proper wetting creates. It's better to clean the surface and add flux, then reflow, than to force a beaded joint into place.
Why does solder bead up on old or previously soldered wire specifically?
Previously soldered or stored wire often has a thin oxide layer or old, spent flux residue on its surface, both of which block proper wetting the same way a dirty soldering iron tip does. Stripping back to fresh wire, or cleaning and re-fluxing the existing surface, usually resolves it.
Does wire material (copper vs. tinned vs. silver-plated) affect beading?
Yes, somewhat — bare copper oxidizes faster than pre-tinned or silver-plated wire, so bare copper that's sat exposed to air for a while is more prone to beading than freshly stripped or pre-tinned wire. This is one reason pre-tinned wire is popular for repeated or delayed soldering work.
Can too much flux cause its own problems?
Excess flux residue left around a joint isn't usually a wetting problem by itself, but it can look messy and, left uncleaned for a long time on some board types, slowly become mildly corrosive or attract dust. It's rarely the cause of beading — too little flux is far more often the actual issue — so clean up visible excess afterward rather than treating it as a wetting fix.