HOW-TO GUIDE
How to Solder Copper Wire to a Circuit Board Ground Pad
By the OhmSavvy Research Team ·
Why ground pads fight back
Copper conducts heat extremely well, and a ground plane is often a full layer of it. When the tip touches a pad tied to that plane, heat floods outward into the copper instead of building up at the joint. The pad never reaches the temperature where solder wets, so the solder melts on the tip and wire but sits on the pad as a gray, balled-up lump. Multilayer boards with internal planes, and boards with heavy copper, make the effect stronger.
Thermal relief vs solid pour
Look closely at the pad before you start. Board designers often connect ground pads to the pour through narrow spokes so they can be hand soldered; others merge the pad directly into the copper. The spoked kind behaves almost like a normal pad. The solid kind is the one that needs every trick on this page.
1Choose the tip first, then the setpoint
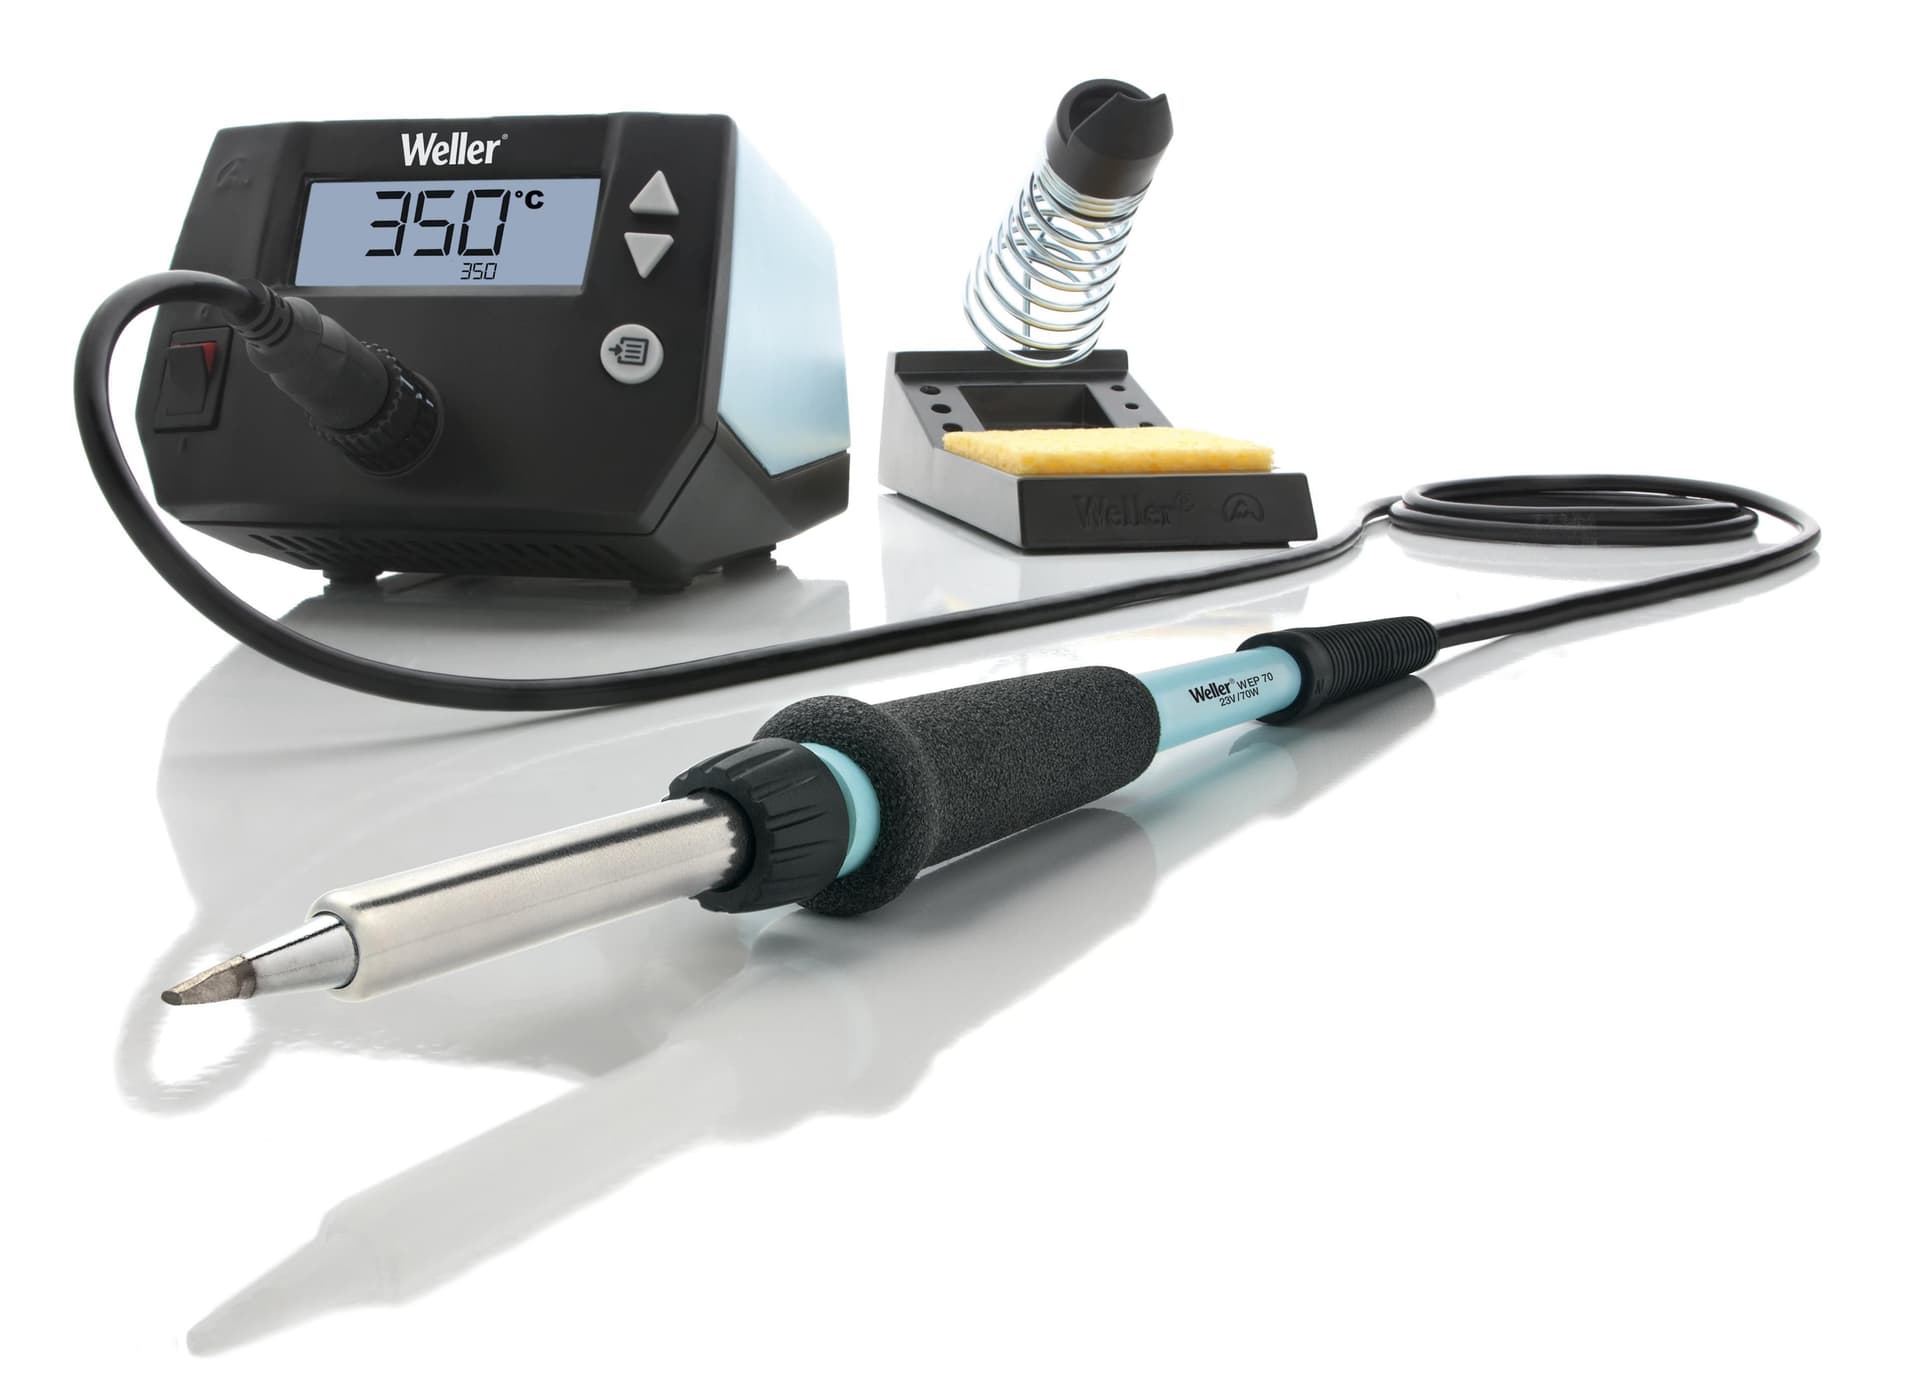
Fit the widest chisel tip that still touches only the pad and wire, often 2.4-3.2mm on a large ground pad. More contact area pushes heat in faster than any temperature change. Then raise the setpoint moderately; keeping the dwell under about five seconds is a better target than chasing a specific number. Our tip types guide compares how much heat each shape delivers.
Typical setpoints by thermal mass
Typical starting ranges for leaded solder; add roughly 20-30°C for lead-free alloys. Treat these as a place to begin, adjusting by how quickly the joint wets.
2Tin the wire and the pad separately
Strip the copper wire, twist stranded conductors tight, and tin the end fully. Then flux the ground pad, which may need light scraping if it is under solder mask or oxidised, and tin it with a thin layer. Each of these is easier on its own than trying to heat wire, pad and fresh solder all at once, and the final joint only needs both tinned surfaces to melt together.
3Preheat when the plane is huge
If a wide tip still cannot wet the pad within a few seconds, raise the whole board temperature. A hot plate or a hot air gun moved slowly under the board takes the plane up by a useful amount so the iron only supplies the last step. Keep it gentle and well away from connectors and electrolytic capacitors.
4Make the joint and hold it still
Lay the tinned wire on the tinned pad, press the chisel flat across both, and feed a little solder into the gap between tip and joint to form a heat bridge. Once the solder flows out onto the pad and wets the wire, remove the iron and keep the wire completely still until the joint goes from shiny liquid to solid, a few seconds on a large pad because the copper is now warm.
5Inspect the joint and measure it
A ground joint can look fine and still be cold
Cold-joint signs and fixes
| What you see | Likely cause | Fix |
|---|---|---|
| Solder balls up, won't spread on pad | Pad never reached wetting temperature | Wider tip, preheat, fresh flux |
| Gray, grainy surface | Wire moved while cooling or not enough heat | Reflow with flux and hold still |
| Clear ring between solder and pad | Pad oxidised or still under mask | Scrape, flux, re-tin the pad |
| Pad lifted or blistered | Long dwell at very high temperature | Shorter heat, bigger tip; repair the pad |
| Reading jumps when wire is flexed | Cracked or partially wetted joint | Remove, clean, re-tin both parts |
Safety: higher heat, more fumes
Irons with power for ground pads
A ground pour drains heat as fast as a weak tip can deliver it. These picks either bring reserve power or add hot air to preheat the area around the pad.
Irons for ground-plane joints
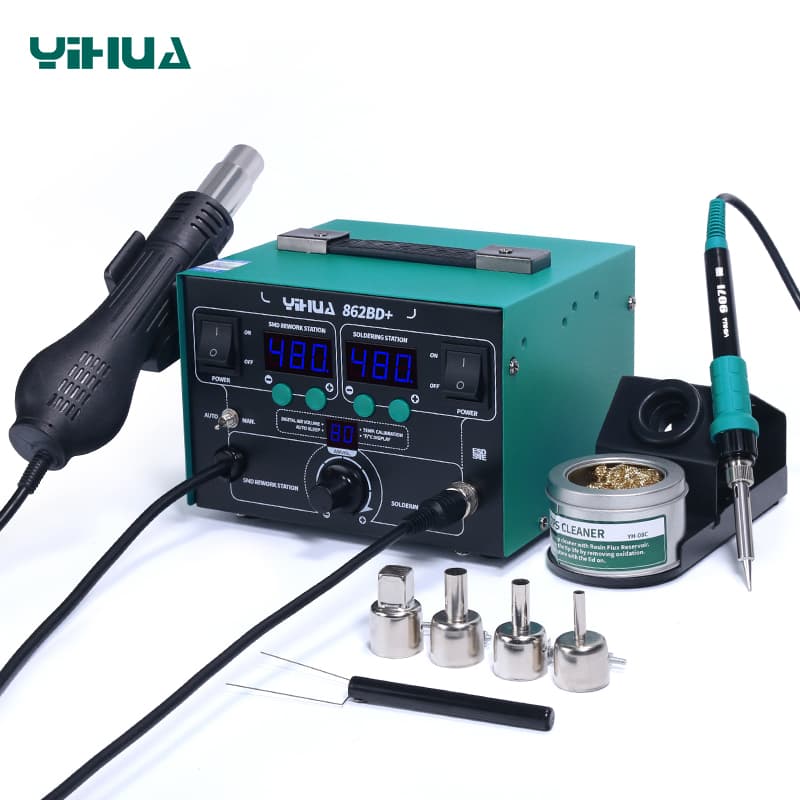
The 500W hot air side can warm the copper around the pad while the 75W iron makes the joint, the preheat method in this guide.

Station rated 100W, with the 65W FX-8801 iron and closed-loop control from 50 to 480°C for stubborn pours.
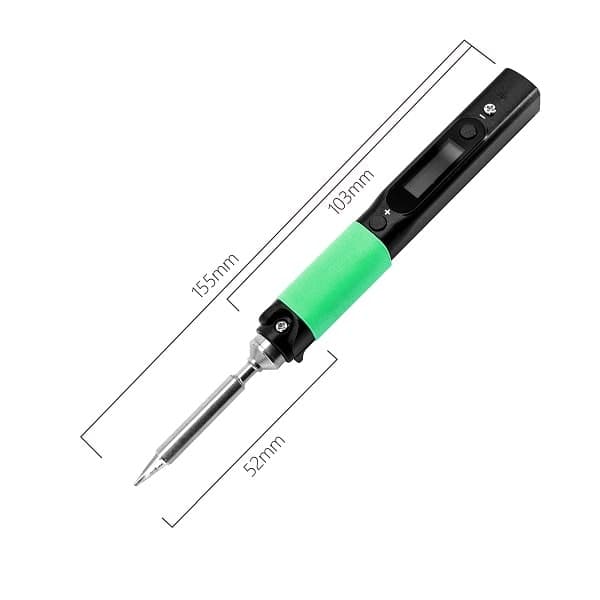
Pine64 rates it up to 88W on a 24V supply, so a strong DC source gives a portable iron real headroom on heavy copper.
As an Amazon Associate I earn from qualifying purchases. Prices and availability are shown on Amazon.
Frequently asked questions
Should I just turn my iron up to maximum for a ground pad?
Raising the setpoint helps, but tip size usually matters more. A fine conical tip at a very high temperature still transfers heat slowly through its tiny contact area and oxidises quickly. A wide chisel at a moderately higher setting delivers far more heat into the joint per second with less risk to the pad and tip.
What is a thermal relief on a PCB?
It is a pad connected to the surrounding copper pour by a few narrow spokes rather than being merged solidly into it. The spokes still carry current but restrict how fast heat drains away, which makes the pad much easier to solder by hand. Pads poured solid into the plane have no such restriction.
Can I use desoldering braid or bus wire as a ground strap?
Bare tinned copper bus wire works well for a ground link and is easy to solder. Flat braid makes a low-inductance strap for shielding or chassis bonding, but braid made for desoldering is fluxed and very fine, so a purpose-made tinned grounding braid is the better choice for a permanent connection.
Is it safe to preheat a populated board with a hot air gun?
Gentle preheating from underneath is a common technique, but keep the air moving, use a modest temperature, and keep it away from plastic connectors, electrolytic capacitors and batteries. The goal is to warm the plane, not to reflow parts on the other side.
How do I know the wire is properly bonded to ground?
Inspect the joint for a smooth fillet that wets both the wire and the pad, then measure resistance from the wire to another known ground point on the board. It should read essentially the same as your meter's leads touched together. A higher or unstable reading points to a cold joint.