HOW-TO GUIDE
How to Solder Wires Without Overheating Insulation
By the OhmSavvy Research Team ·
Why insulation is the vulnerable part
Bare wire and solder can handle soldering temperatures without any issue — it's the plastic insulation right next to the joint that has a much lower heat tolerance. Common PVC insulation can soften, shrink back, or discolor well below the temperature the metal itself is reaching, especially if the iron sits in one spot for several seconds close to the insulation edge.
1Strip back far enough from the joint
Leave enough bare wire between the insulation edge and where the iron will actually touch — roughly 15-20mm is comfortable for most hand soldering. Stripping too little forces the iron tip to work right at the insulation's edge, where even brief contact or radiant heat can affect it.
2Pre-tin the wire ends separately, before joining
Tinning each wire end on its own, before twisting them together, means the final joint only needs a brief reheat to fuse the two already-tinned surfaces — far less total heat exposure than melting solder into an untinned joint from scratch.
3Use a heat sink clip for sensitive wire
Clamping a small metal clip (a crocodile clip, hemostat, or a purpose-made heat sink) onto the wire between the joint and the insulation gives heat somewhere else to go, absorbing it before it reaches the insulation. This is especially worth doing on thin, heat-sensitive wire, or insulation that's already marginal.
4Keep dwell time short — don't rely on a cooler iron
A properly heated, clean, well-tinned tip applied confidently and removed as soon as the joint is wetted spends far less total time near the insulation than a too-cool iron that has to linger to get solder flowing at all. Good tip condition and correct iron temperature, covered in our tip care guide, do more to protect insulation than deliberately running cooler.
How much does a heat sink clip actually help?
A heat sink clip works by giving heat an easier path to travel than through the insulation — metal conducts heat far better than plastic insulation does, so a clip clamped onto the wire intercepts and carries away heat that would otherwise keep migrating toward the insulation edge the longer the iron stays on the joint.
Does insulation type matter?
Quick reference
| Technique | Why it helps |
|---|---|
| Strip back 15–20mm from the joint | Keeps the iron's working area away from the insulation edge |
| Pre-tin wire ends separately | Final joint needs only a brief reheat, not a full tin-and-join |
| Use a heat sink clip on sensitive wire | Absorbs excess heat before it reaches the insulation |
| Keep dwell time short at proper temperature | Less total heat exposure than a too-cool iron lingering |
Irons that make short dwell times easier
Melted insulation is usually a dwell-time problem, and dwell time comes down to whether the tip can deliver heat fast and hold its set temperature when it touches a cold wire. A temperature-controlled iron with enough power reserve lets solder flow on the first touch instead of after a long wait that cooks the jacket.
Temperature-controlled irons for wire splicing

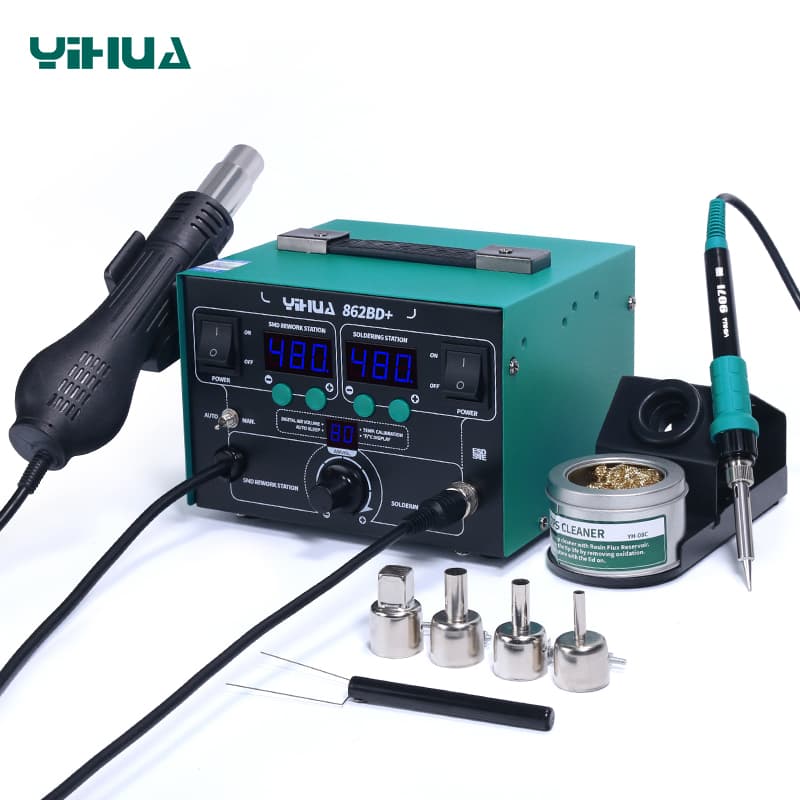
100W station with a 65W iron, 50–480°C closed-loop control, ±1°C idle stability and five presets.
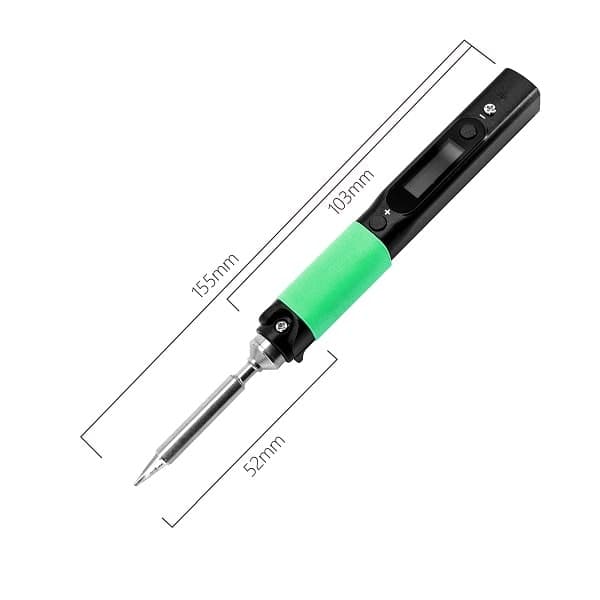
Pocket iron, up to 88W at 24V DC and about 60W from 20V USB-C PD, for splicing wires in the field.
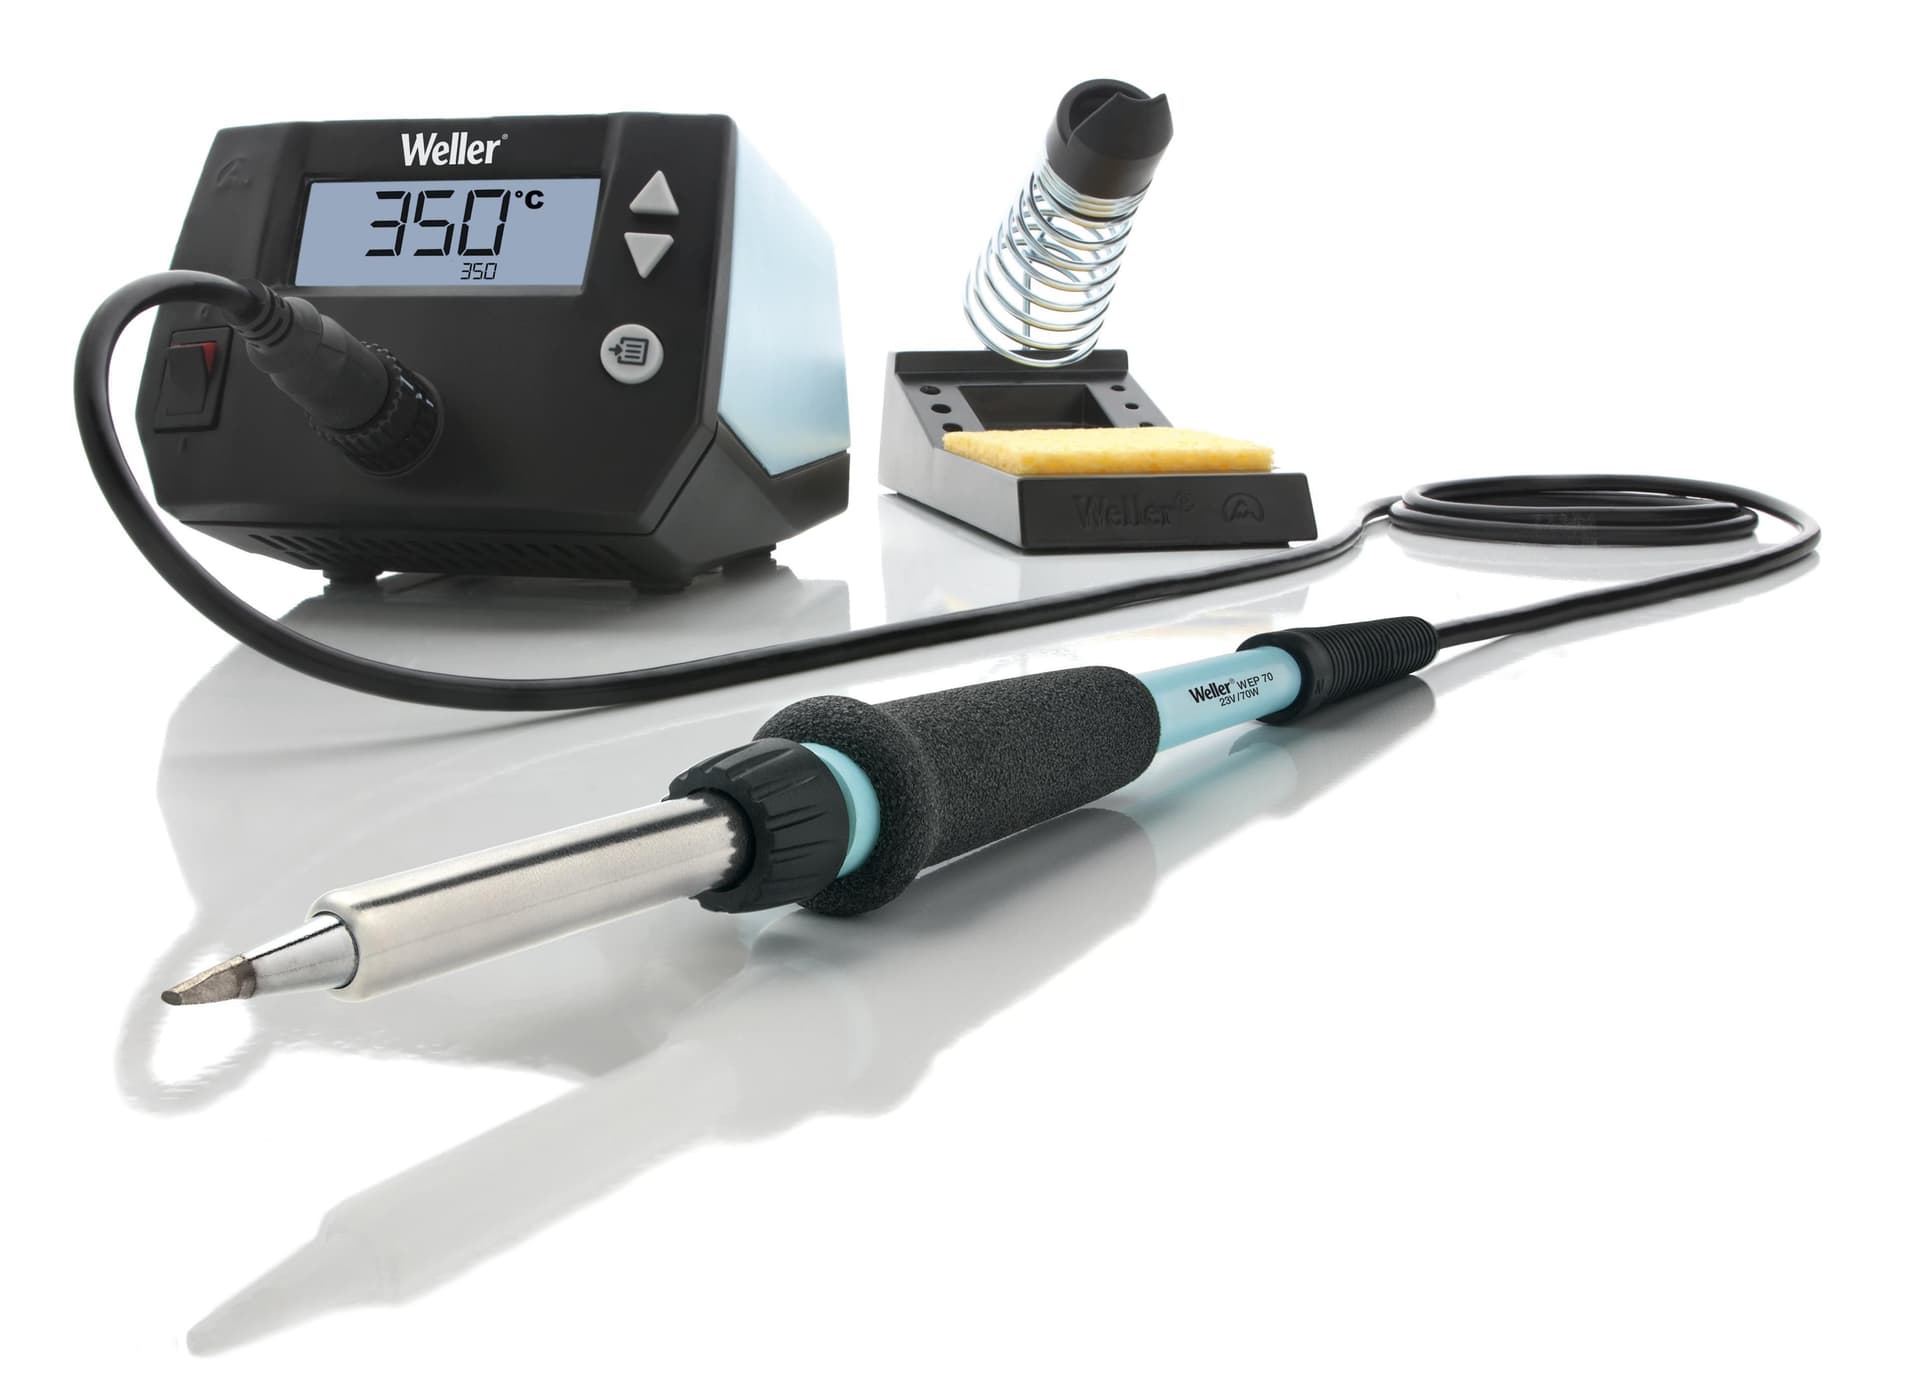
85W ESD-safe digital station (70W iron); Weller quotes about 28 seconds from 50 to 350°C.
As an Amazon Associate I earn from qualifying purchases. Prices and availability are shown on Amazon.
Frequently asked questions
Should I lower my iron's temperature to protect the insulation?
Not as the main fix — a too-low temperature forces longer dwell time to get the joint properly soldered, which often damages insulation more, not less, than a correctly hot iron used briefly. Keeping the iron at a proper working temperature and minimizing dwell time (through the techniques on this page) protects insulation more reliably than simply running cooler.
What does melted insulation actually look like compared to normal cosmetic discoloration?
Genuine heat damage usually shows the insulation visibly shrunk back from where it originally sat, a glossy or melted-looking texture, or a change in shape right at the heat-affected zone. Mild darkening right at the very edge nearest the joint, without any shrinking or texture change, is often just light scorching and less of a functional concern.
Is a heat sink clip really necessary for everyday wire splicing?
Not for every joint — quick, confident work on a short, well-stripped section often doesn't need one. It earns its place on delicate, heat-sensitive wire (thin signal wire, wire with marginal insulation, or wire very close to a connector body), or whenever you notice insulation creeping closer to melting on a particular job.
Does using less solder reduce the risk of overheating insulation?
Only indirectly — solder quantity itself doesn't generate heat, dwell time does. Using the right amount of solder (not excessive) does tend to correlate with a quicker, more controlled joint, which is really the dwell-time benefit, not something solder quantity causes on its own.
Does a faster-heating iron reduce insulation risk, or just the iron's own warm-up time?
Both, in a sense, but the more relevant factor here is thermal recovery once the tip is on the joint — an iron that holds temperature steady under load reaches a wetted joint faster per touch than one that sags and needs longer dwell to compensate. A quick cold start matters less for this specific risk than staying hot through the actual joint.