HOW-TO GUIDE
How to Solder Wires Together
By the OhmSavvy Research Team ·
Strain relief matters more on wires than on board joints
What you'll need
A soldering iron, rosin-core solder, wire strippers, heat-shrink tubing sized to the finished splice, and a heat source for the tubing (a heat gun works best; the iron itself can shrink small tubing carefully, kept away from direct contact). Helping-hands or a vise free up both hands for the iron and solder, same as for board-level work — see the full how-to guide for the base technique this builds on.
Twist splice vs. flow (lap) splice
Two common ways to mechanically join wires before soldering, each suited to different situations:
| Splice type | How it's made | Best for |
|---|---|---|
| Twist splice | Strip both ends, cross and twist the bare strands together tightly | In-line repairs and extensions, round profile fits inside heat-shrink cleanly |
| Lap (flow) splice | Lay stripped ends alongside each other, solder flows between them | Flat or tight spaces where a twisted bulge doesn't fit |
The process at a glance
01
Strip & prep
Both wire ends, strands separated
02
Slide heat-shrink
Onto one wire, well clear of the work area
03
Join mechanically
Twist or hook the strands together
04
Heat & flow solder
Into the joint, not onto the iron
05
Cool, then shrink
Slide tubing over, apply heat
1Strip and prep both wires
Strip roughly 15-20mm of insulation from each wire end, enough to twist together without leaving bare metal exposed once finished. Separate and straighten the strands slightly — a compressed, flattened strand bundle doesn't twist together as tightly or take solder as evenly as individually separated strands.
2Slide heat-shrink tubing onto one wire first
Before joining anything, slide a length of heat-shrink tubing onto one of the two wires and push it well clear of the work area — far enough that stray heat from soldering won't prematurely shrink it. This step is easy to forget until the splice is already soldered, at which point the tubing can no longer go on without cutting the joint apart.
3Join the strands mechanically before applying heat
Cross the two stripped ends and twist them together several full turns by hand or with pliers, so the joint holds its shape without the solder's help. This mechanical bond is what actually gives the splice strength; solder's role is to lock that bond electrically and prevent the strands from working loose, not to hold two untwisted wires together on its own.
4Heat the joint, then flow solder into it
Touch the iron to the twisted joint (not to the solder) and hold it a moment so the wire itself reaches temperature, then feed solder into the joint from the side opposite the iron. Properly heated strands pull the solder in and let it flow between individual strands by capillary action — you'll see it visibly wick along the twist. Stop once the joint is evenly coated; more solder than that just adds unnecessary bulk and stiffness.
5Let it cool, then shrink the tubing
Hold the joint still while the solder solidifies, exactly as with any other solder joint — movement during cooling risks the same fractured, cold-joint appearance covered in our main how-to guide. Once cool, slide the heat-shrink tubing over the finished joint, centering it so tubing extends past the solder on both sides, and apply heat evenly until it shrinks down snugly.
Does a soldered splice conduct as well as the original wire?
Common mistakes specific to wire splices
- Forgetting to slide heat-shrink on before joining the wires — there's no way to add it afterward without redoing the splice.
- Soldering untwisted, merely-touching wire ends and relying on solder alone for mechanical strength.
- Using electrical tape instead of heat-shrink on a splice that will flex or vibrate, where strain relief actually matters.
- Overheating thin wire insulation while soldering, melting it back further than the stripped section intended.
When a splice isn't the right fix
For connections that see regular vibration — automotive wiring, anything bolted to a running engine or moving assembly — a proper crimp connector is often more durable than a soldered splice, since solder is more brittle than the wire itself under repeated flex. See our automotive electronics guide for more on when each method fits.
Irons that suit wire splicing
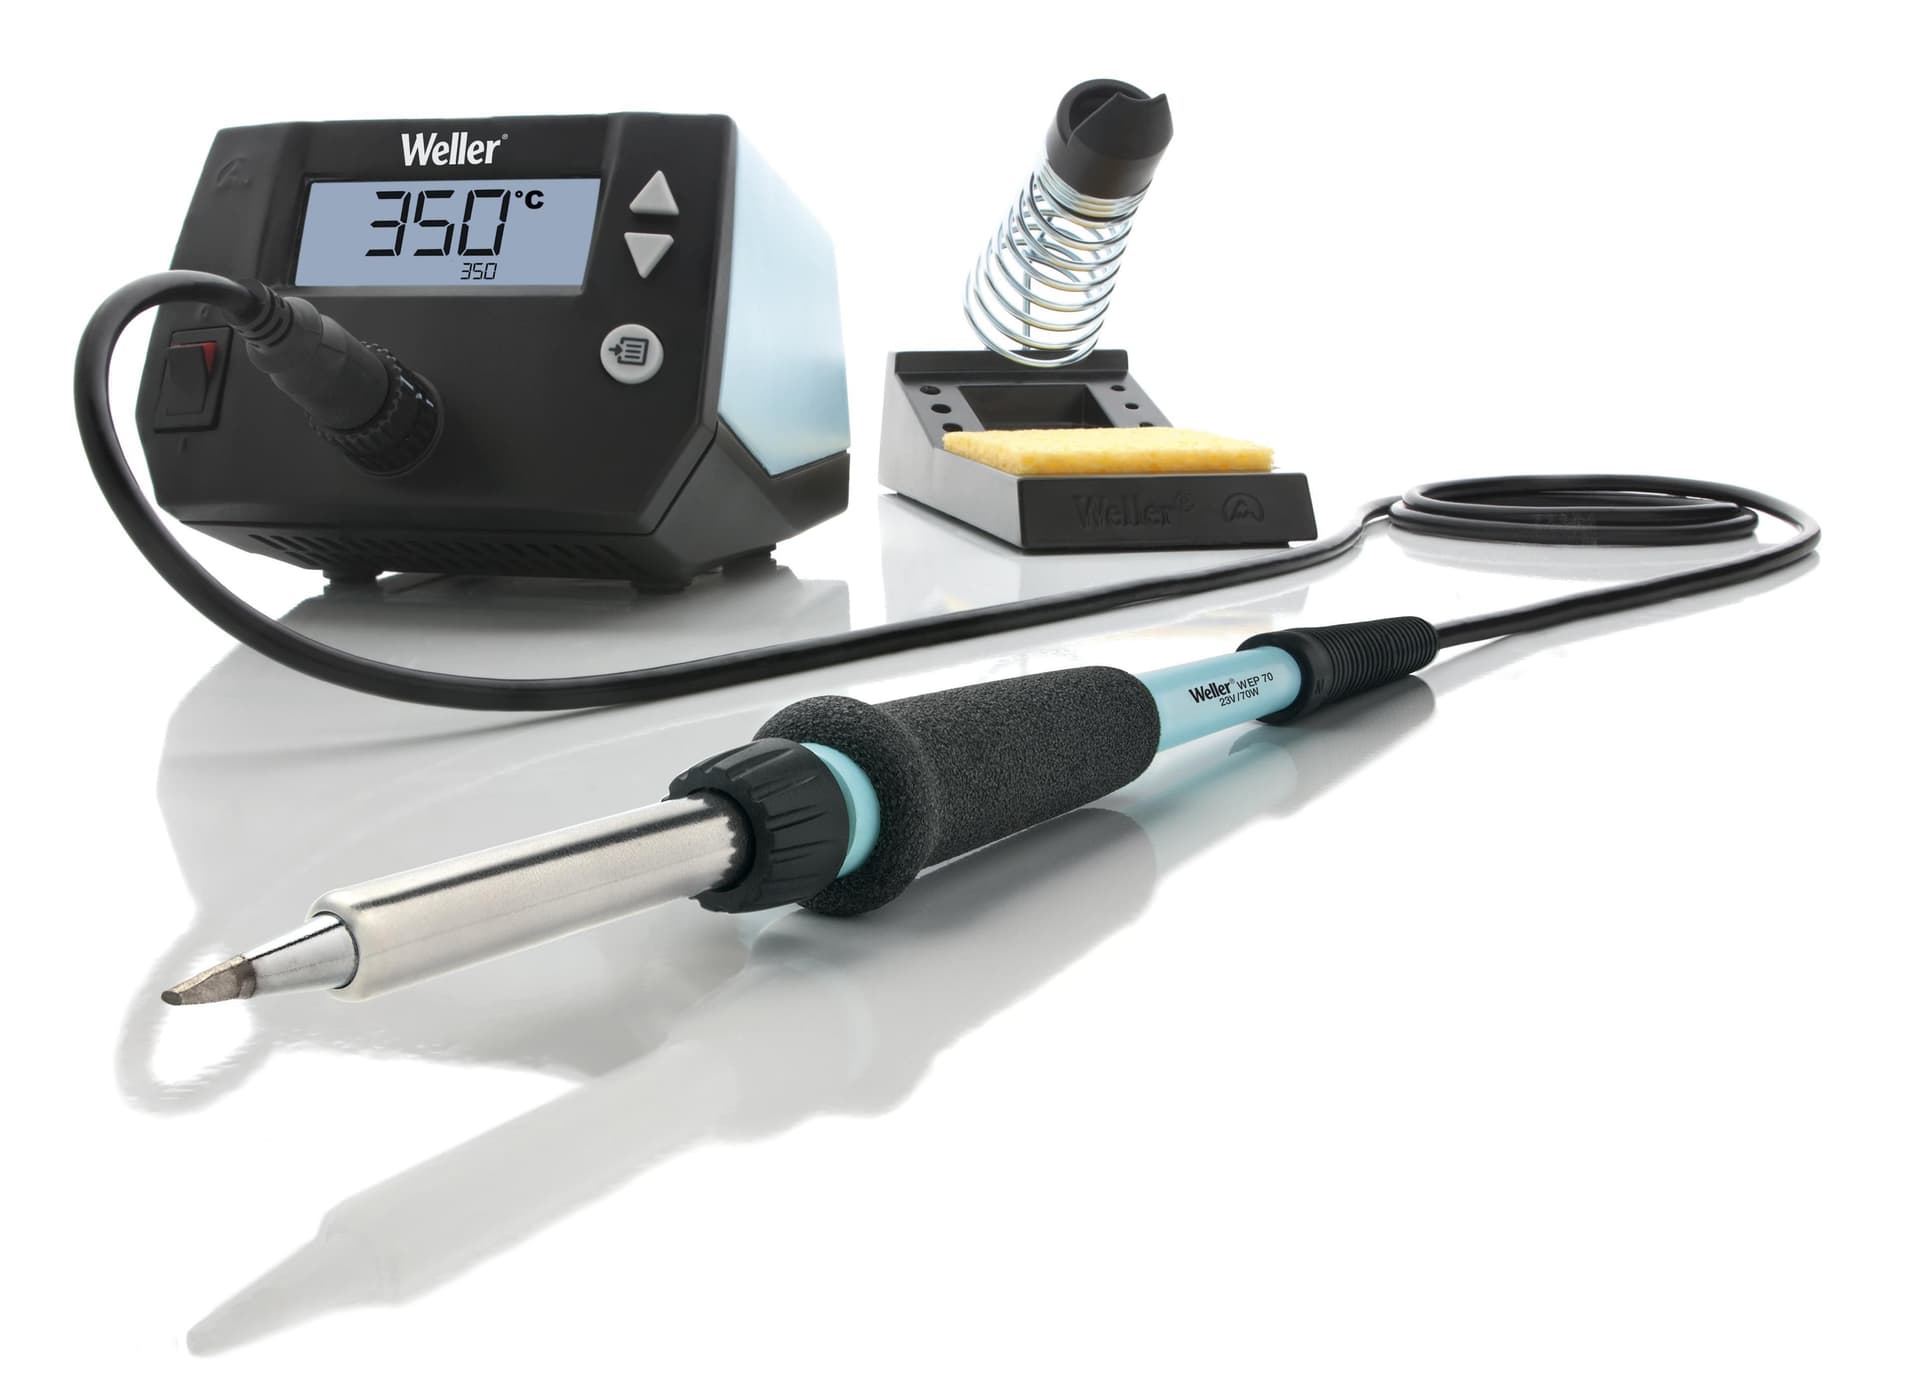
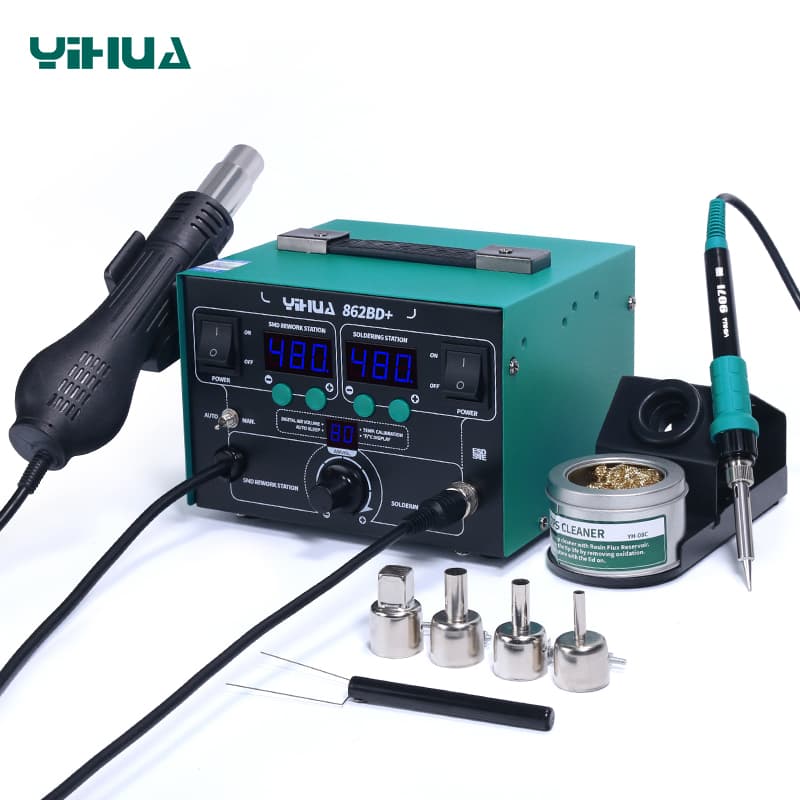
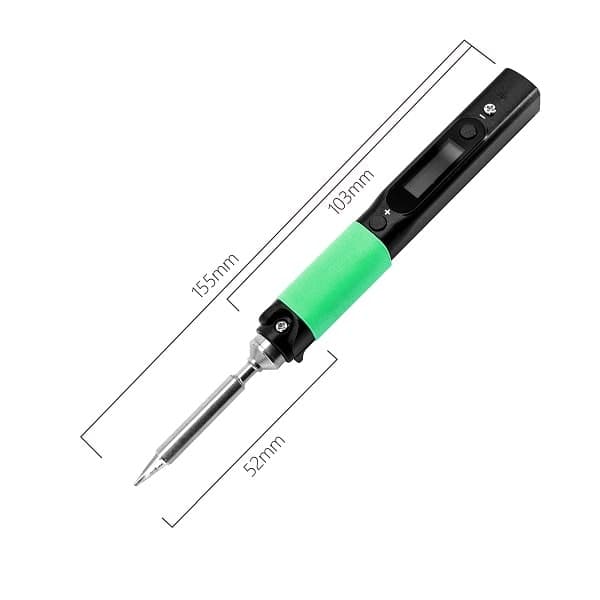
Thin signal wire splices fine with almost any temperature-controlled iron. Thicker gauges are a different story: the copper soaks up heat, so an iron that recovers quickly or runs hotter makes the solder wick through the twist instead of sitting on top of it.
Irons for splicing wires
Runs from USB-C PD or a 12–24V DC source, so it travels to splices in a car or out in the field.

67W with a 240–540°C dial on the handle, aimed at heavy wire and terminals that drain heat fast.

Closed-loop bench station, 50–480°C, with T18 tips from fine points to wide chisels for bigger joints.
As an Amazon Associate I earn from qualifying purchases. Prices and availability are shown on Amazon.
Frequently asked questions
Should solder fully encase the wire splice, or just coat it?
Solder should flow into and wet the twisted or hooked strands so they're electrically and mechanically bonded, but you're not aiming to bury the splice in a thick blob. A properly wetted joint looks like the wire's own texture is still slightly visible under a thin, shiny solder coating — not a round lump of solder with the wire hidden inside.
Can I solder stranded wire directly to a screw terminal?
It's common but worth knowing the trade-off: solder tinning the exposed strands before inserting them under a screw terminal prevents stray strands and makes a cleaner connection, but a solid, tinned chunk of wire under a screw can crack over time from the screw's clamping force plus vibration, since solder is more brittle than the wire's bare strands. For vibration-prone connections, a proper crimp ferrule is usually the better choice.
Why does my splice look fine but still feel loose or wiggly?
That almost always means the strands weren't actually mechanically joined (twisted or hooked together) before soldering — solder bonds the metal strands to each other, but it isn't a substitute for a solid mechanical connection first. Redo the joint, twisting the bare strands together tightly before reheating and reflowing solder.
Is heat-shrink tubing actually necessary, or is electrical tape enough?
Heat-shrink is the better choice for most splices. It forms a continuous seal around the joint and adds genuine strain relief at the stiff solder point, where a flexible wire transitions into a rigid soldered section — exactly where repeated flexing is most likely to fatigue and break the wire. Electrical tape alone doesn't add that strain relief and can loosen or unwind over time.
What temperature should I set to solder wires together?
Many people start around 330–370°C (about 625–700°F) for leaded solder on thin hookup wire and go higher, toward 380–400°C, for lead-free alloys or thicker gauges that pull heat away quickly. Treat those as starting points, not rules: the right setting is the lowest one that lets solder wick through the twist within two or three seconds without scorching the insulation.