HOW-TO GUIDE
How to Solder Enamelled Wire to a PCB Pad
By the OhmSavvy Research Team ·

Enamel fumes, hot tips and blades
- Burning enamel gives off sharp, irritating smoke on top of the usual flux fumes. Use extraction or a fan that pulls smoke away from your face.
- Solder-stripping runs the tip hotter than usual; park it in the stand between joints.
- Scrape away from your fingers, and wash your hands after handling leaded solder.
Why soldering enamelled wire to a PCB pad needs care
Enamelled (magnet) wire is solid copper with a thin varnish insulation, often between 0.1 mm and 0.4 mm in diameter for coils and bodge work. On a pad there is no hole to pass it through and no plastic insulation to grip, so the joint is a small lap of fine copper on a flat surface. It is easy to make, but easy to tear off, and enamel that was not fully removed can hide under a shiny fillet. For the enamel-removal methods themselves, see how to solder magnet wire; this page concentrates on getting the wire onto the pad and keeping it there.
Solderable enamel vs enamel that must be scraped
| Enamel type | Strips in solder? | How to prepare the end |
|---|---|---|
| Polyurethane (often sold as solderable) | Yes, at a high setpoint | Dip the end in a bead of molten solder until it tins |
| Polyurethane with nylon overcoat | Usually yes, more slowly | Hotter tip, more flux, a longer dip |
| Polyester-imide, polyamide-imide | No | Scrape or sand to bright copper, then tin |
| Unknown spool | Test it | Try a solder dip on an offcut first |
A quick test on a scrap end answers the question: if a bead of solder at a high setpoint turns the copper silver within a few seconds, it is solderable; if the solder balls up and rolls off, scrape.
1Anchor the wire before you heat it
Fine wire springs, drifts and snaps under its own tension. Fix it first: a strip of tape across it, a dot of glue on the coil body or board, or a turn around a nearby pin. If the board has a spare hole near the pad, loop the wire down through it and back up; the loop acts as a clamp. Then cut the wire a few millimeters beyond the pad.
2Tin only the wire end
With solderable enamel, raise the setpoint, melt a small bead of solder with flux on the tip and draw the last 2 mm to 3 mm of wire through it until the copper shows silver. With scrape-only enamel, clean the same length to bright copper and tin it at once. Keep the tinned zone short: it should just cover the pad, so the enamel insulates everything else.
3Put a small dome of solder on the pad
Return to a normal setpoint for the board, typically 320 °C to 350 °C with leaded solder. Flux the pad and melt on just enough solder to form a low, shiny dome. A pad tinned in advance means the final joint needs only heat, which keeps the fine wire from overheating and pulling back.
4Make the pad joint
Lay the tinned end flat on the dome, along the pad rather than across it. Press it down gently with the tip for one to two seconds until the dome melts and swallows the wire, then lift away cleanly and let it set without moving. The wire outline should show under a smooth fillet.
01
Anchor
Tape, glue or loop
02
Tin end
Solder-strip or scrape
03
Dome pad
Flux and a little solder
04
Reflow
1-2 s, wire along pad
05
Test
Continuity both ways
Strain relief for fine enamelled wire
A pad joint holds the wire electrically but cannot resist much pull. Leave a relaxed arc between the anchor and the pad, then secure the lead with a dot of hot glue, UV-cure resin or silicone a few millimeters from the joint, not on it. Looping through a spare hole works as both anchor and relief.
Coil leads on small transformers and inductors
- Bobbin pins: wrap the tinned lead two or three turns around the pin before soldering, so the joint is mechanical as well as electrical.
- Keep heat off the winding. Solderable enamel strips wherever it gets hot, so a tip resting on the coil can expose copper and short adjacent turns.
- Multi-strand or litz leads: every strand must be stripped and tinned, or the coil loses part of its conductor.
Do a continuity check afterwards
Visual inspection is not enough here. Measure resistance from the coil's other lead, or the far end of a bodge wire, to a point on the board connected to the new pad. A small inductor or winding typically reads from a fraction of an ohm to a few tens of ohms; OL means enamel is still under the joint. Then check the pad against its neighbors for a bridge.
Reflow, don't pile on
Which iron suits enamelled wire work
Any temperature-controlled iron that holds a high setpoint will solder-strip enamel. A fine conical or small chisel tip suits the pad joint; the tip types guide compares them, and the temperature by metal guide covers setpoints for different joints.
Stations from our soldering reviews
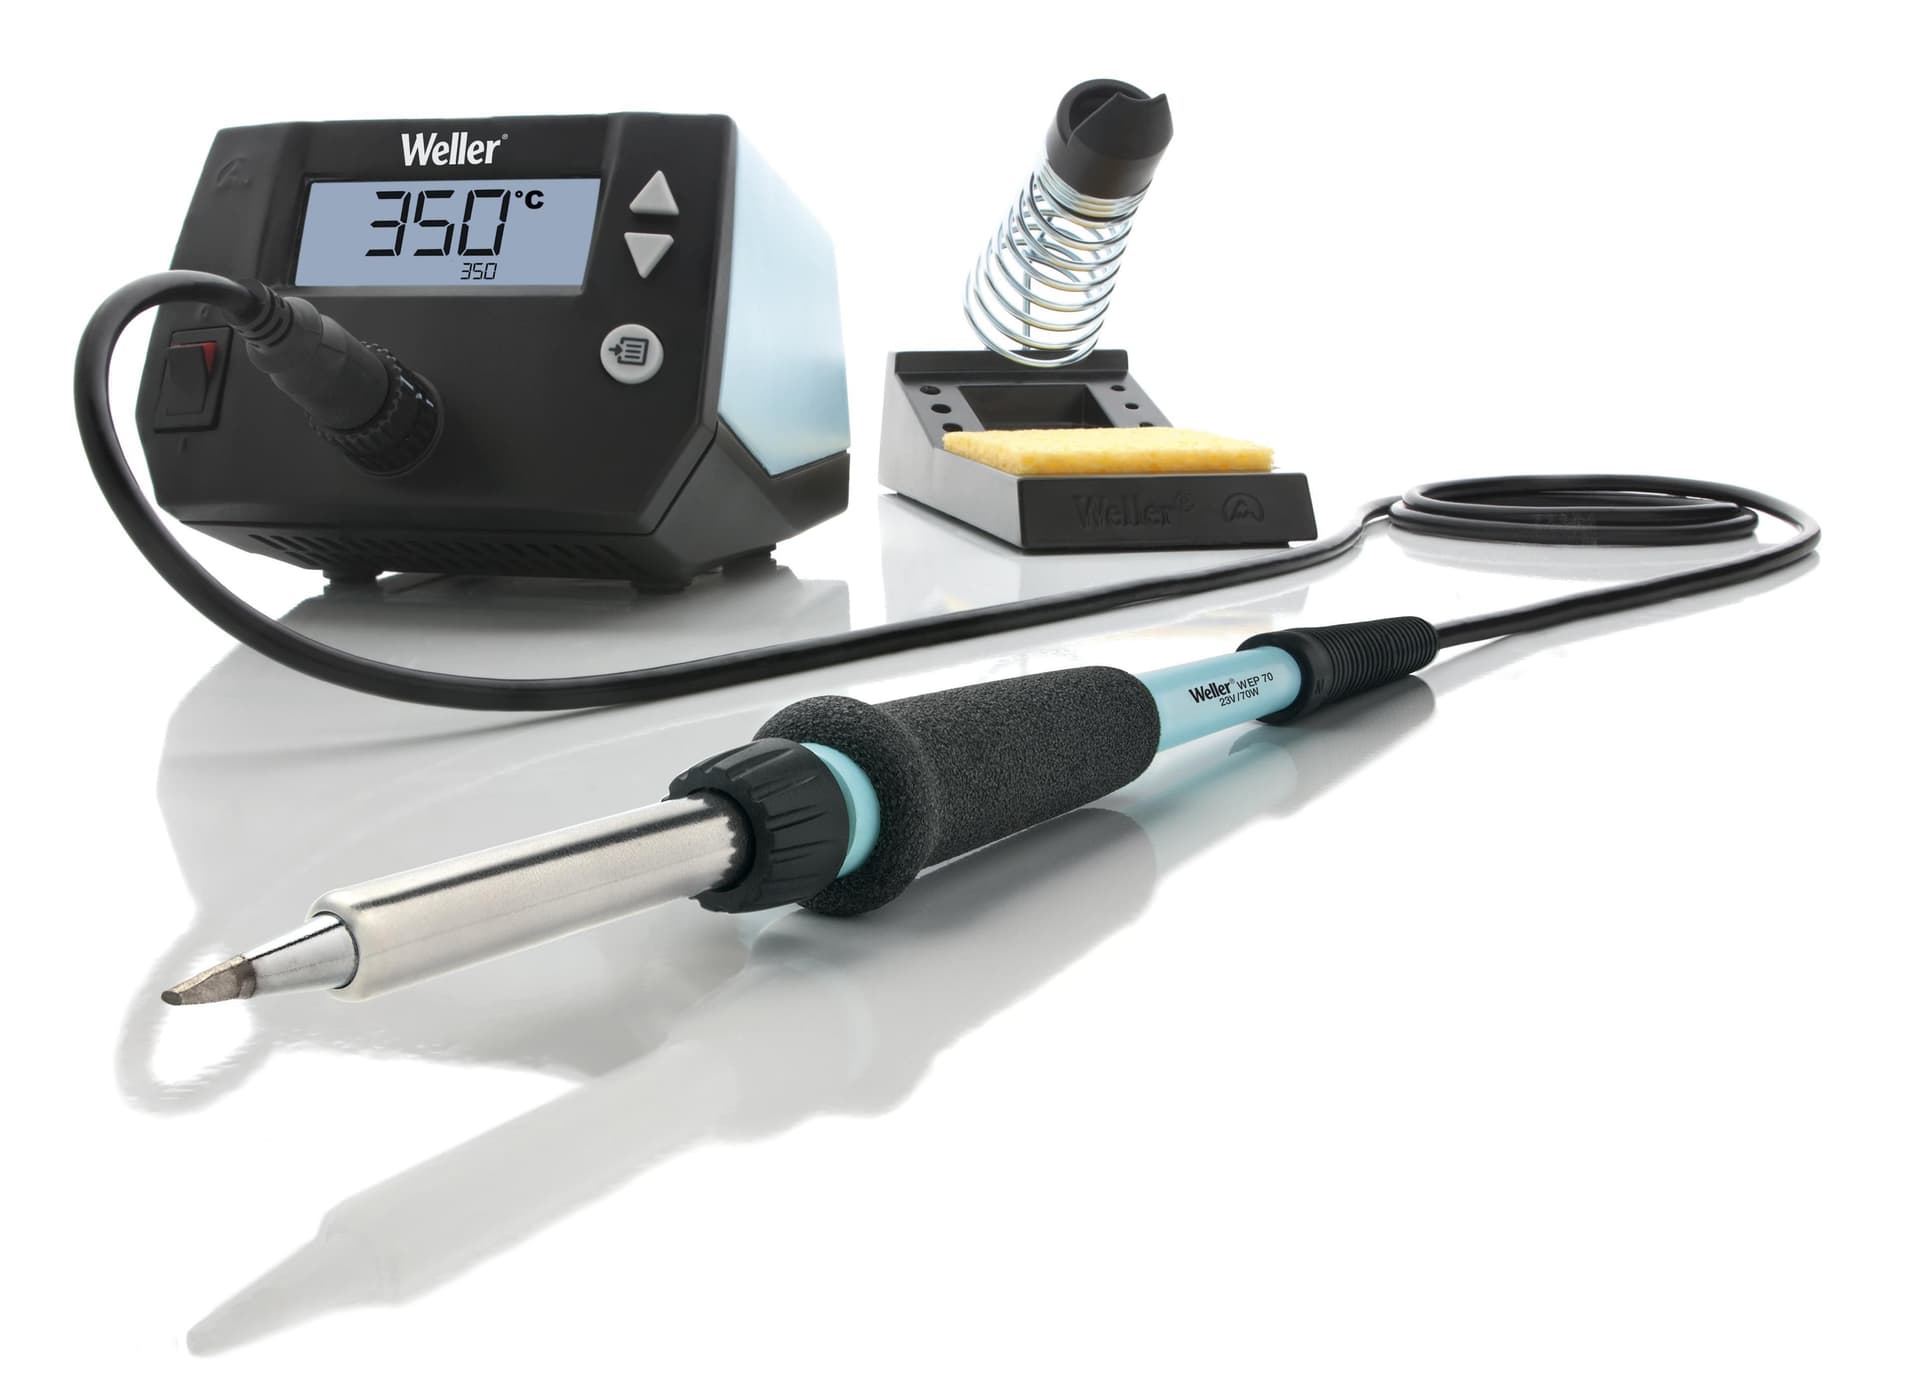
100W digital station with a 50–480°C range and ±1°C idle stability, leaving headroom for solder-stripping enamel.
As an Amazon Associate I earn from qualifying purchases. Prices and availability are shown on Amazon.
Frequently asked questions
Can you solder enamelled wire without removing the enamel?
Only if the enamel is a solderable type, usually polyurethane based. Its coating breaks down in molten solder at a high iron temperature, so the wire strips and tins in one step. High-temperature enamels such as polyester-imide or polyamide-imide do not; they must be scraped, sanded or chemically stripped first, or the solder will sit on the coating.
What temperature should I use for solderable enamel wire?
Solder-stripping typically needs a higher setpoint than normal board work, often around 370 °C to 420 °C, because the enamel must break down as well as the solder melting. The wire's datasheet usually gives a solderability temperature. Once the end is tinned, drop back to a normal setting for the pad joint itself.
Why won't solder stick to my magnet wire?
The coating is still there. Either the enamel is a high-temperature type that will not strip in solder, or the iron was not hot enough. Scrape a few millimeters back with a blade or fine abrasive until bright copper shows all round, then tin it straight away with fresh flux before the copper oxidises.
How do I stop fine enamelled wire breaking at the pad?
Keep the tinned length short, leave a gentle arc between the coil and the pad, and glue the lead to the board or bobbin so vibration and handling stop at the glue rather than the joint. Fine wire also breaks where it has been nicked, so scrape gently and never pull the wire tight across an edge.
Is enamelled wire good for PCB jumper or bodge wires?
Yes, fine solderable enamelled wire is a popular choice for bodge wires because the enamel insulates it along its length while the ends strip in the solder. Route it flat, tack it down with a little glue or tape, and keep it away from hot parts. Check each end with continuity afterwards.