HOW-TO GUIDE
How to Test a Fuse Without Removing It
By the OhmSavvy Research Team ·
This method requires a live, energized circuit
The underlying principle
A good fuse has extremely low resistance, so when current flows through it, the voltage dropped across its two terminals is nearly zero. A blown fuse is an open circuit, so if something downstream is still trying to draw current, the full supply voltage appears across that open gap instead — the same principle used to test for a voltage drop across any switch or contact that should be passing current.
What this method requires
The circuit must be powered and something downstream must actually be switched on or trying to draw current — a fuse protecting a device that's off won't show the voltage difference this test relies on. You also need safe, direct access to both terminals of the fuse itself, which is easiest on blade-style fuses in an accessible holder or panel.
Where to probe, by fuse type
The principle is identical across fuse styles; only the physical probing point changes. Most automotive blade fuses have two small exposed metal test points on their top face for exactly this purpose, so you can probe them without pulling anything.
Blade fuse
Two flat prongs on the top face are the terminals — easiest style to probe directly.
Glass tube / cartridge
Metal end caps are the terminals, sometimes recessed into a holder clip.
Bolt-down / high-current
Terminals are the bolted lugs themselves — probe each lug, not the fuse body.
The fuse inside a UK three-pin plug is a different case: it can only be reached with the plug unplugged and opened. See how to test a 13 amp plug fuse with a multimeter.
1Switch the protected circuit on
Turn on whatever the fuse feeds: the ignition and the dead accessory in a car, or the device's power switch on a piece of equipment. Without a load trying to draw current there's no voltage to see across an open fuse, and the test reads nothing in either case.
2Set the meter for the circuit
Choose DC volts for a vehicle, a battery system or a low-voltage power supply, and AC volts for mains equipment. On a manual-ranging meter, pick a range above the supply voltage (20V for a 12V car). Check the leads are in the COM and V jacks, not the amps jack.
3Probe across the fuse itself
Put one probe on each terminal or test point of the same fuse, not from the fuse to the chassis and not across the whole circuit. Hold both tips steady for a second and read the display.
4Confirm with the to-ground check
If the reading is ambiguous, move the black probe to a known ground and touch the red probe to each side of the fuse in turn. That second view takes about ten seconds and catches the case where the load was quietly off, which is described in detail below.
Reading the result
| Reading | Fuse condition |
|---|---|
| Near 0V | Fuse is intact and passing current normally |
| Full supply voltage (e.g. ~12V, ~120V, ~230V) | Fuse is blown — open circuit, no current passing |
| No meaningful reading either way | Downstream circuit may not be drawing current — confirm the load is actually switched on |
The to-ground check when the load is off
Measuring across the fuse only works while current is trying to flow. When the load can't be switched on, for example because the component you suspect is the very thing that died, use ground as your reference instead. With the black probe on a clean chassis ground or the battery negative, a healthy fuse shows supply voltage on both of its terminals, because the intact element connects them. A blown fuse shows supply voltage on the input side and roughly 0V on the output side. No voltage on either side means the fuse never received power, so the fault is further upstream: an ignition-switched feed that's off, a relay, or a main fusible link. Our guide to car fuses with power on one side only walks through that last pattern.
Worked example: a car fuse box
Say the 12V accessory socket is dead and the battery reads 12.6V at rest. The table shows the readings you'd expect for each fuse condition. These are illustrative values for a typical 12V car, not measurements from a specific vehicle.
| Check | Fuse good (illustrative) | Fuse blown (illustrative) |
|---|---|---|
| Across the fuse, load on | A few mV, close to 0V | About 12.6V |
| Input side to ground | About 12.6V | About 12.6V |
| Output side to ground | About 12.6V | About 0V |
| Across the fuse, load off | 0V | 0V or a small floating reading |
The last row is the trap: with nothing drawing current, a blown fuse can look identical to a good one when you measure straight across it. The middle two rows don't have that weakness, which is why the to-ground check is the better habit in a car. If a replacement fuse blows again as soon as the circuit is switched on, stop swapping fuses and look for the short; see why a car keeps blowing fuses.
When to use the standard removed-fuse method instead
Which meter to use
Live testing is where the meter's safety rating matters more than its feature list. For car and low-voltage DC work almost any meter is fine; for anything connected to mains, use one with at least a CAT III 600V rating and leads in good condition.
Meters from our reviews

Hands-on tested. CAT III 600V and built-in non-contact voltage detection.

Automotive meter with CAT III 600V for fuse-box checks around the car.
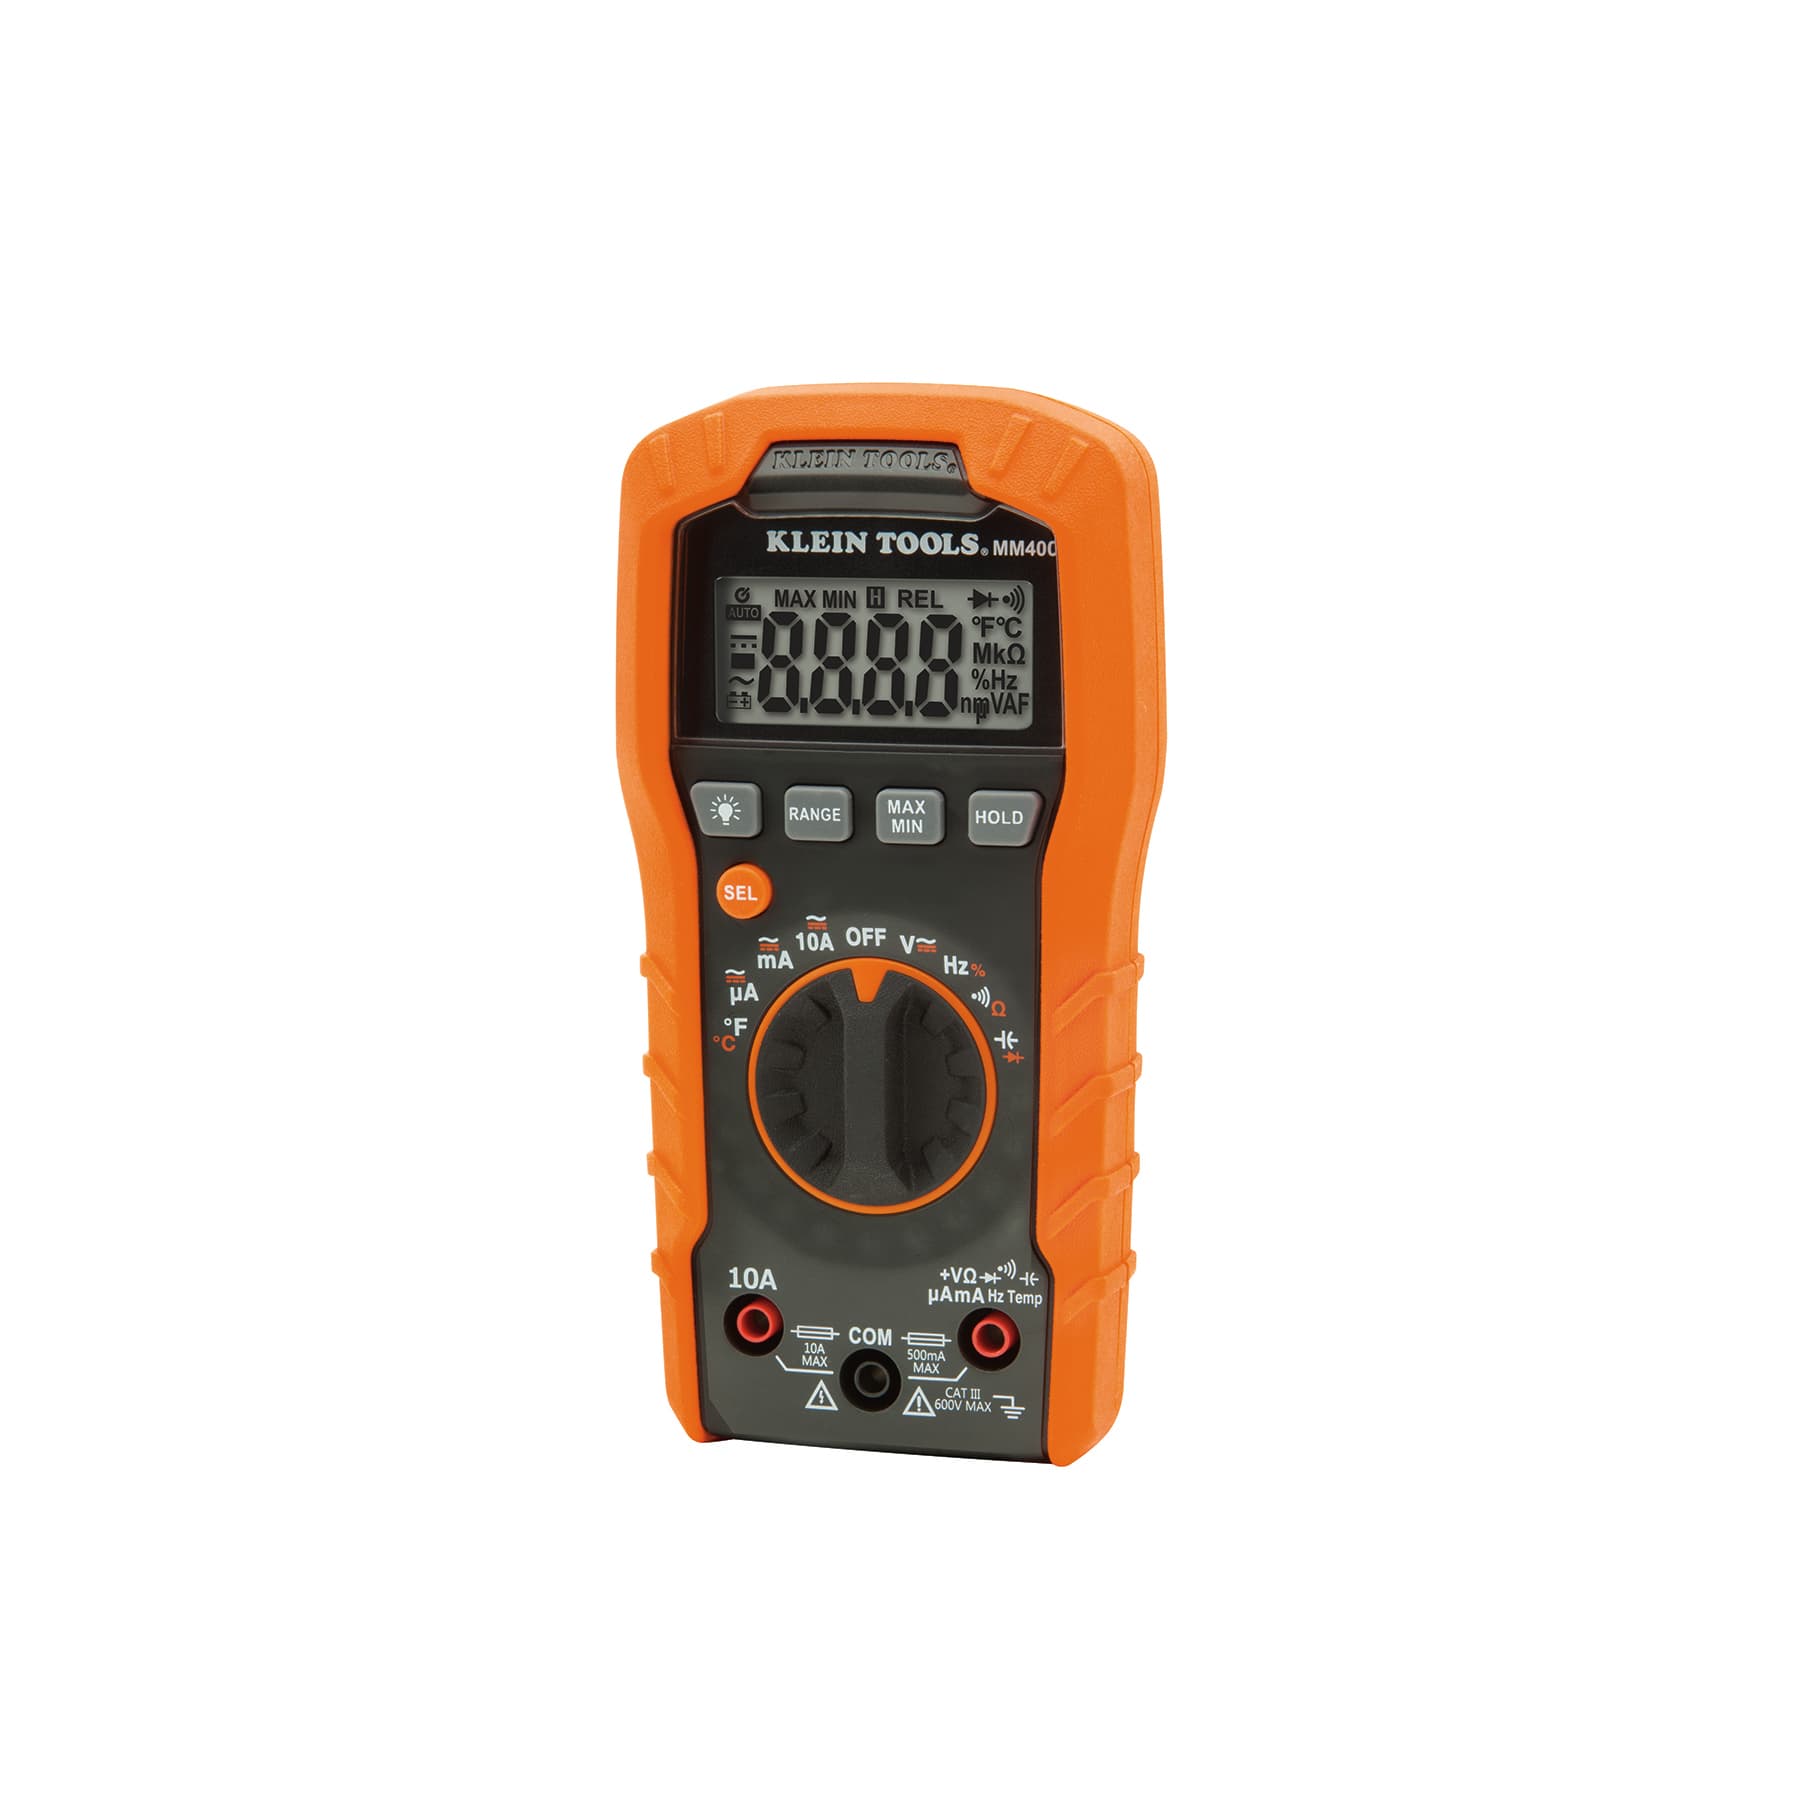
CAT III 600V, auto-ranging and drop-rated to 1 m. Discontinued by Klein.
As an Amazon Associate I earn from qualifying purchases. Prices and availability are shown on Amazon.
Frequently asked questions
Why do I need something switched on for this test to work?
Voltage only appears across an open component (like a blown fuse) when current is trying to flow through it from both sides — if nothing downstream is attempting to draw power, you may see no meaningful voltage reading regardless of the fuse's actual condition. Make sure the circuit or device the fuse protects is switched on or actively trying to operate before testing.
Is this method safe to use on household mains circuits?
It requires working on a live circuit, which carries real risk and should only be done with a meter rated for the voltage and category involved, and with appropriate caution. For low-voltage automotive or electronics fuses this is routine and low-risk; for mains-voltage fuse boxes, many people are better served by switching off power and using the standard removed-fuse continuity test instead.
Can a fuse look fine but still be blown?
Yes — a visual check isn't always reliable. Some blown fuses show an obviously broken element, but others fail in ways that aren't visible through the fuse body, especially with darker or less transparent fuse housings. A voltage or continuity test is more definitive than a visual inspection alone.
What if I read 0V across the fuse but the circuit still doesn't work?
A near-0V reading across the fuse indicates the fuse itself is passing current normally, so the fault lies elsewhere in the circuit — a different connector, switch, ground, or component. This test only rules the fuse in or out; it doesn't diagnose the rest of the circuit.
Can I probe a glass tube fuse the same way as a blade fuse?
Yes, as long as you can reach the two metal end caps safely — the principle doesn't change, only where you physically place the probes. On a blade fuse the two flat prongs are the terminals; on a glass tube or cartridge fuse it's the metal caps at each end, often recessed slightly into a holder, which can make a confident, non-slipping probe contact a bit fiddlier than on exposed blade prongs.


