HOW-TO GUIDE
How to Measure Milliamps With a Multimeter
By the OhmSavvy Research Team ·
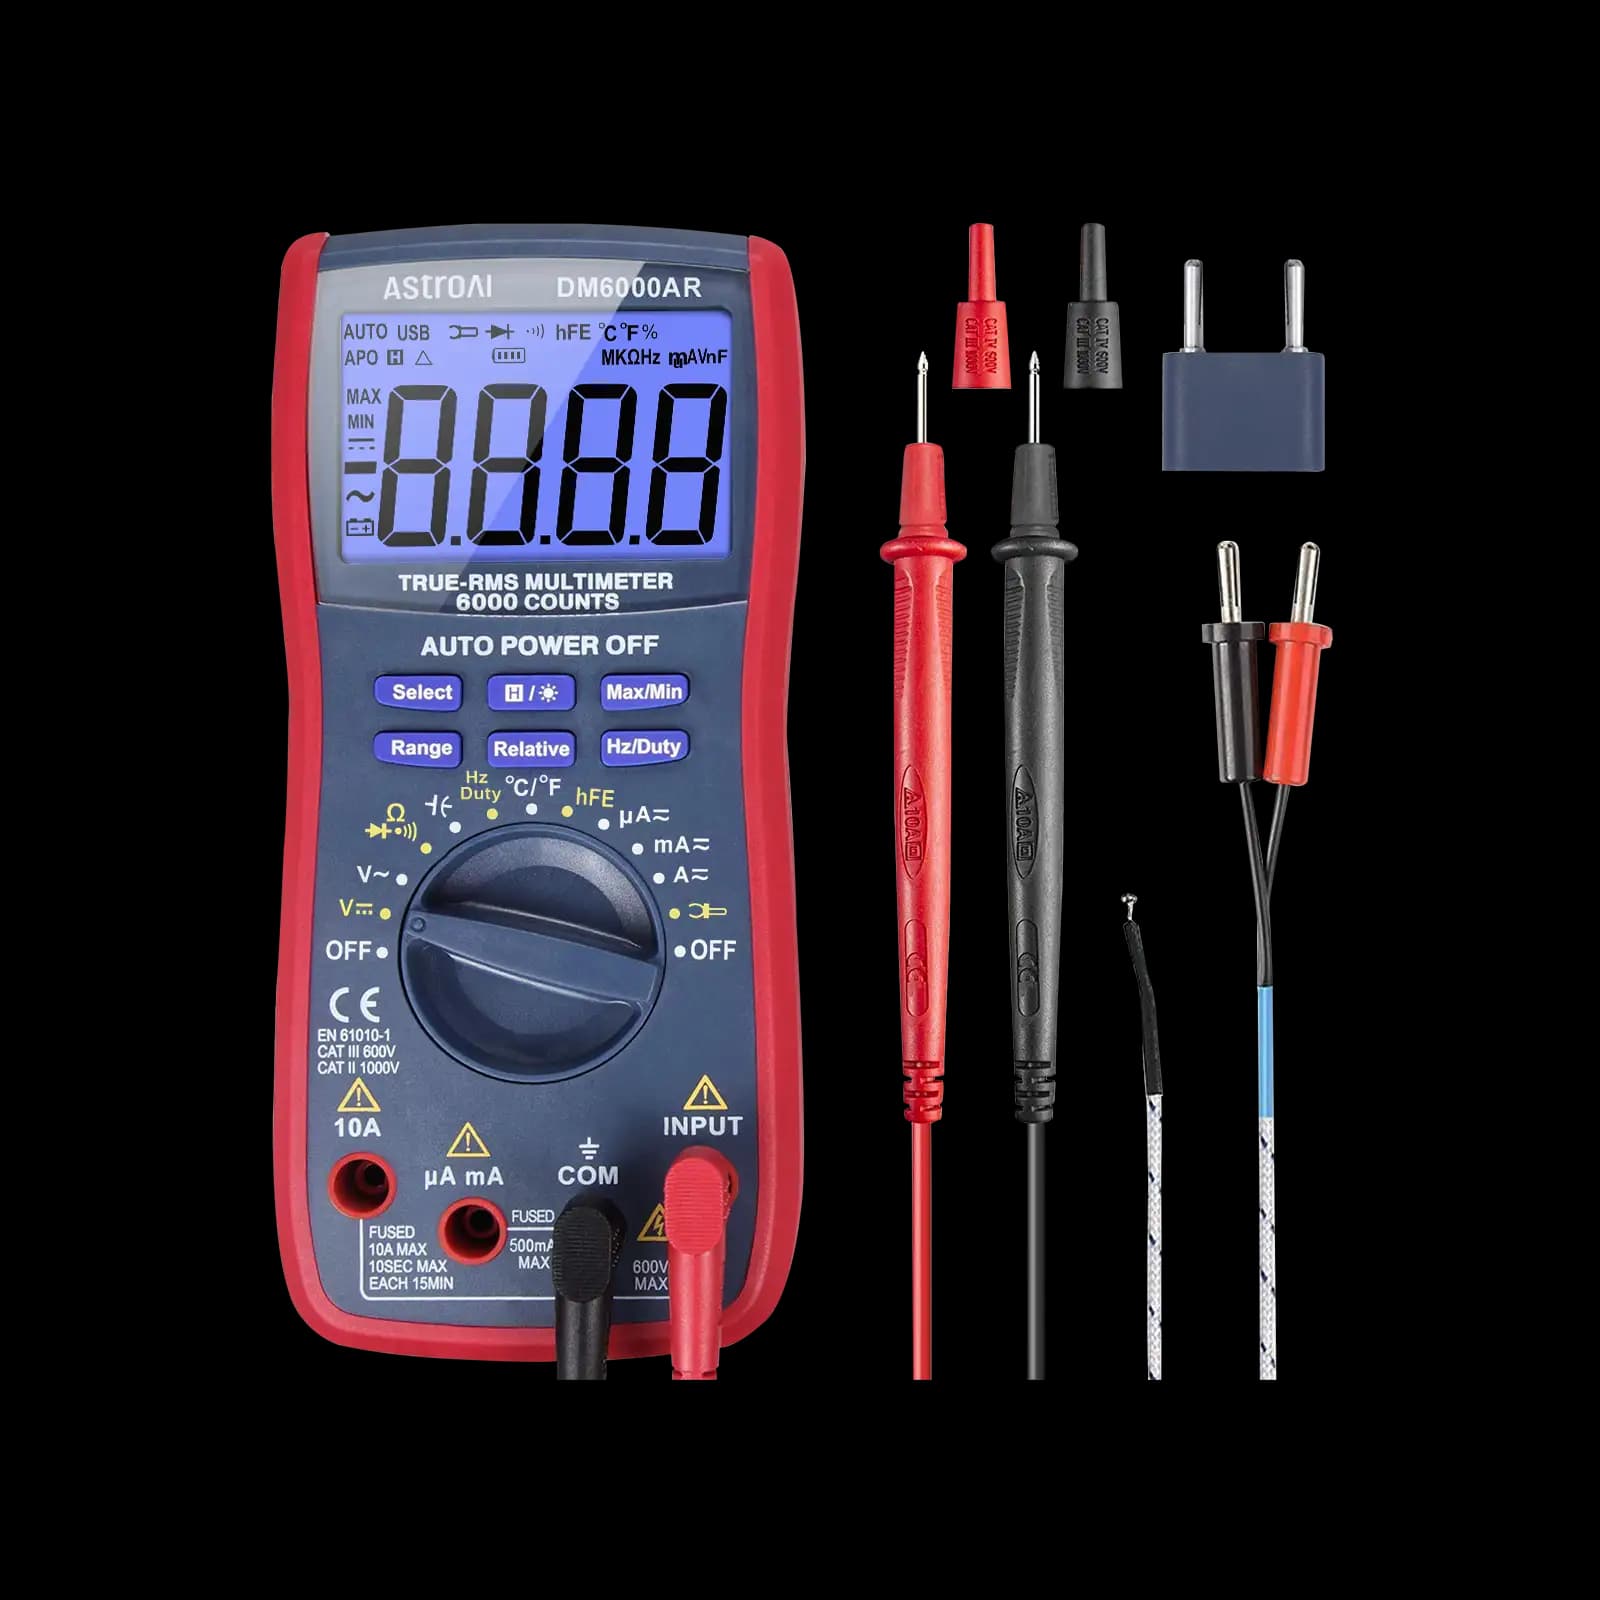
Safety first: current mode is a near short circuit
- In current mode the meter has a very low resistance between its leads. Touching the probes across a battery, a power supply output or any other voltage source shorts it through the meter. At best that blows the fuse; with a large battery and no fuse it can damage the meter and cause burns.
- Only open and probe circuits that are low-voltage DC, such as battery-powered projects, microcontroller boards and bench-supply experiments. Inserting a meter in series with a mains circuit is not a beginner job; use a clamp meter or an electrician instead.
- When you finish, move the red lead back to the V/Ω jack straight away so your next voltage check does not short anything out.
1Find the mA and A jacks on your meter
Most digital multimeters have three or four input jacks. The black lead always stays in COM. For voltage and resistance the red lead goes in the V/Ω jack, but current uses one of the separate current jacks, each with its own fuse inside the meter. The maximum current and fuse rating are usually printed next to each jack.
COM
Common, the black lead. It stays here for every measurement.
V Ω
Voltage, resistance and continuity. Never use it for current.
mA (or µA/mA)
Small currents, typically up to a few hundred milliamps. Protected by a lower-rated fuse.
A (often 10 A)
Large or unknown currents. Higher-rated fuse, and many meters limit how long you can measure at full current.
Dial
Set it to the current range that matches the jack, and to DC for battery and electronics work.
Not all meters
Some compact meters have one shared current jack or none at all. Check your manual.
| Range / jack | Typical use | What to watch |
|---|---|---|
| µA (where fitted) | Sleep and standby current of sensors and microcontrollers | Often shares the mA jack; check the manual |
| mA | LEDs, small boards, relays, small loads | Exceeding the marked maximum blows its fuse |
| 10 A (or A) | Motors, lamps, car circuits, any unknown current | Lower resolution; time limits at high current on many meters |
2Power down and break the circuit
A voltmeter reads the difference between two points on a working circuit, but an ammeter has to count every bit of charge passing one point. The only way to do that is to make the current flow through the meter, which means opening the circuit and letting the meter bridge the gap.
Switch off or disconnect the power first. Then choose a break point: unplug a battery lead, lift one leg of a resistor, remove a jumper wire on a breadboard, or disconnect the supply wire to the load. Any point in a simple series loop carries the same current, so pick whichever is easiest to reach. In a circuit with branches, break the specific branch you want to measure.
3Connect the meter in series
Put the red lead in the mA jack and the black lead in COM. Connect the red probe to the side of the break that leads back to the positive supply, and the black probe to the side that leads on to the load. The meter now forms part of the wire. If you reverse them, a digital meter simply shows a minus sign; nothing is damaged.
Use alligator clips or clip-on probe tips if you can. Holding two probes against a circuit by hand for a minute is awkward, and a slipping probe briefly opens the circuit, which can reset a microcontroller and change what you are trying to measure.
4Start on the highest range, then step down
If you do not know roughly how much current the circuit draws, start with the red lead in the 10 A jack and the dial on the A range. Power the circuit and read the value. If it is comfortably below the maximum marked on the mA jack, switch the power off, move the red lead to the mA jack, select the mA range and power up again.
Always move the lead with the power off. Changing jacks or ranges on a live circuit momentarily breaks the current path and can make the probes spark or slip, and pushing a large current into the mA jack even briefly can blow its fuse. Auto-ranging meters still need you to choose the correct jack; they only pick the decimal point within that jack's range.
Why not just stay on 10 A?
5Read the display and convert mA to A
Back to the example circuit: a 5 V supply driving a 250 Ω resistor. The prediction is 20 mA, and the same current shows very differently on the two ranges.
To convert, remember that 1 A = 1,000 mA and 1 mA = 1,000 µA. Divide milliamps by 1,000 to get amps; multiply amps by 1,000 to get milliamps.
| Reading | Conversion | Result |
|---|---|---|
| 20 mA | 20 ÷ 1,000 | 0.02 A |
| 250 mA | 250 ÷ 1,000 | 0.25 A |
| 0.045 A | 0.045 × 1,000 | 45 mA |
| 850 µA | 850 ÷ 1,000 | 0.85 mA |
| 1.2 A | 1.2 × 1,000 | 1,200 mA |
In practice the meter will rarely show exactly 20.0. Resistors have a tolerance (often ±1% or ±5%), the supply is never exactly 5 V, and the meter itself drops a small voltage across its internal shunt resistor, known as burden voltage. On a 5 V circuit that drop barely matters; on a 3.3 V or lower circuit drawing tens of milliamps it can noticeably reduce the current. If the reading looks a little low, that is a likely reason. Also check the resistor's power rating: 5 V × 0.02 A = 0.1 W, so a common 1/4 W resistor is fine here.
How the fuses protect your meter
Inside the meter, current flows through a very low-value shunt resistor and the meter measures the tiny voltage across it. That shunt can only handle so much, so each current jack has its own fuse. The mA fuse is a lower rating than the 10 A fuse, which is why the mA jack is the one people blow most often.
- Replace like for like. Use the exact current rating, voltage rating and fuse type listed in the manual. Quality meters use high breaking-capacity fuses that can safely interrupt a fault; a cheap glass fuse of the same amp rating is not equivalent.
- A blown fuse is a symptom. It usually means the meter was connected across a voltage source, or the current was higher than the jack allows. Work out which before you try again.
- Respect time limits. Many meters allow full-scale current on the 10 A jack only for a short time followed by a cool-down period. The manual gives the figures for your model.
Common mistakes when measuring milliamps
- Probing across a battery in mA mode. This is the classic fuse-killer. The meter is a near short, so the battery dumps current through it. Current is always measured in series, never across a voltage source.
- Forgetting to move the lead back. Leave the red lead in the mA jack, then try to check a battery voltage, and you short the battery through the meter. Make returning the lead to V/Ω a habit.
- Wrong dial setting. The lead is in the mA jack but the dial is on V or on AC. You get zero, nonsense, or a blown fuse depending on the meter.
- Measuring the wrong branch. In a circuit with parallel paths, breaking the main supply wire gives the total, not the current in one LED or one module.
- Ignoring start-up surges. Motors, capacitors and some boards draw a brief surge when powered. If that surge can exceed the mA rating, start on the 10 A jack even if the steady current is small.
Which meter to use for milliamp measurements
Almost any digital multimeter with a fused current input can measure milliamps; check the manual for the ranges and fuse ratings before you buy or before you measure. For electronics work, a higher display count helps you read small currents with more digits. The meters below are from our best multimeters roundup, and the multimeter buying guide explains display counts, True RMS and CAT ratings. Measuring battery drain on a car is the same idea at a larger scale; see how to measure parasitic battery drain.
Meters in our reviews
True RMS, 6,000-count, auto-ranging. Our pick for low-voltage microcontroller and electronics projects.
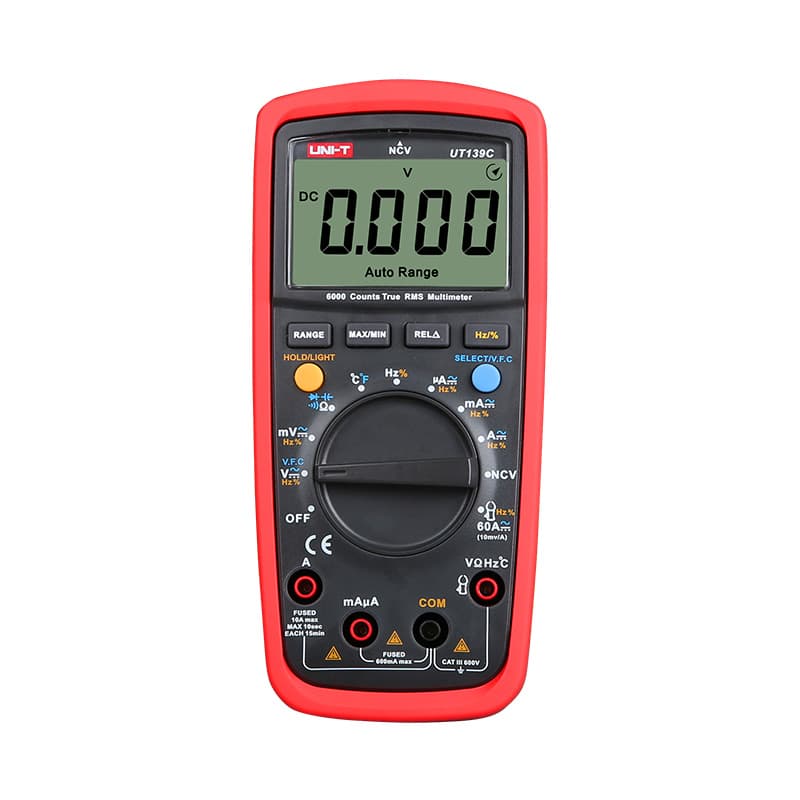
True RMS and auto-ranging with a 6,000-count display and a CAT III 600V rating, at a budget price.

True RMS, auto-ranging, CAT III 600V. The 117's reliability without NCV or LoZ, for field and electronics work.
As an Amazon Associate I earn from qualifying purchases. Prices and availability are shown on Amazon.
Frequently asked questions
Can I measure milliamps on the 10 A setting?
Yes, and it is the safe way to start when you do not know the current. The catch is resolution: on many meters the 10 A range only shows hundredths of an amp, so 20 mA appears as 0.02 A and smaller currents may read zero. Once you know the current is within the mA rating, move to the mA jack for a finer reading.
Why does my multimeter read zero when measuring current?
The most common causes are a blown mA fuse, the red lead still in the voltage jack, the dial on the wrong current range or on AC instead of DC, or the meter connected across the circuit instead of in series. Check that the circuit is actually switched on, then test the fuse as your manual describes.
How do I know if the mA fuse in my multimeter is blown?
A blown mA fuse usually shows up as a steady zero on the mA range while the 10 A range still reads current on the same circuit. Many manuals describe a quick check using the resistance range and the jacks. Otherwise open the case with the leads removed and test the fuse for continuity. Replace it only with the exact type and rating listed.
How many milliamps are in an amp?
There are 1,000 milliamps in one amp, so divide milliamps by 1,000 to get amps and multiply amps by 1,000 to get milliamps. For example, 250 mA is 0.25 A and 0.045 A is 45 mA. One milliamp is also 1,000 microamps, which matters on meters that have a separate µA range.
Do I need a True RMS meter to measure milliamps?
Not for steady DC current, which is what most hobby and battery-powered circuits draw. True RMS matters when you measure AC current that is not a clean sine wave, such as current drawn by switching supplies or motor drives. For mA readings on DC circuits, any meter with a fused mA range does the job.


