HOW-TO GUIDE
How to Fix a Cold Solder Joint on a Circuit Board
By the OhmSavvy Research Team ·

Unpowered board, hot tip, ventilated bench
- Unplug the device and remove the battery. Discharge large capacitors on power boards before touching them.
- Return the iron to its stand between joints and keep flux smoke away from your face.
- Wash your hands after handling leaded solder, and keep food and drink off the bench.
What a cold solder joint is
A sound joint forms when molten solder wets both surfaces and bonds to them. In a cold joint that never fully happened: one surface was not hot or clean enough, or the parts moved as the solder set. It may still hold the part, yet electrically it is a weak or intermittent contact.
How to spot a cold solder joint
Dull and grainy
A rough, frosted surface on leaded solder, a sign it was disturbed or underheated while freezing.
Balled or convex
A rounded blob with steep sides that meets the pad at a sharp angle instead of blending into it.
Cracked ring
A fine dark circle around the lead, typical of fatigue on jacks and heavy parts.
Other clues: bare copper at the pad edge, a lead that wiggles in its solder, and faults that come and go when you press the board.
What causes cold solder joints
| Cause | What happened | Prevention |
|---|---|---|
| Not enough heat | Tip too small or cool for the pad or a ground plane | Larger tip, heat the pad and lead together |
| Movement while cooling | The lead or wire shifted as the solder froze | Clamp the board, hold still for a few seconds |
| Oxide or dirt | Old parts, tarnished pads, fingerprints | Clean, then add fresh flux |
| Flux burnt off | Solder melted on the tip and carried to the joint | Feed solder onto the joint, not the tip |
| Dirty or dry tip | Oxidised tip transfers heat poorly | Clean and re-tin the tip |
If solder rolls into a bead and refuses to spread, the root cause is wetting, covered in why solder beads up instead of flowing. A blackened tip is its own problem; see soldering iron tip care.
1Reflow the cold joint with flux
- Clean the joint with isopropyl alcohol and a stiff brush to remove old flux and grime.
- Apply a small amount of liquid or paste flux directly to the joint.
- Wipe the tip, add a tiny bead of fresh solder, and place it so it touches pad and lead at once.
- Wait until the whole joint goes liquid and visibly slumps into the pad, usually two to four seconds.
- If the fillet looks thin, feed a little fresh solder into the joint, away from the tip.
- Lift the iron straight off and keep the board and lead still until the solder sets.
01
Clean
Alcohol and brush
02
Flux
Fresh, on the joint
03
Heat
Pad and lead together
04
Top up
Only if starved
05
Hold still
Until it freezes
2When to remove the old solder first
Reflowing alone is not always enough. Remove the old solder with wick or a pump, then remake the joint, when the joint is a large blob bridging toward a neighbor, when the solder is dark and contaminated after many reworks, when a fatigue crack has opened right round the lead, or when you are switching between leaded and lead-free alloys. A clean pad and fresh solder give a predictable result where a repeatedly reheated joint may not. The desoldering guide covers the methods.
Lead-free vs leaded cold joints
Most factory boards made in recent years use lead-free solder, which melts at about 217 °C to 220 °C for common tin-silver-copper alloys, versus 183 °C for eutectic 63/37 leaded solder. Lead-free needs a hotter setpoint and sets with a duller finish, so do not mistake a sound lead-free joint for a cold one. The 60/40 vs 63/37 comparison explains why a eutectic alloy freezes more cleanly.
Judge the shape, not the shine
Inspect the joint with magnification
A 10x loupe or a low-power USB microscope shows what the eye misses. Light the board from a low angle and rotate it: cracks show as a thin dark line, and a non-wetted edge as a step where solder meets pad. Check neighboring joints too; cold joints rarely come alone on a heat-cycled board.
Test the repaired joint
With the board unpowered, measure continuity from the lead to the trace it should reach, and confirm no short to neighboring pads. Press gently on the part while watching the reading. A good repair stays steady; a flickering beep points to another bad joint, which our page on intermittent continuity beeps helps diagnose. Finally, power the device and repeat whatever used to trigger the fault.
Soldering irons for rework
Temperature control matters more than raw wattage for reflowing: a station that holds its setpoint on a cold pad avoids the very condition that makes cold joints.
Irons from our soldering reviews
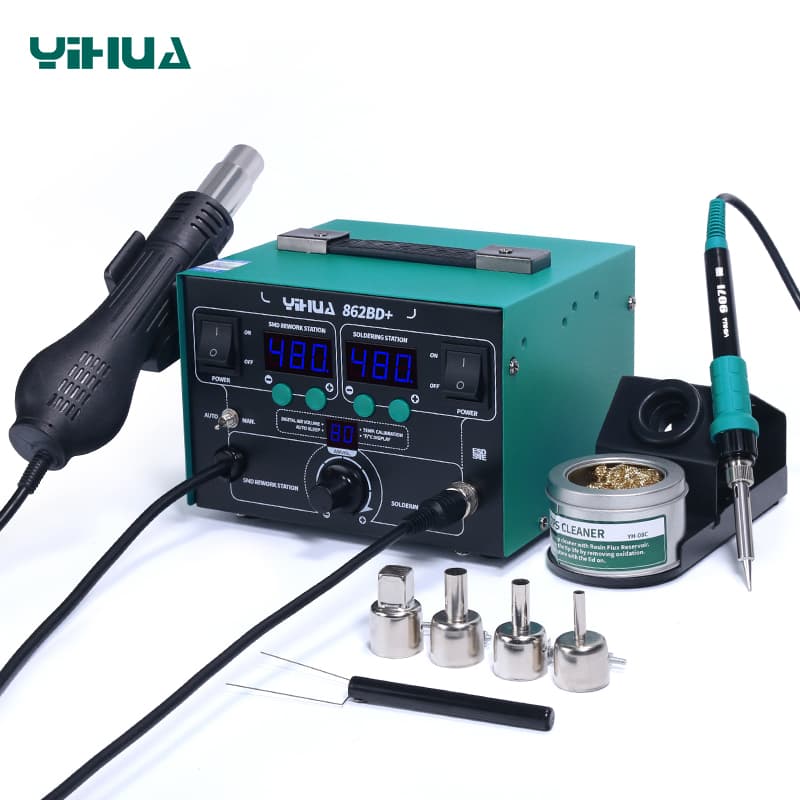
100W station driving the FX-8801 handpiece, with digital 50–480°C control and five presets for repeatable reflow temperatures.
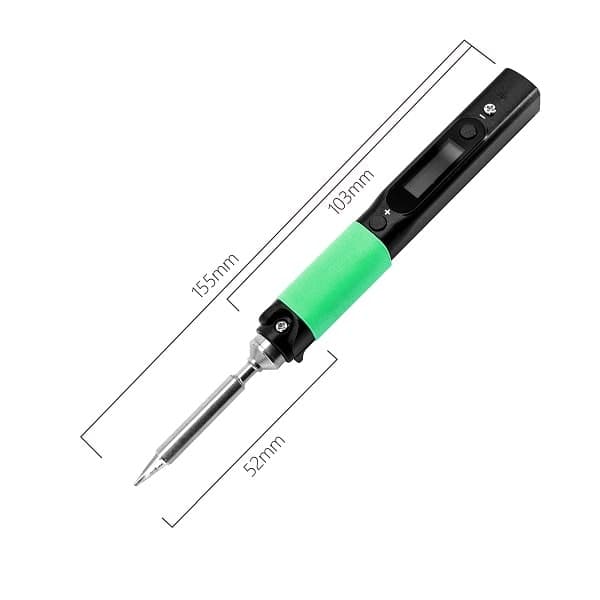
USB-C PD powered, about 12 s heat-up, OLED display. Portable for field repairs.
As an Amazon Associate I earn from qualifying purchases. Prices and availability are shown on Amazon.
Frequently asked questions
Can a cold solder joint work and then fail later?
Yes, and that is what makes them troublesome. A poorly wetted joint may conduct while the board is cool and still, then open up as it warms, vibrates or flexes. That produces intermittent faults: sound cutting out, a display flickering, or a device that only works when pressed. Reflowing the joint usually ends the problem.
Can I fix a cold solder joint without adding more solder?
Often, yes. If the joint already has enough solder and is only dull or slightly cracked, fresh flux and a few seconds of heat are frequently all it needs: the old solder melts, wets the pad and lead, and sets as a proper fillet. Add solder only if the fillet is starved or bare copper shows.
Is a dull solder joint always a cold joint?
No. Lead-free alloys normally set with a matte, slightly frosted finish even when the joint is sound. Judge the shape instead: a good joint, leaded or lead-free, has smooth concave sides that blend into the pad and lead. A cold joint looks lumpy or balled, often with a visible ring or gap where it failed to wet.
What temperature should I use to reflow a cold joint?
Typically the same as making a new joint: about 320 °C to 350 °C for leaded solder and 340 °C to 370 °C for lead-free, adjusted for the size of the pad. If solder is slow to melt, use a larger tip before raising the setting. The aim is a fully liquid joint within two to four seconds.
Why do cold joints keep appearing on the same connector?
Parts that are pushed, pulled or heated in use, such as power jacks, USB sockets and large capacitors, stress their joints every cycle, and fatigue cracks the solder ring around the pin. Reflow with fresh flux and enough solder for a full fillet, and make sure mounting tabs or screws carry the mechanical load.