HOW-TO GUIDE
How to Solder a Wire to a Small Surface Mount Pad
By the OhmSavvy Research Team ·
Why SMD pads tear so easily
A through-hole joint is anchored by a plated barrel that runs through the board. A surface pad has nothing like that: it is a patch of copper foil bonded to the laminate, connected only by its trace. Heat weakens that bond, and a wire acts as a lever. Pull sideways on a freshly soldered wire, or let it flex every time the board moves, and the pad peels up with the wire still attached. That is why this job differs from soldering a wire into a through hole, where the hole takes most of the mechanical load.
Common targets and how to approach them
Where you land the wire changes how much room you have. Sizes below are the standard imperial package outlines; check the actual board, since pad shapes vary by designer. If the trace itself is broken rather than just needing a new connection, our guide to repairing a PCB trace with jumper wire covers exposing copper and bridging gaps.
| Target | Typical size | Approach |
|---|---|---|
| Test point pad | Round, often 1mm or more | Easiest; lay wire across the center |
| 0805 end | Part 2.0 x 1.25mm | Land on the solder fillet at the end cap |
| 0603 end | Part 1.6 x 0.8mm | Tin wire very thinly; approach from the end |
| 0402 end | Part 1.0 x 0.5mm | Magnification needed; tiny solder only |
| SOIC pin | 1.27mm pitch | Solder to the pin foot, not between pins |
| TSSOP pin | 0.65mm pitch | Finest wire; mask neighbors with Kapton |
1Pick a thin insulated wire
Use solid-core insulated wire around 30 AWG; Kynar wire-wrap wire is popular because its jacket shrugs off a brief brush with the tip and strips cleanly. Heavier hookup wire is too stiff and too heavy for a pad this small, and stranded wire splays. Strip only about the length of the pad, often 1-2mm. Enamelled wire is a separate technique with its own stripping problem, covered in our guide to soldering magnet wire.
2Fit a fine tip and set the heat
A fine conical or small bevel tip lets you touch the pad without also heating its neighbors. A typical starting point is around 300-340°C for leaded solder and a little higher for lead-free. The target is a joint that wets in about a second; if it takes much longer, add flux or nudge the setpoint rather than holding the tip on the pad, since prolonged heat is what loosens the copper.
3Tin the pad and the wire end separately
Flux the stripped wire end and give it a thin, even coat of solder. Then flux the pad and leave a small domed layer of solder on it. If the target is the end of a component, the existing fillet is usually enough; just refresh it with flux. With both surfaces already tinned, the final joint needs no fresh solder at all, which keeps your hands free to hold the wire.
01
Strip
About pad length
02
Tin wire
Thin, even coat
03
Tin pad
Flux, small dome
04
Tack
One touch, ~1 s
05
Anchor
Glue or Kapton
4Tack the wire in one touch
Route the wire so it already lies flat in its final position, held by tape or a helping hand. Add a touch of flux, set the tinned end along the pad, and press the tip down on the wire for a moment. Both solder layers melt together; lift the iron and keep the wire still until the joint dulls slightly as it freezes. If it did not flow, let it cool and retry rather than hovering the tip.
5Anchor the wire before anything else
The joint is electrical; the anchor is mechanical
6Check for shorts and continuity
Clean away the flux, then inspect under magnification for solder that has crept onto an adjacent pad or pin. With the board unpowered, measure from the wire to the net it should join somewhere else on the board, then from the wire to each neighboring pin to confirm there is no connection.
Troubleshooting
| Symptom | Likely cause | Fix |
|---|---|---|
| Solder balls on the wire, pad stays dry | Pad not tinned or flux burned off | Flux and tin the pad on its own first |
| Pad lifts as the wire is moved | Heat weakened the bond, wire unsupported | Anchor before handling; repair the pad |
| Wire pops off when it cools | Wire moved while freezing | Hold it with tape; reflow once |
| Short to the next pin | Too much solder or stripped too long | Wick lightly; re-strip shorter |
| Insulation shrinks back from joint | Dwell too long or PVC jacket | Shorter touch; use Kynar-type wire |
| Neighboring part shifted | Tip too large, heated both ends | Finer tip, approach from outside |
Safety: power off and protect your eyes
Irons for bodge wires on tiny pads
Small pads lift if you heat them too long, so a responsive iron with a fine tip and a temperature you can dial in precisely makes single-touch tacking much easier.
Irons for small SMD pads
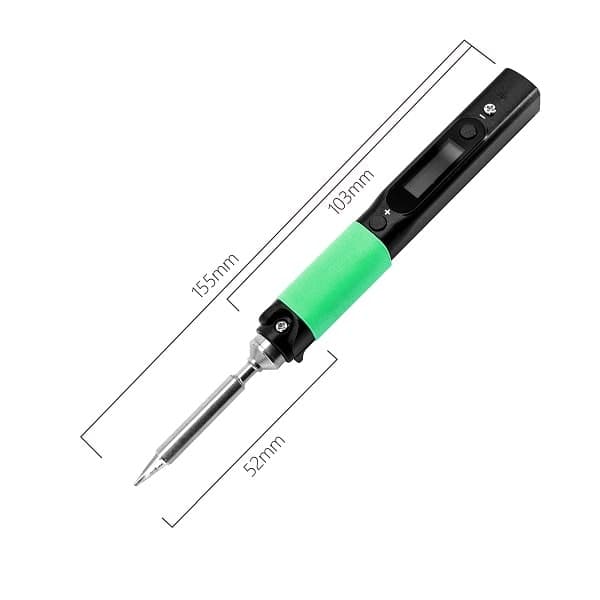
Heats in about 12 s on a 20V+ supply and shows its temperature on an OLED screen, so you can set a modest value for tiny pads.

Miniware lists 50–400°C, motion-sensing sleep and TS100 tip compatibility for a portable fine-work kit.
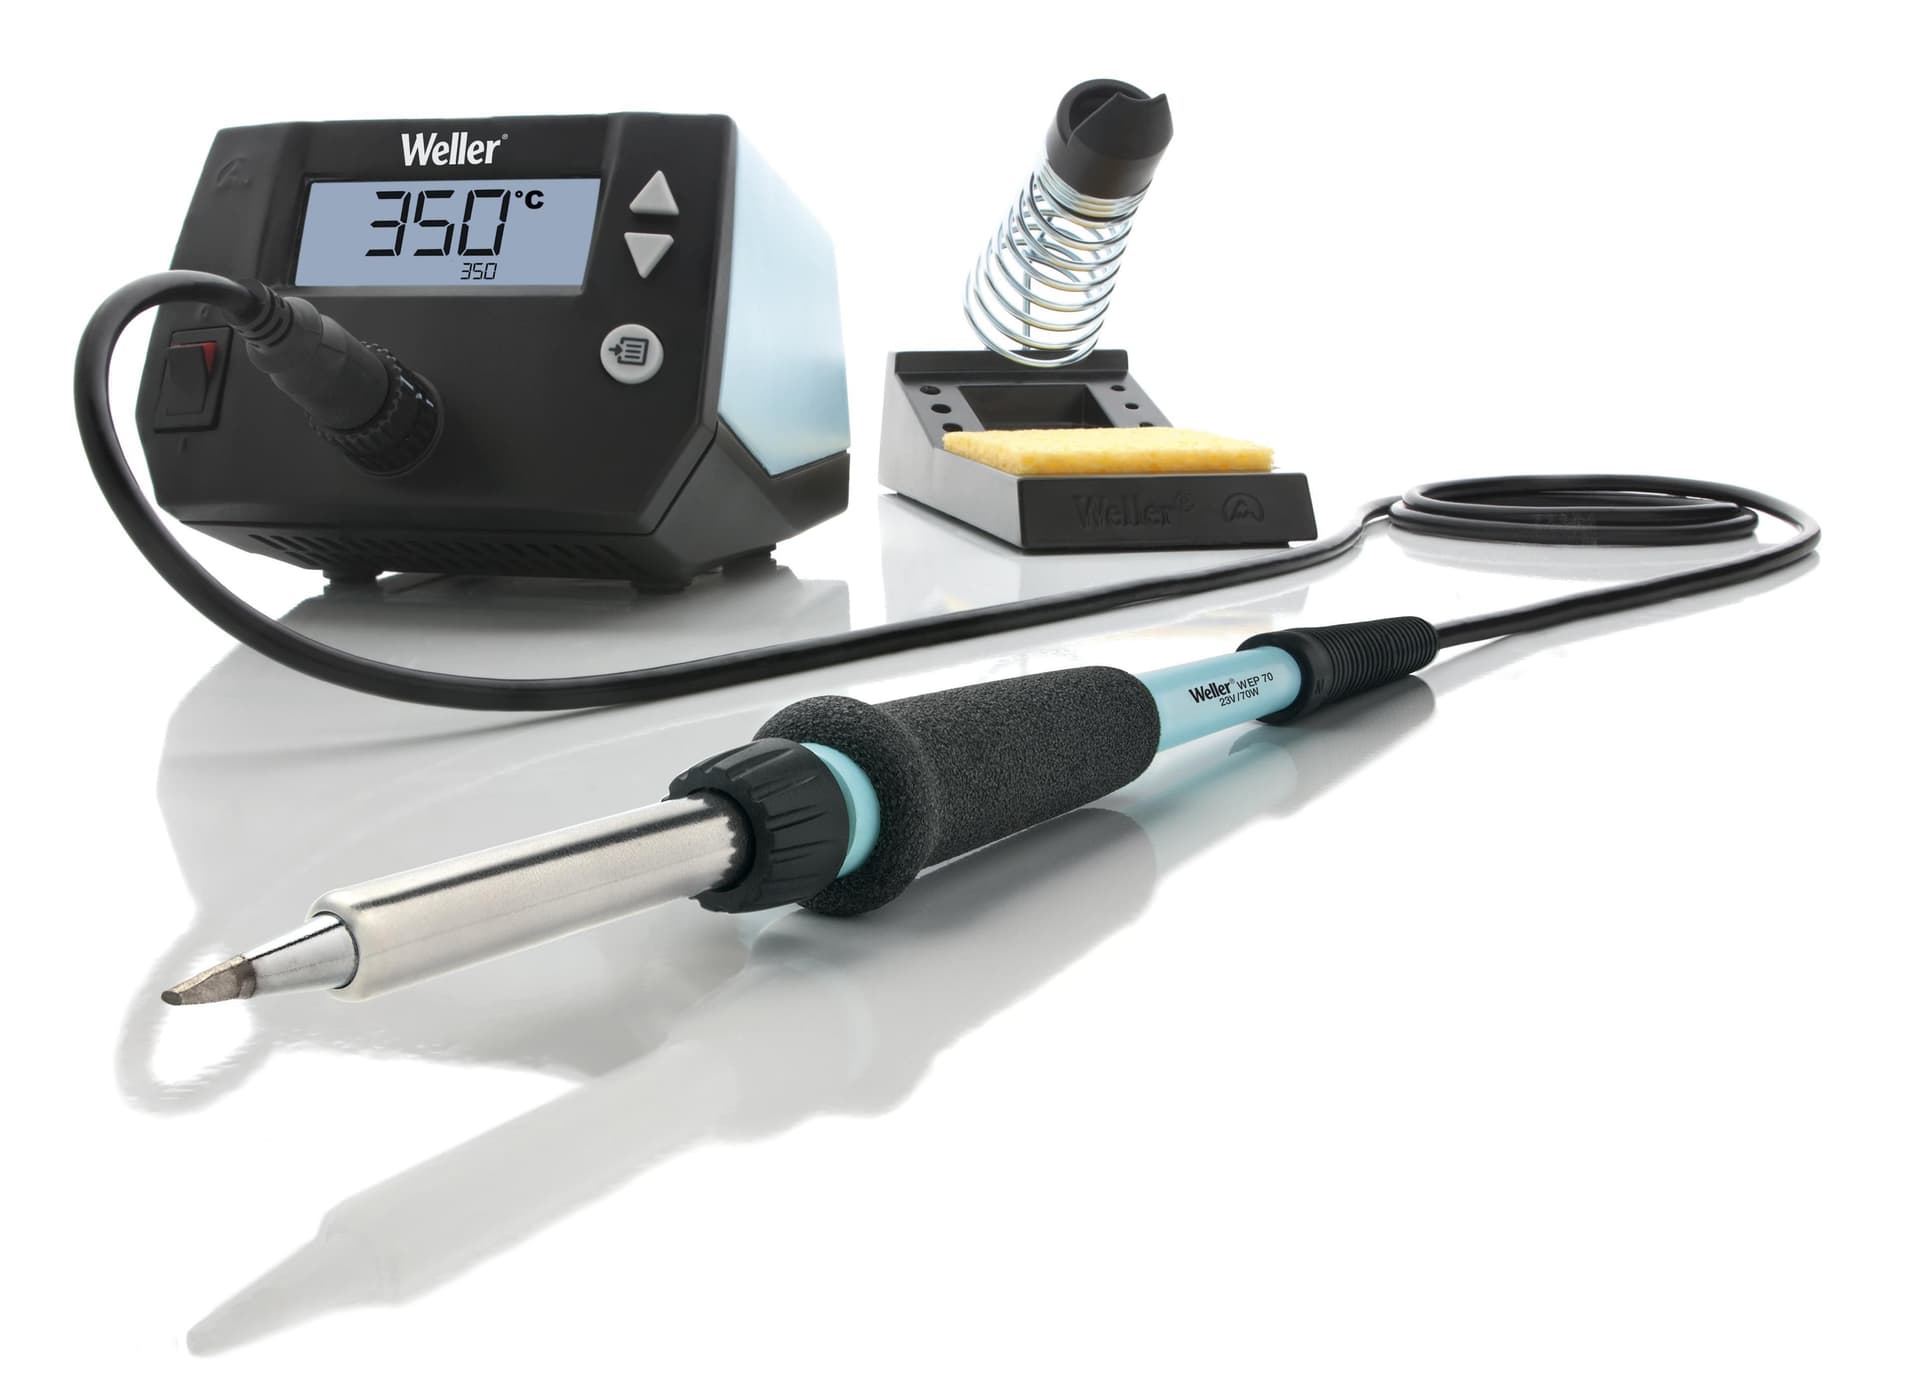
ESD-safe construction protects the chips around the pad while you work a wire onto a test point.
As an Amazon Associate I earn from qualifying purchases. Prices and availability are shown on Amazon.
Frequently asked questions
What wire is best for bodge wires on SMD pads?
Thin single-core insulated wire around 30 AWG, such as Kynar-insulated wire-wrap wire, is the usual choice. It is stiff enough to stay where you route it, light enough not to lever the pad, and its insulation tolerates brief contact with the iron better than soft PVC.
Should the wire run along the pad or end on top of it?
Lay it flat along the long axis of the pad so the tinned end sits on the copper for its full length. A wire that arrives vertically or ends abruptly at the edge concentrates any pull at one corner of the pad, which is where peeling starts.
Can I solder a wire straight onto an IC pin instead of the pad?
Yes, on gull-wing packages such as SOIC or TSSOP the outer bend of the pin is often easier to reach than the pad, and the joint is still electrically identical. Keep the wire very short and anchored, because a pin can be bent or cracked off the package as easily as a pad can lift.
How do I keep the wire from shorting to the neighboring pin?
Strip only as much as the pad is long, tin it thinly so it does not swell, and approach the pad from the side away from its neighbors. Afterwards, check with a meter between the wire and each adjacent pin before power is applied.
Is hot glue good enough as strain relief?
A small dab of hot glue a few millimeters from the joint works for a quick fix or a prototype. For a repair that has to last, Kapton tape over the wire run or UV-curing solder mask or adhesive gives a thinner, tidier anchor that does not soften if the board gets warm.