HOW-TO GUIDE
How to Solder a Broken Wire on a PCB Without Removing the Board
By the OhmSavvy Research Team ·
Isolate the device before the iron goes in
- Unplug mains equipment and wait for supply capacitors to discharge; a mains-powered board can hold a dangerous charge after unplugging. Check with a meter before touching anything.
- Remove lithium cells or disconnect the battery connector. A hot tip touching a cell or its wiring can short it, and a damaged lithium cell can vent or catch fire.
- Ventilate flux smoke, park the iron in its stand, and wash your hands after handling leaded solder.
When an in-place repair makes sense
Wires snapping off a mounted board is a common fault in speakers, game controllers, lamps and battery packs: the lead flexes each time the case opens until the strands fracture at the solder. If the pad is intact and visible, soldering the wire back in place is quicker and less risky than unscrewing the board and unplugging every connector.
This guide covers that in-situ case. If the board is already out and the wire goes through a plated hole, follow how to solder a wire to a small PCB through hole instead. If the copper track itself is cracked rather than the wire, see repairing a PCB trace with jumper wire. A wire that lands on a big ground pour needs more heat than a lap joint on a signal pad; that case has its own guide on soldering copper wire to a ground pad.
1Cut power and pull the batteries
Disconnect every source, not just the switch: mains lead, wall adapter, USB cable and battery. Before moving anything, photograph the wire's route. If you are unsure which pad it came from, the silkscreen labels or a matching wire on a symmetrical board usually tell you.
2Protect plastics and cables around the pad
Inside a case, the risk is everything around the pad: ribbon cables, connector housings and enclosure plastic all melt at a light brush from the barrel.
- Kapton (polyimide) tape survives soldering temperatures, so a strip over a connector or cable gives the tip somewhere harmless to land.
- A heat shield: a folded piece of aluminum foil or a thin metal ruler slipped between the pad and a plastic wall reflects heat and blocks a slip.
- Tie back loose wiring so nothing drifts onto the iron.
3Find an access angle and a fine tip
Rehearse the approach with the iron cold: tip on the pad, barrel clear of the case edge, wrist supported. A long, slim tip keeps the handle outside the enclosure.
| Situation | Tip that usually works | Why |
|---|---|---|
| Open pad, nothing close | 1.2-1.6 mm chisel | Flat face heats pad and wire together quickly |
| Pad between tall parts | Fine conical or bent conical | Reaches down without touching neighbors |
| Pad near a case wall | Long, slim chisel or knife | Keeps the barrel away from plastic |
| Pad on a wide copper area | Larger chisel, higher setpoint | Needs more heat delivered at once |
The soldering iron tip types guide compares shapes. A typical setpoint for a small signal pad is 320 °C to 350 °C with leaded solder and roughly 20 °C higher for lead-free; the temperature guide explains when to go higher.
4Trim and tin the broken wire
Cut back past the fractured strands, which are usually stiff, dark or full of old solder. Strip about 2 mm to 3 mm, twist and tin lightly. If the wire is now too short to reach without tension, splice on an extension of the same gauge out in the open first. Slide any heat-shrink for the board end onto the wire now.
5Make a lap joint onto the existing pad or lead
Leave the old solder on the pad as the reservoir for the new joint. Add flux, lay the tinned end flat along the pad in the direction the wire will run, and hold it with tweezers. Touch the tip to the wire on top of the pad; the old solder and the tinning melt together. Lift the tip and hold still for a couple of seconds.
6Add slack and strain relief
Whatever bent the wire before will bend it again. Route it with a small loop of slack so opening the case does not stretch it, then fix the insulation to the board a few millimeters from the pad with hot glue, neutral-cure silicone or a cable tie. The anchor, not the solder, takes the movement.
Using heat-shrink in tight spaces
Heat-shrink only works if it went on before the joint. In a cramped case, shrink it with brief passes of the iron's barrel (not the tip) or low hot air. Where no sleeve fits, a wrap of Kapton tape or a coat of glue keeps the bare copper off neighboring pads.
Soldering upside down or vertically without drips
Surface tension holds a small molten joint in place on a board that faces down or sideways, but a loaded tip or a long feed of solder will drip. Aim to need almost no new solder at that moment.
01
Tin wire
Done in the open
02
Flux pad
Old solder stays
03
Wipe tip
No hanging bead
04
Touch and hold
1-3 s, add 1 mm if dry
05
Anchor
Slack, glue, sleeve
Never put your face under the joint
Check the repair before closing the case
Look for a smooth, shiny joint with the wire outline visible. A grainy or balled joint needs flux and a reflow, as shown in fixing a cold solder joint. On continuity, check from the wire's far end to the pad, and from the pad to its neighbors for a bridge. Close the case slowly so the slack loop folds where you intended.
Irons from our soldering reviews
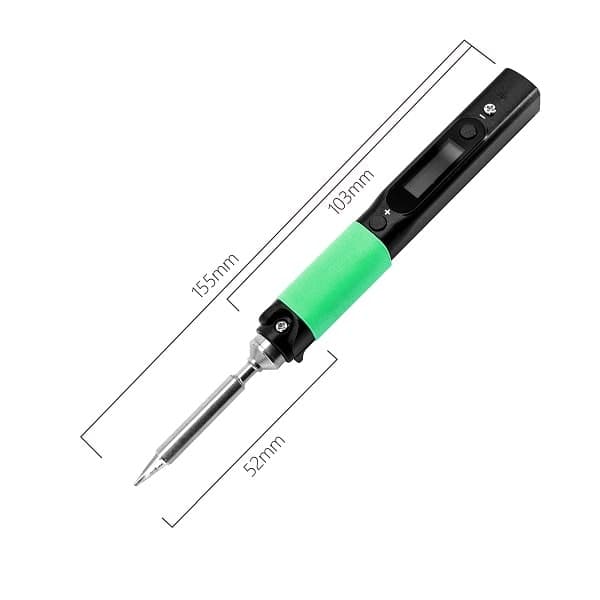
USB-C PD powered, OLED display, runs from a power bank. Suited to field repairs.

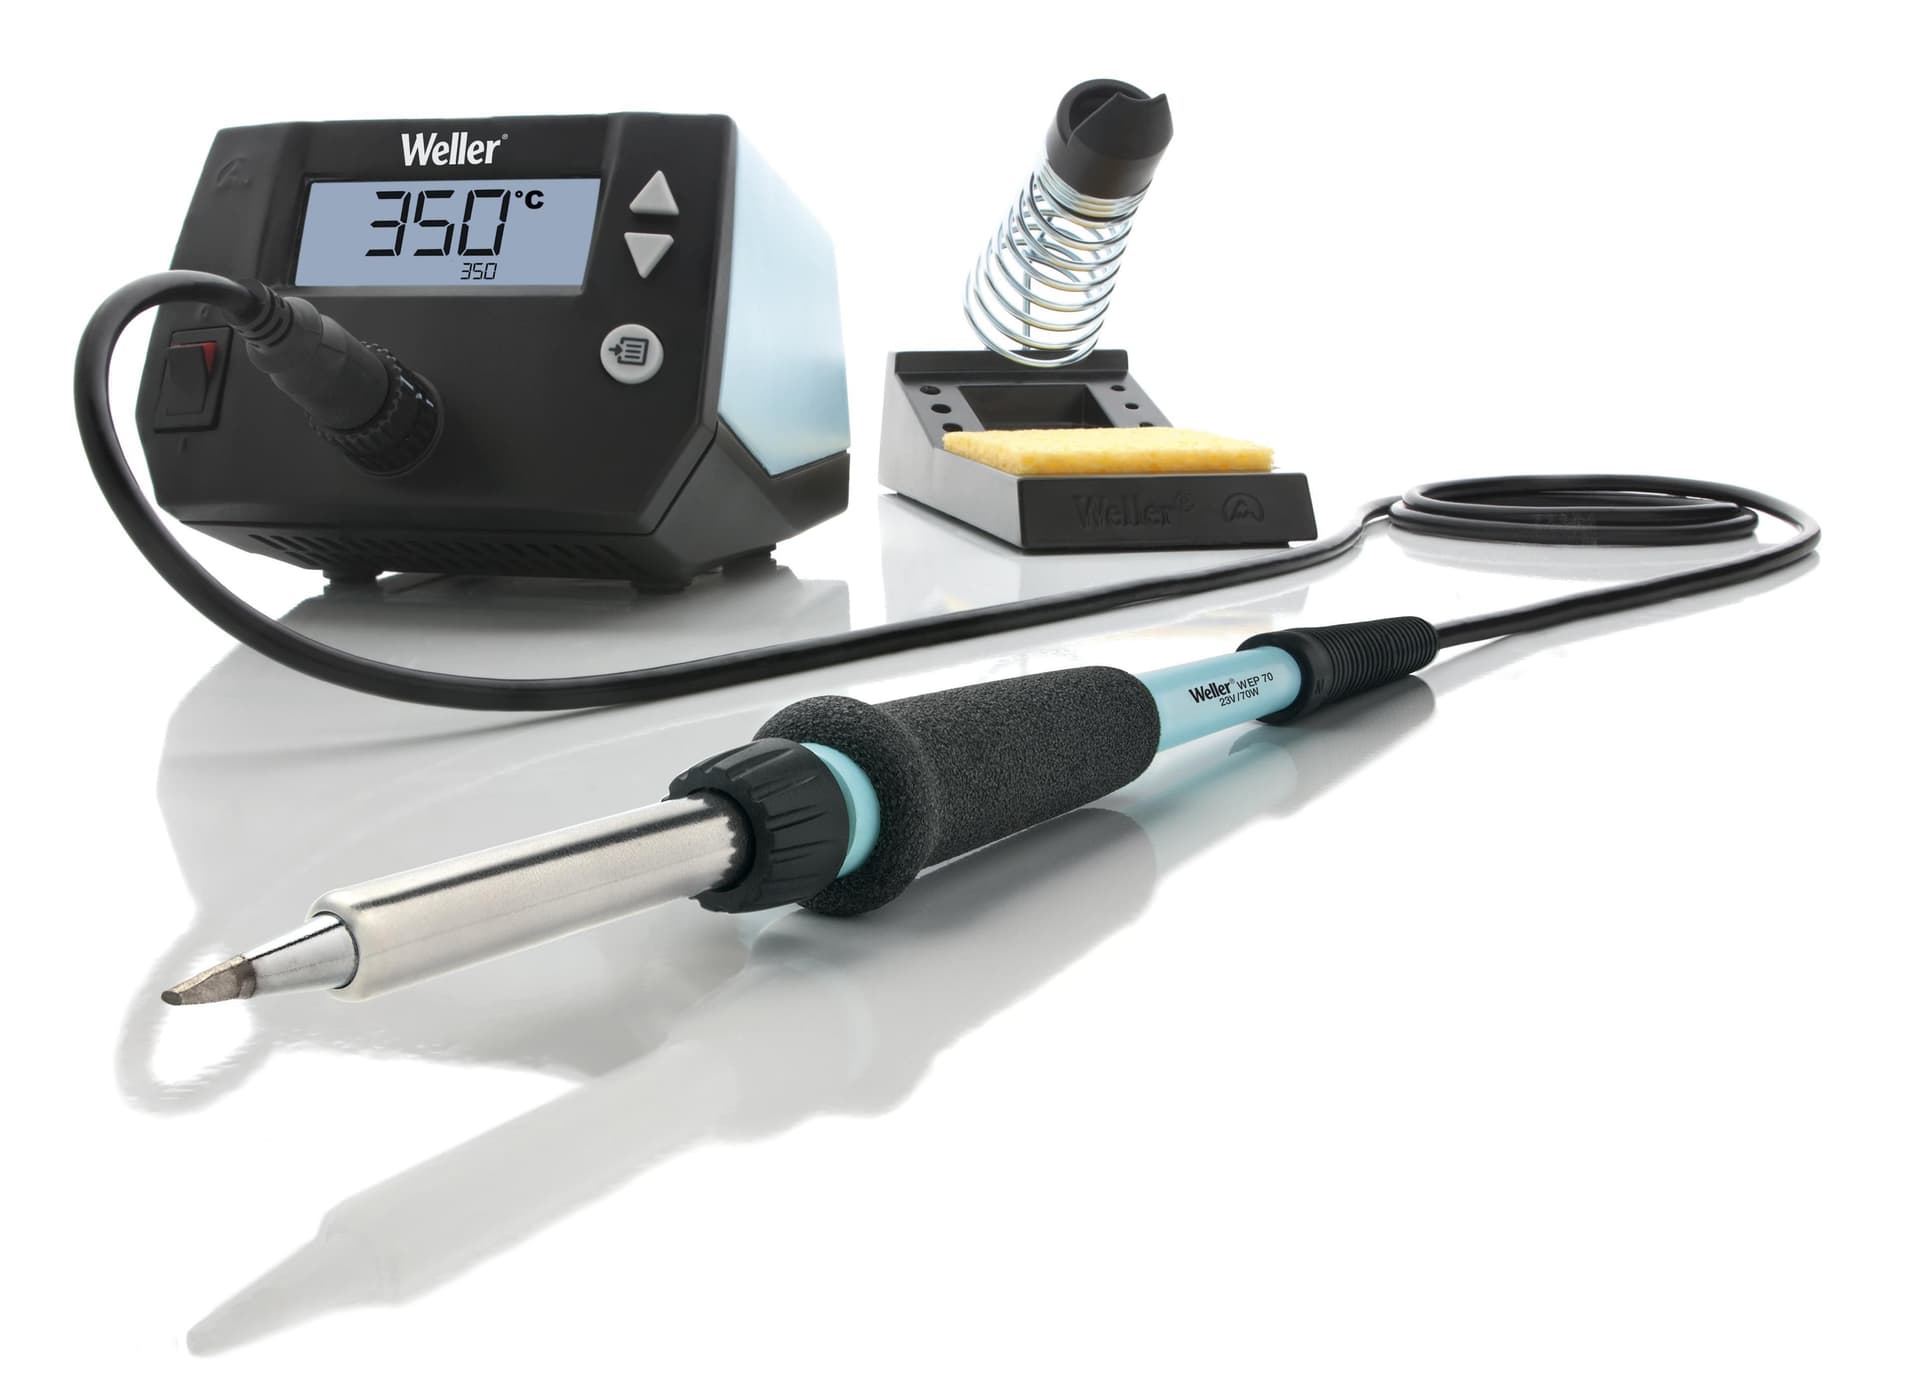
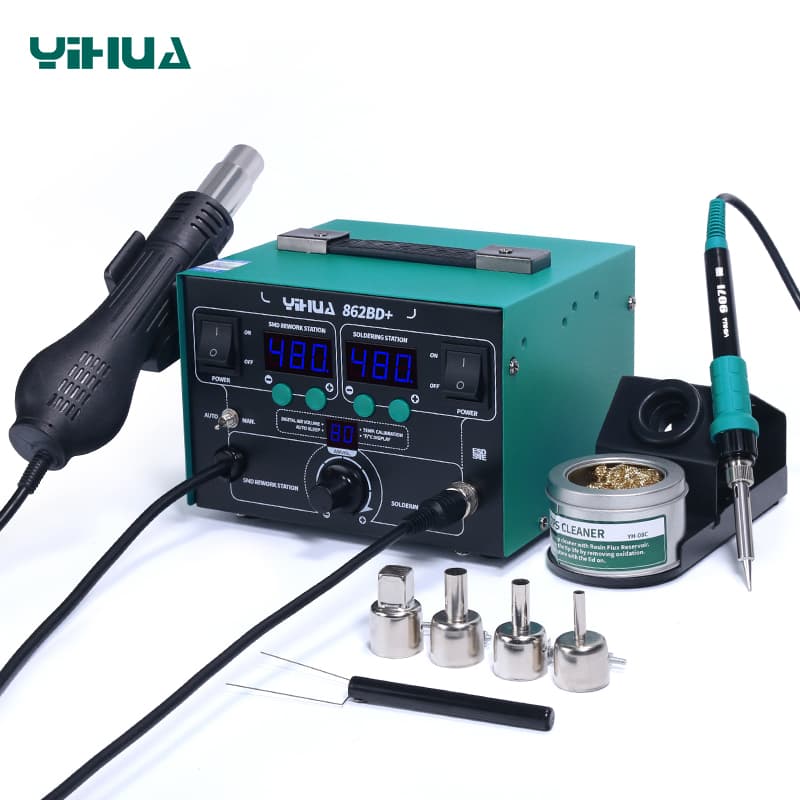
Bench station with a 100W supply, a 65W FX-8801 handpiece and T18 tips, set by rotary dial for in-place board repairs.
As an Amazon Associate I earn from qualifying purchases. Prices and availability are shown on Amazon.
Frequently asked questions
Can I solder a wire back onto a PCB while it is still in the case?
Yes, as long as the device is fully unpowered and you can reach the pad with the tip at a reasonable angle. Mask any plastic within a few millimeters, keep the iron's barrel clear of cables, and make the joint quickly. If you cannot see the pad clearly, removing a few screws to tilt the board is safer than soldering blind.
Is a lap joint strong enough for a wire on a PCB pad?
Electrically, yes: a well-wetted lap joint handles signal and low-current power wiring. Mechanically it is weaker than a wire through a hole, because the pad's adhesive takes any pull. That is why the slack loop and glue anchor matter; with them, the solder only holds the wire in place rather than resisting tugs.
Why does my wire keep breaking at the same solder joint?
Flexing concentrates where the rigid, solder-filled strands meet the flexible wire, so it snaps at the joint. Typical causes are no slack, a wire that moves when the case opens, or solder wicked far up the strands. Keep tinning short, add a service loop and glue the insulation down beside the pad.
How do I stop solder dripping when soldering upside down?
Use very little solder. Tin the wire and the pad first, so the final joint needs only a touch of the iron and perhaps a millimeter of fresh solder. Wipe the tip so it carries no loose bead, and use thin 0.5 mm or 0.6 mm solder. Keep your face out from under the work and wear safety glasses.
What if the pad came off with the broken wire?
Then it is no longer a simple wire job. Follow the trace from the missing pad to the nearest component lead or via on the same net, scrape back a little solder mask if needed, and attach the wire there. Our guides on lifted pads and trace repair cover both routes.