HOW-TO GUIDE
How to Remove Solder from a Plated Through Hole
By the OhmSavvy Research Team ·

Molten solder, hot leads and fumes
- Spring pumps can spit molten solder; wear safety glasses and keep your face clear of the nozzle.
- Leads and needles stay hot for a while after the iron lifts. Use pliers, not fingers.
- Unplug the device, discharge large capacitors, ventilate, and wash your hands after handling leaded solder.
This page covers plated through holes specifically. For braid, pumps and hot air on any joint, see how to remove solder from a circuit board.
Why removing solder from a plated through hole is hard
A plated through hole (PTH) has a copper tube, the barrel, linking the pads on each face and often inner layers. Solder fills that tube by capillary action, so a good joint is a solid plug the full board thickness, and the whole plug must be liquid at once to free the lead. The barrel conducts heat away from the pad you touch, and a ground or power plane pulls it out faster than the tip can supply it. The top melts while the bottom stays solid.
1Add fresh solder and flux first
It sounds backwards, but adding solder is the best first move. A pool of molten metal carries heat into the barrel far better than a dry tip on a thin, dull joint, and fresh flux cleans oxide off old solder. Flux both faces, then load the joint into a generous dome. On a lead-free board, a little leaded solder lowers the melting point; see 60/40 vs 63/37 solder for why the eutectic alloy freezes cleanly.
2Pump from the opposite side to the iron
Stand the board on edge in a holder. Put the iron on the component-side pad and lead, and hold the cocked pump squarely over the hole on the solder side. When that side goes fully liquid, fire. Because the iron keeps heating as the vacuum pulls, the whole column moves, not just the top.
01
Flux + solder
Load a generous dome
02
Iron one side
Pad and lead together
03
Pump other side
Fire once fully molten
04
Wick leftovers
Both faces, fresh braid
05
Check by light
Clean ring, lead loose
3Wick from both sides
Braid alone rarely empties a barrel, but it finishes the job well. Flux a fresh section of braid no wider than the pad, press it on with the iron, and lift both together once it stops drawing solder. Then flip the board and repeat on the other face. Working each side pulls the remaining film out of both ends of the hole. Never drag the braid while it is cooling; it can rip the pad with it.
4The stainless needle and toothpick trick
Solder does not wet stainless steel, which makes a stainless needle a handy hole-clearing tool. Heat the pad until the plug melts, push the needle through from the opposite side, and twist it gently while lifting the iron. The solder freezes around a needle it cannot stick to, leaving a clean bore when you pull it out. A sharpened wooden toothpick does the same for small holes, though it chars, so work quickly.
Match the needle to the hole
Temperature, tips and preheat
| Problem | Better fix | Why |
|---|---|---|
| Top melts, bottom stays solid | Larger chisel tip, more solder bridge | Moves more heat per second into the barrel |
| Joint on a ground plane | Preheat the board from below | Shrinks the gap between board and melting point |
| Still stuck after several tries | Raise setpoint modestly, then stop | Long dwell lifts pads; let the board cool |
As a typical starting point, leaded joints clear at around 330 °C to 360 °C and lead-free at 350 °C to 380 °C, with heavy planes needing preheat rather than ever-higher settings. The temperature guide explains thermal mass in detail, and tip types covers why a chisel outperforms a cone here.
Multilayer and ground-plane holes
Four-layer and thicker boards often tie holes into internal planes. Thermal relief spokes usually limit this, but ground pins on connectors and regulators are sometimes joined solid. Warm the whole board first: a hot air gun on the underside at a low setting, or a board preheater, brings the copper close to melting so the iron supplies only the last step. Expect two or three passes.
How to avoid lifting the barrel or pad
- Never pull a lead that is still held by solid solder. The barrel can tear out with it, taking the inner-layer link.
- Let the board cool between attempts instead of holding the iron on for ten seconds or more.
- Keep the pump nozzle square to the board so the recoil does not lever the pad.
If a pad does come away, it can usually be rebuilt: see how to repair lifted PCB pads after desoldering.
Irons and stations that help with through holes
A station that recovers quickly and takes large chisel tips does most of the work; hot air adds preheat. For more, see the best soldering iron for circuit board repair.
Stations from our soldering reviews
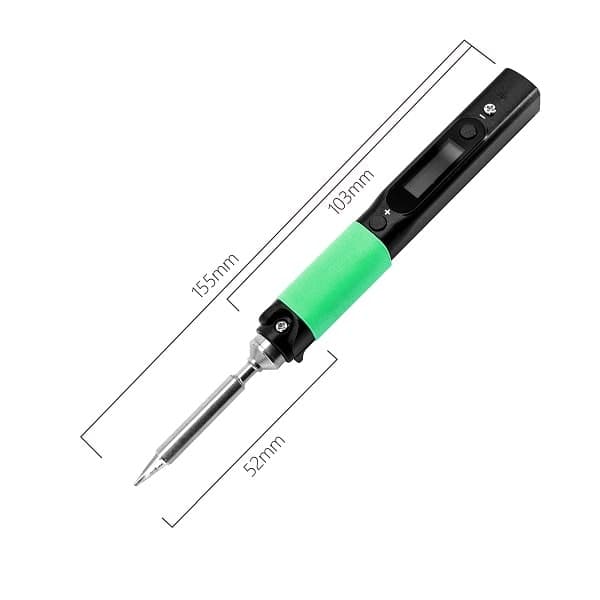
100W station with a 65W FX-8801 iron, digital 50–480°C control and ±1°C idle stability for heat-sinking barrels.
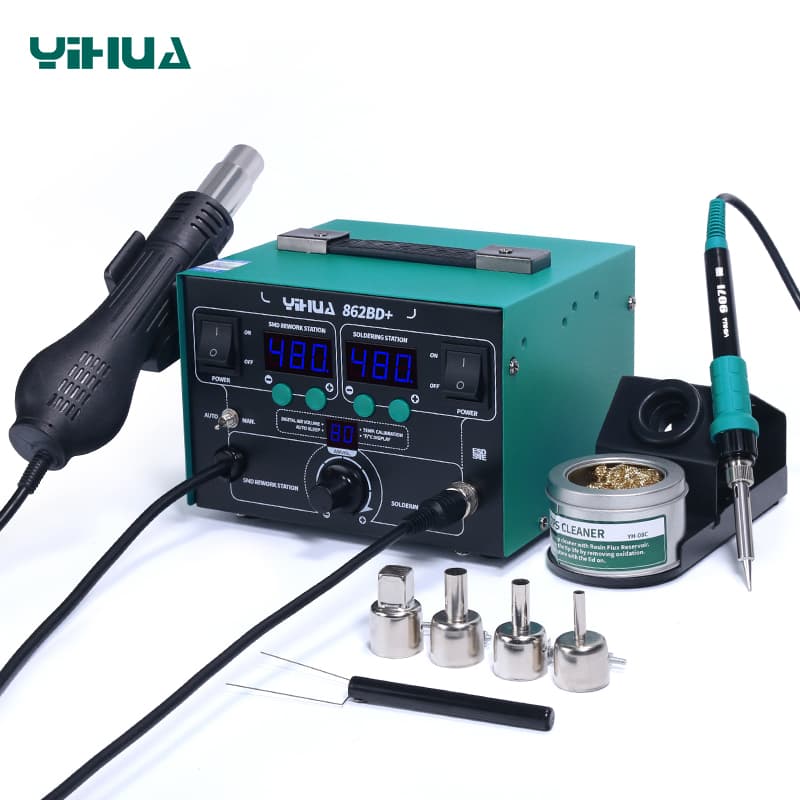
Soldering iron and hot air gun in one station, handy for board preheat.
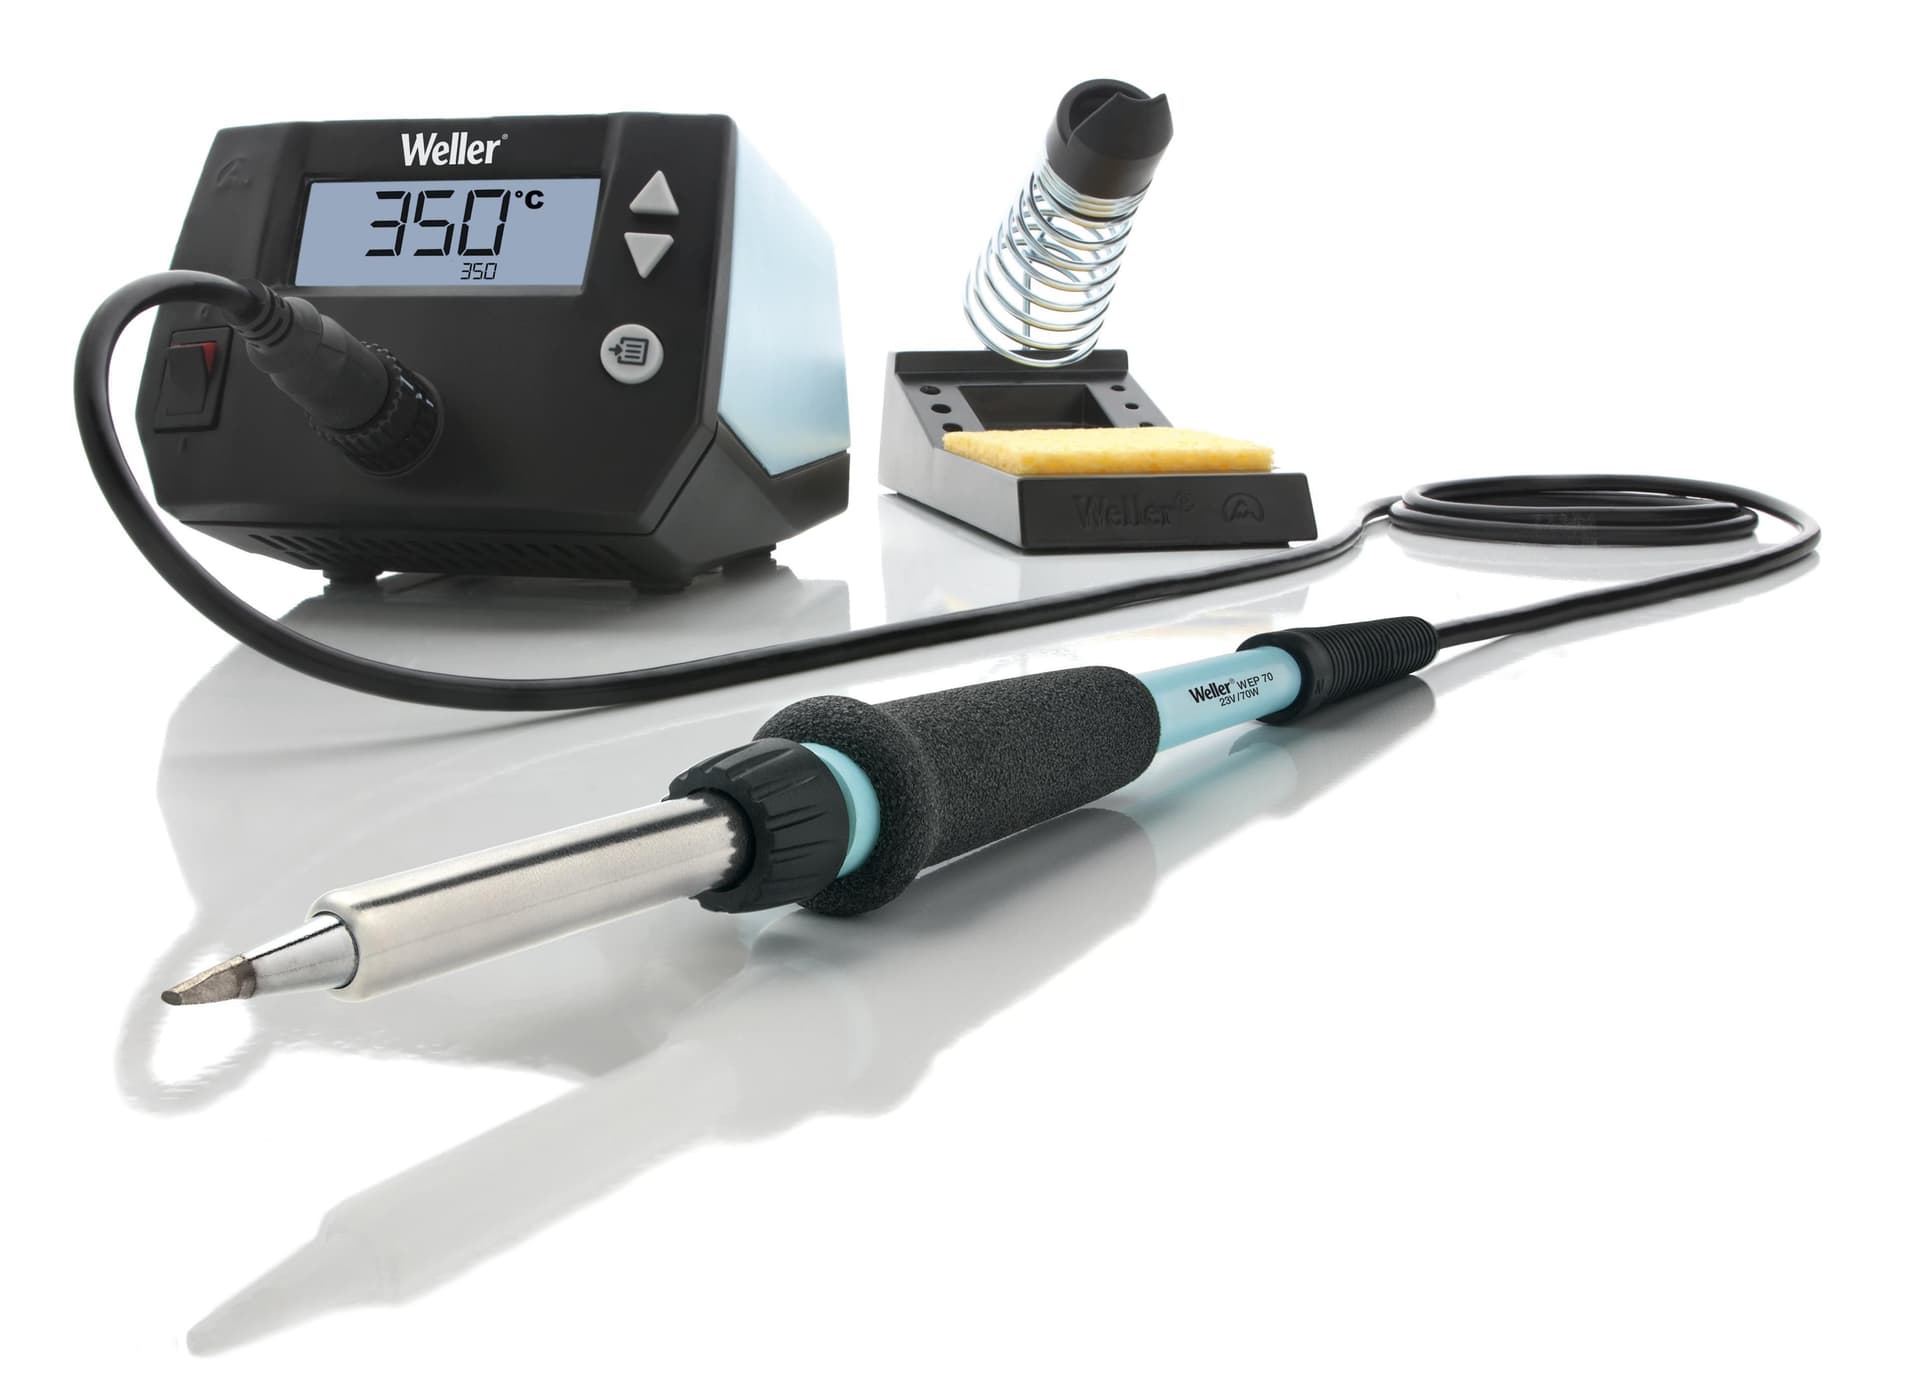
As an Amazon Associate I earn from qualifying purchases. Prices and availability are shown on Amazon.
Frequently asked questions
Why won't the solder come out of a through hole?
Usually because only the top of the column is molten. The barrel and any plane it joins draw heat away, so solder at the far end stays solid and locks the lead. Add fresh solder and flux, use a larger tip, and pump or wick only once the whole joint is liquid.
Can I drill out solder from a plated through hole?
Avoid it. A drill bit that clears the solder also tends to cut away the thin copper plating lining the hole, breaking the link between both pads and any inner layers. The board can look fine yet fail electrically. Heat the hole and push a stainless needle through instead.
Does adding leaded solder help desolder a lead-free board?
Often, yes. Mixing in some leaded solder lowers the joint's melting point and adds fresh flux, so it releases more readily. The trade-off is a mixed alloy left behind, so clear the hole thoroughly before refitting, and skip this on boards that must stay lead-free for compliance.
Is a desoldering gun worth it for through-hole work?
If you clear holes regularly, such as when reworking connectors or transformers, a heated vacuum desoldering tool saves time because it heats and sucks through one nozzle. For occasional repairs, a spring pump, flux, fresh solder and the techniques here clear most plated holes.
How do I know the plated hole is fully clear?
Hold the board up to a light. A clear hole shows a clean ring of daylight inside shiny plating; a thin film or a crescent of solder on one side means more remains. If the lead wiggles freely before you pull it, the barrel has released and the part will lift without force.