HOW-TO GUIDE
How to Solder Wires to a Toggle Switch Terminal
By the OhmSavvy Research Team ·

SPST, SPDT and DPDT lug layouts
"Poles" are the number of separate circuits a switch controls and "throws" are the number of positions each pole can connect to. An SPST switch has two lugs and is a plain on/off. An SPDT has three in a row, with the center normally being the common. A DPDT is simply two SPDTs side by side, six lugs in two rows, with both poles moving together.
The procedure at a glance
01
Shrink on
Slide tubing up the wire
02
Strip & tin
About 6-8mm, thinly
03
Hook
Through the lug hole
04
Solder
Flux, 2-4 s, lug down
05
Test
Meter in both positions
1Slide the heat-shrink on before anything else
It sounds obvious, but forgetting this is the most common reason to desolder a switch lug. Cut a piece long enough to cover the lug and a few millimeters of insulation, slide it well up the wire, away from where heat will be, so it does not shrink early from radiant heat while you work.
2Strip and tin the wire end
Strip just enough to pass through the lug and form a hook, typically 6-8mm on small switches. Twist stranded wire tight and tin it lightly so it holds its shape; too much solder makes it too fat to fit through the hole. A light coat of solder on the lug itself, applied with a quick touch, also speeds up the final joint.
3Hook the wire through the lug
Pass the tinned end through the lug hole and fold it back with pliers so it hooks around the tab. Squeeze it gently closed. The wire should stay in place on its own if you let go, which means the solder only has to make the electrical connection, not hold the wire on.
4Flux and heat the joint quickly, lug pointing down
Add a little flux, then hold a clean chisel tip against the lug and wire together and feed solder from the opposite side. A typical lug takes two to four seconds at around 330-370°C for leaded solder. Hold the switch so the lug points downward: flux and any excess solder run away from the body instead of into the toggle mechanism. If the lugs sit close together, solder the middle one first so you are not reaching past finished joints.
5Shrink, dress the wires and add strain relief
Once cool, slide the heat-shrink down over the lug until it touches the switch body and shrink it with a heat gun, keeping the hot air off the switch itself. Then route the wires so their weight does not hang on the lugs: a cable tie to a nearby anchor, a dab of hot glue on the harness, or a clamp in the enclosure all stop vibration from fatiguing the joint.
6Check continuity in both switch positions
With power disconnected, set a meter to continuity and flip the switch each way, checking that the common connects only to the throw you expect and that nothing is shorted to the bushing or neighboring lugs. Our multimeter guide covers continuity mode if you have not used it before.
Troubleshooting
| Symptom | Likely cause | Fix |
|---|---|---|
| Lug wobbles after soldering | Body softened or rivet loosened from long heating | Shorter dwell; replace if the lug moves freely |
| Switch feels gritty or stiff | Flux or solder ran into the mechanism | Solder with lug pointing down; replace if it persists |
| Joint dull and lumpy | Cold joint, wire moved while cooling | Add flux, reheat, hold still until set |
| Wrong function in one position | Wire on the wrong throw lug | Re-map with a meter and swap the two outer wires |
| Heat-shrink stuck halfway | Tubing shrank early near the iron | Keep it further back; cut off and use fresh tubing |
Safety: disconnect power and mind the fumes
Irons suited to switch lugs
Switch lugs need a short, hot touch so the plastic body never softens. A tip you can choose and a temperature you can set do more for that than raw wattage.
Irons for switch wiring
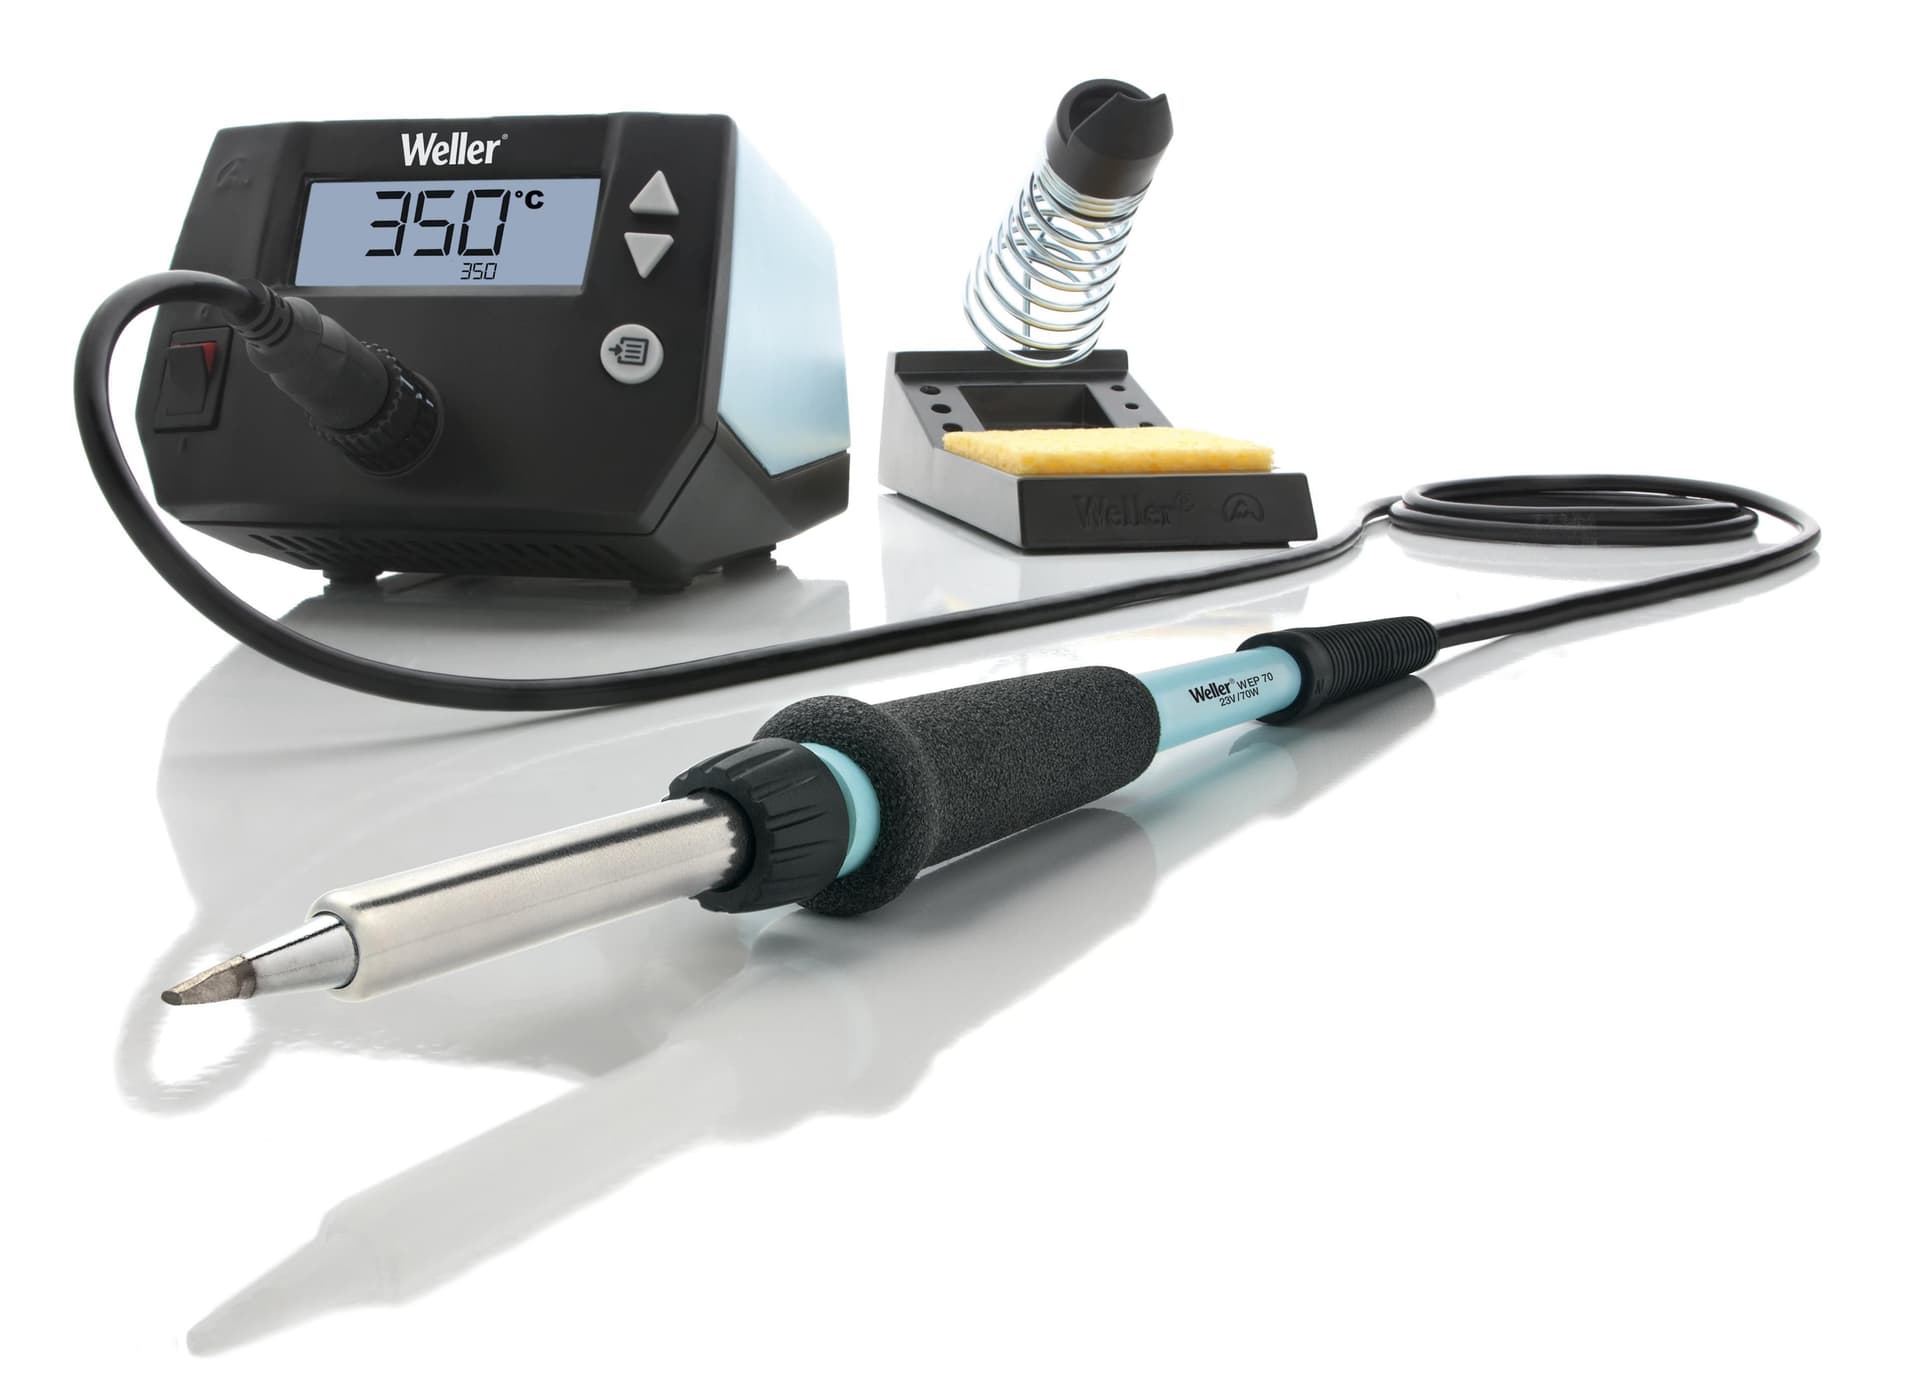
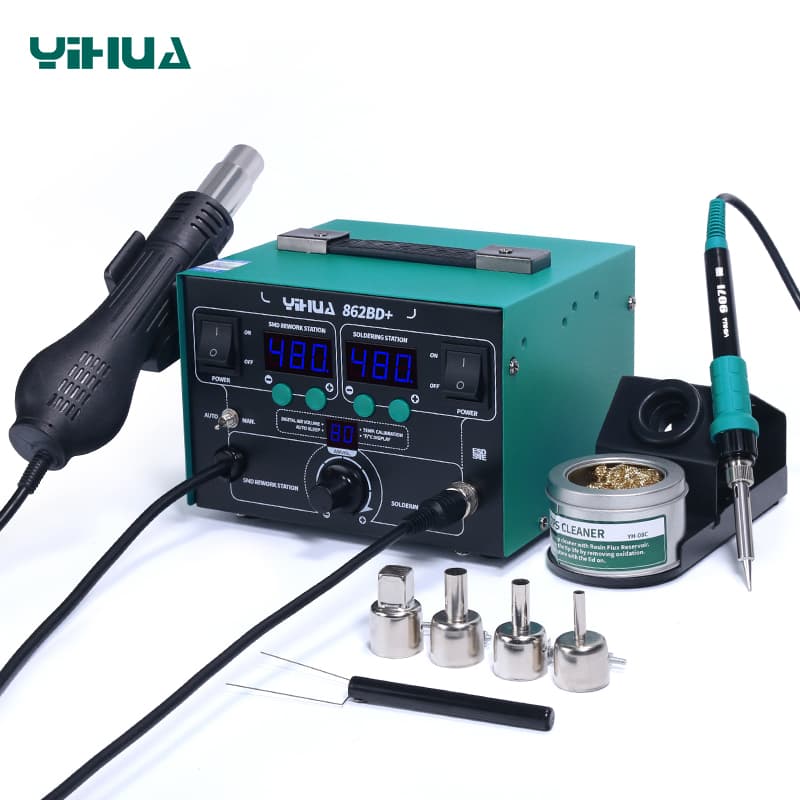
A 60W starter kit with a 200–450°C dial, five tips and a stand, enough for occasional pedal or panel switch jobs.
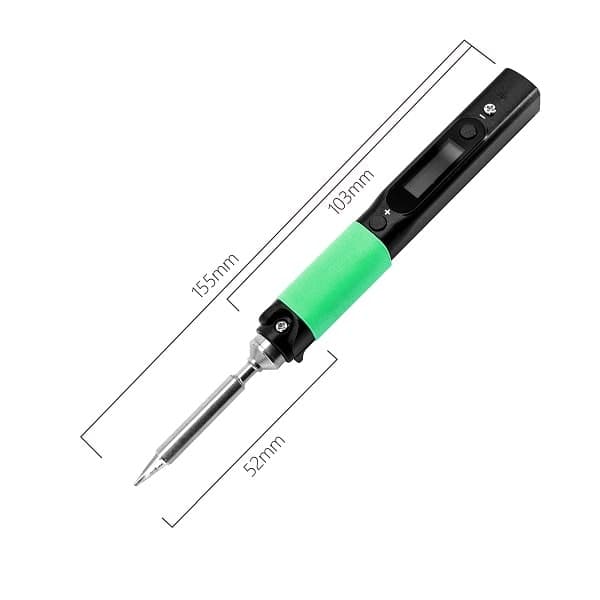
USB-C PD powered with an OLED readout and roughly 12 s warm-up, handy when the switch is mounted in a panel away from the bench.

Five stored presets make it easy to keep one quick, hotter setting for lugs and a gentler one for board work.
As an Amazon Associate I earn from qualifying purchases. Prices and availability are shown on Amazon.
Frequently asked questions
Which lug on an SPDT toggle switch is the common?
On most SPDT toggles the common is the center lug, and the bat handle connects it to the lug on the opposite side from where the handle points. That convention is common but not universal, so confirm it with a continuity check before soldering rather than trusting the layout alone.
Should I wrap the wire around the lug or just pass it through?
Pass it through the hole and bend it back into a small hook, about half a turn. That gives a joint that holds even before solder is applied. Wrapping several full turns adds nothing electrically and makes the joint very hard to undo later if you need to rewire.
Can I solder to a switch with a bakelite or phenolic body?
Yes. Thermoset bodies like bakelite do not melt, but they can scorch, and long heating can loosen the rivet or crimp holding each lug, which leaves the terminal wobbly. Many modern switches use thermoplastic bodies that do soften, so the same short-dwell approach protects both types.
What wire gauge fits a typical toggle switch lug?
It depends on the switch and the load. Small panel toggles often take something in the 22-18 AWG range through the lug hole; larger automotive switches accept heavier wire or use spade terminals instead. Check the switch's own current rating and size the wire for the load, not just for what fits the hole.
Why did my switch stop clicking crisply after I soldered it?
Too much heat reached the internal mechanism, softening the plastic that locates the contacts or springs, or flux and solder ran into the body. Use less dwell time, keep the switch lug pointing down while soldering so flux drains away from the body, and avoid flooding the joint.