HOW-TO GUIDE
How to Remove Excess Solder From a Small Connector Pin
By the OhmSavvy Research Team ·
Good, excess and starved fillets
Before removing anything, decide what the finished joint should look like. On a through-hole pin the target is a concave cone: solder sweeps up from the edge of the pad to the pin. Excess solder shows as a convex dome that hides the pin. A starved joint is the opposite, with bare pad visible and a thin ring that barely climbs the pin.
Which method suits the pitch
This is a trimming job, not full removal of a part. For pulling a component out of a board, see our guide to removing solder from a circuit board. For trimming surplus, the right tool depends mostly on how close the pins sit:
| Method | 2.54mm headers | 2.0mm (e.g. PH) | 1.0-1.27mm |
|---|---|---|---|
| Clean tinned tip + flux | Works well | Works well | Best first choice |
| Narrow solder wick | Good for large blobs | Good, use a narrow braid | Use the finest braid |
| Solder sucker | Large blobs only | Hard to control | Rarely useful |
| Hot air | Overkill | Risks the housing | Risks moving the part |
1Clean and lightly tin the tip
Wipe the tip on brass wool or a damp sponge until it is bright, then give it the thinnest film of solder. A small chisel or bevel tip around the width of the pad is ideal; it contacts the joint well and has a flat face to carry solder away. Starting around 330-350°C for leaded solder keeps the blob fluid long enough to move.
2Add flux, then drag the surplus off the pin
Put fresh flux on the joint, then touch the tip to the side of the blob and draw it slowly down and away from the pin, off the end of the pad. Solder follows the tip. Wipe the tip, re-flux, and repeat until the dome flattens. Two or three short passes are better than holding the iron on one joint for several seconds.
01
Wipe tip
Bright, thin film only
02
Flux joint
Fresh every pass
03
Touch & drag
Down and away from pin
04
Wipe again
Dump what the tip lifted
3Wick what the tip can't lift
If the tip moves solder around but the joint stays domed, lay a short length of fluxed wick across the pad beside the pin and press the tip onto the braid for a second or two. Lift the iron and the wick together, so the braid does not cool and freeze to the joint. Use a fresh section each time; saturated wick does nothing.
4Reflow to a proper fillet
After wicking, a joint can look dull or slightly starved. Add a dab of flux and touch the pin once more; the solder that remains redistributes into a concave cone. If bare pad is showing, feed in a very small amount of thin solder during that touch. Keep the result smaller than you think it needs to be; most beginners leave connector pins too full.
Protecting the connector body
Inspection and fixes
Inspect with magnification and side lighting, then check neighboring pins for continuity with a meter. If surplus has joined two pins, our guide to preventing solder bridges covers clearing bridges specifically.
| What you see | Likely cause | Fix |
|---|---|---|
| Solder spreads but won't leave | Tip too loaded or flux spent | Wipe tip, re-flux, drag again |
| Wick stuck to the pad | Lifted the iron before the braid | Reheat and lift both together |
| Sharp spike after dragging | Flux burned off, solder froze as tip left | Add flux and reflow once |
| Joint now looks grainy | Overworked joint, too many passes | Flux, single clean reflow |
| Plastic glossy near the pin | Tip or heat close to the body | Approach from the side; wick instead |
Safety: fumes and hot braid
Irons with fine tips for connector work
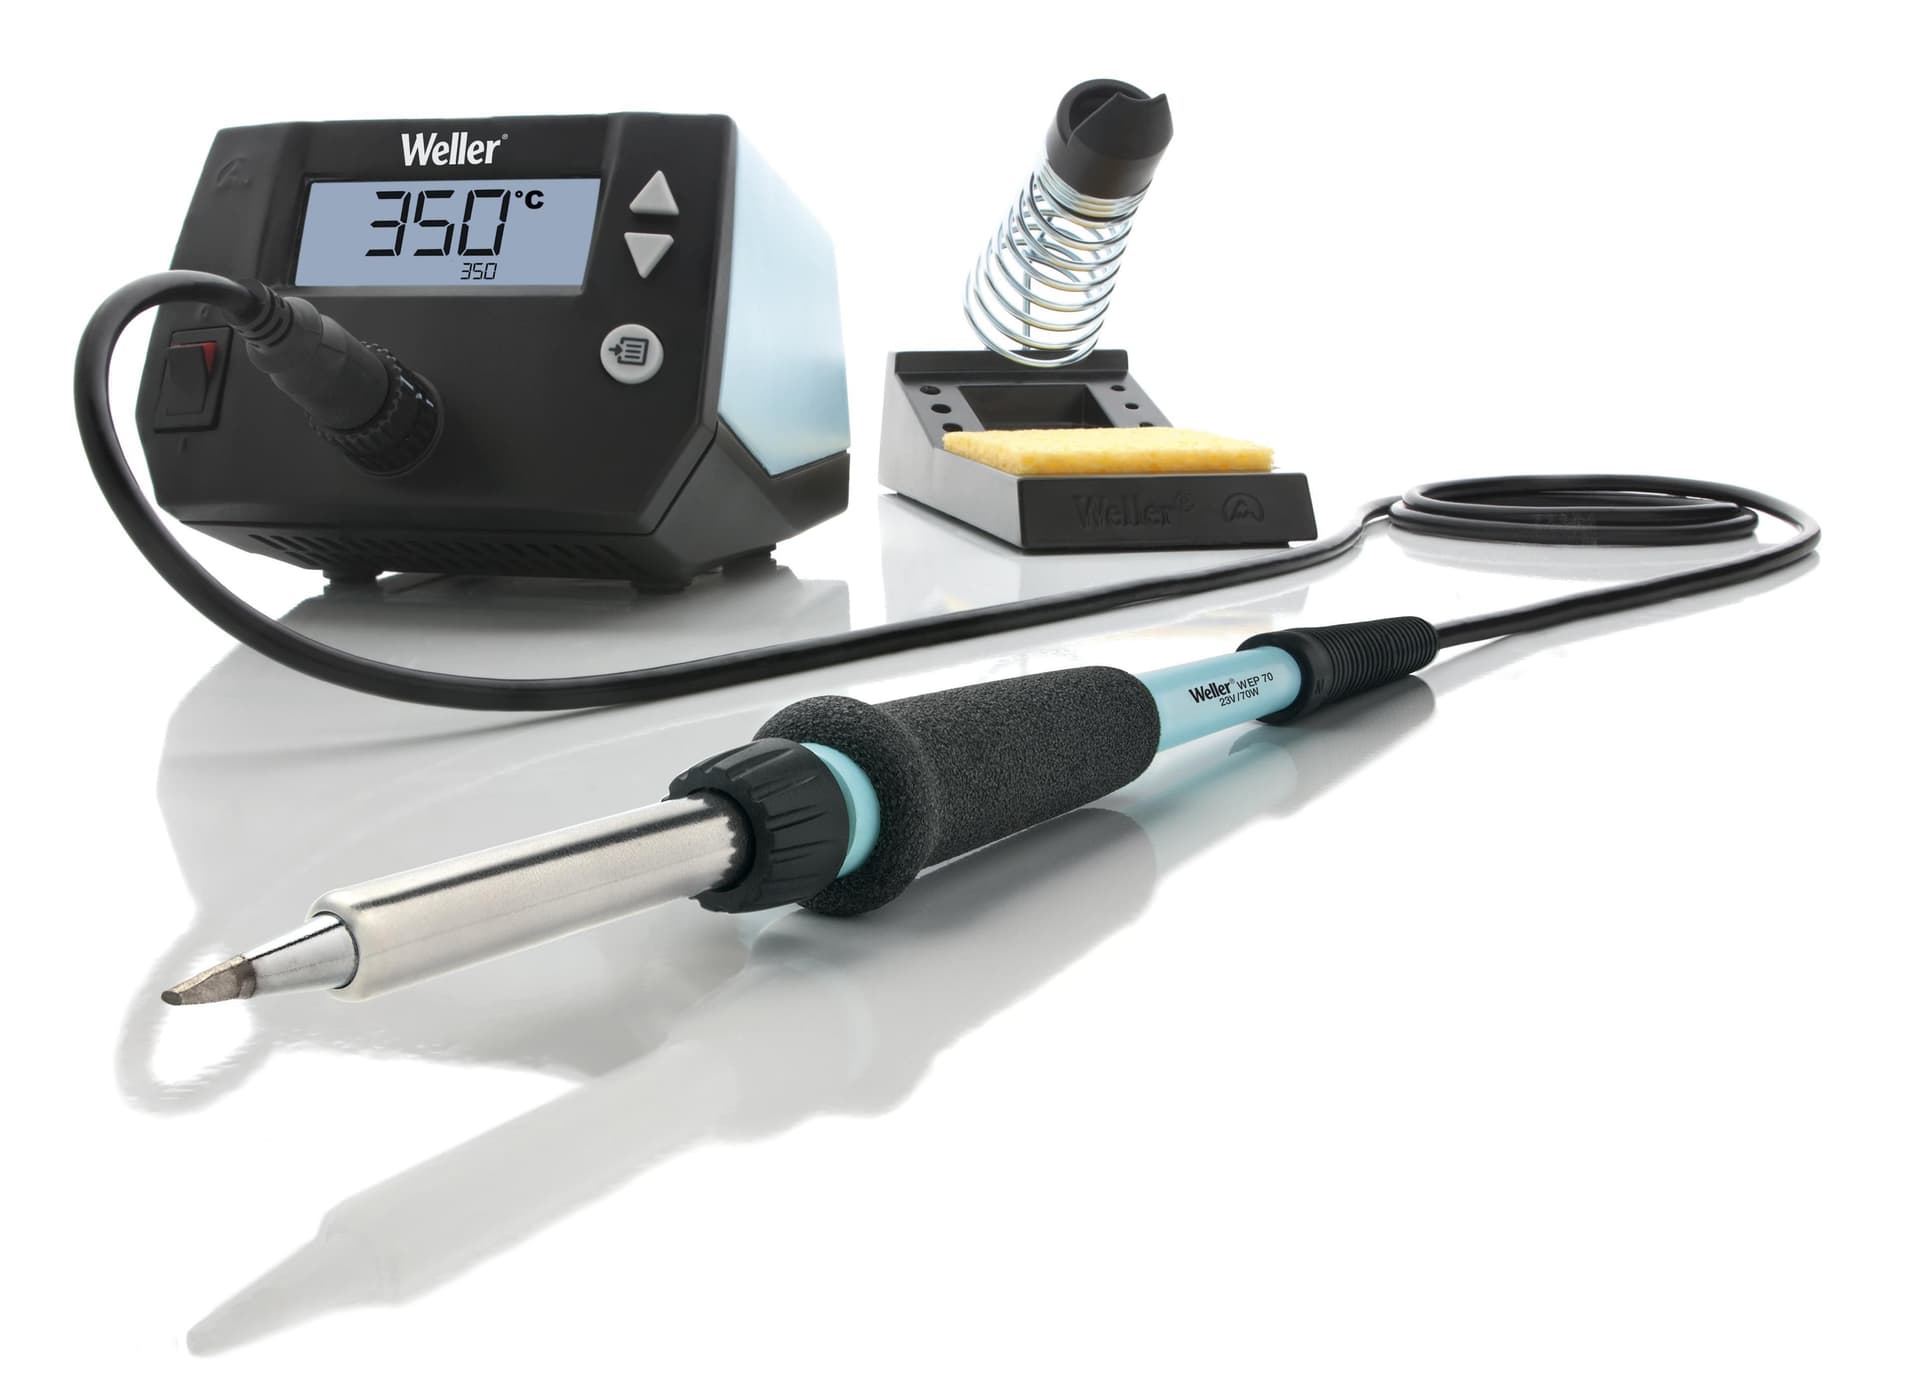
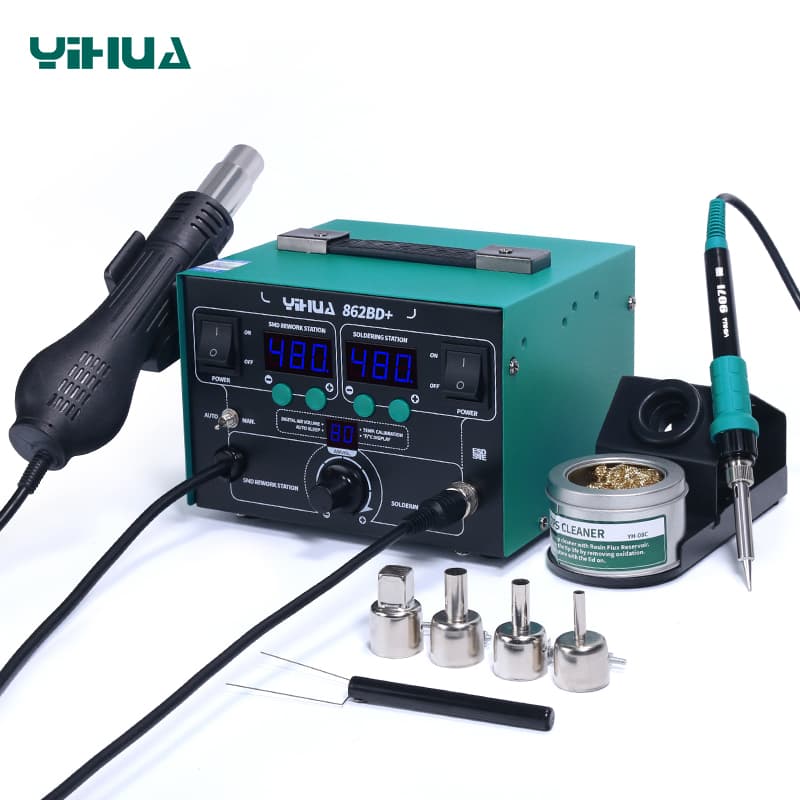
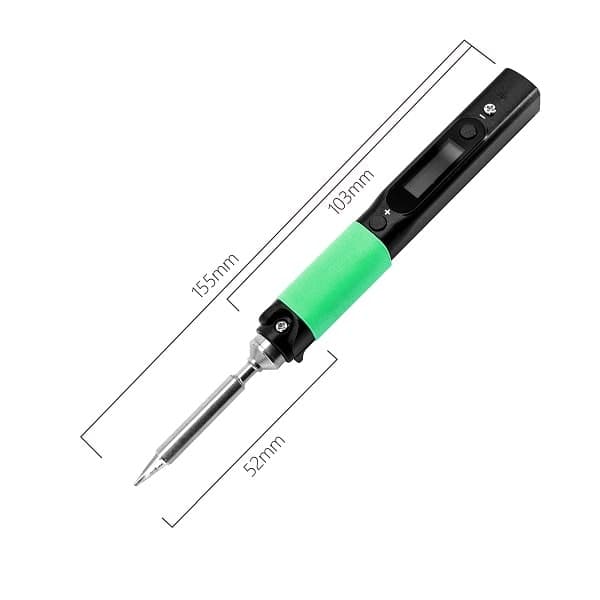
Pulling a blob off a header pin is easiest with an iron whose tip range includes small chisels and whose temperature stays put when the braid soaks up heat. Each of these takes a widely sold tip family, so a narrow tip for pin work is easy to add.
Irons for small pins and connectors
USB-C PD powered pocket iron, about 12 seconds to heat with a 20V+ supply.

OLED iron, 50–400°C, motion-sensing sleep, and it takes TS100 tips. USB-C PD or DC input.

Bench station on Hakko's T18 tip range, 50–480°C with ±1°C idle stability. ESD safe.
As an Amazon Associate I earn from qualifying purchases. Prices and availability are shown on Amazon.
Frequently asked questions
Why does wiping the tip on a sponge help remove solder from a pin?
A freshly cleaned and lightly tinned tip has a wettable surface with little solder on it, so when it touches a blob, surface tension pulls part of the molten solder onto the tip. A tip already carrying a large bead cannot accept more and tends to push solder around instead. Clean it, then touch the pin, then clean again.
Is a solder sucker useful on a 2.54mm header pin?
It can lift a large blob, but on small pins it often removes too much and leaves a starved joint, and the recoil can knock the tip into the connector body. A clean tip or a narrow strip of wick gives more control for trimming the surplus off one pin.
What width of solder wick should I use for header pins?
Match the braid to the pin and pad: something around 1.5mm wide suits 2.54mm and 2.0mm pitch headers, while finer 1.0mm-pitch parts want a narrower braid. Wick that is wider than the pad soaks up heat from neighboring joints and is more likely to pull solder from pins you meant to leave alone.
How do I know when a fillet is the right size?
A good joint on a through-hole pin is a smooth, concave cone that wets both the pad and the pin, with the pin outline still visible under the solder. If the joint is rounded and bulging, or hides the pin completely, there is surplus to take off. If you can see bare pad or a gap where solder meets the pin, add a little more.
Can I cut a solder peak off with flush cutters?
It is better not to. Cutting cold solder stresses the joint and the pad, and can crack the fillet. Reflow the pin with fresh flux instead; the surface tension of the molten solder rounds off the peak on its own.