HOW-TO GUIDE
How to Test a Photoresistor With a Multimeter
By the OhmSavvy Research Team ·
Before you probe
- Resistance readings need an unpowered circuit. Switch off or unplug the device, or desolder one leg, before using the Ω range.
- Outdoor dusk-to-dawn sensors and some lamp controls run from mains voltage. Isolate the supply before handling them, and only do the powered voltage check on low-voltage circuits.
- Cadmium sulfide is toxic. Don't crush, sand or burn old cells; dispose of them as electronic waste.
How a photoresistor (LDR) works
A photoresistor, also called an LDR or CdS cell, is a ceramic disc coated with a zig-zag track of cadmium sulfide between two electrodes. In darkness the material has very few free charge carriers, so resistance is high. Light frees carriers and the resistance falls, steeply at first and then more gradually as brightness keeps increasing. It has no junction and no polarity.
Dark resistance
The reading after the cell has been kept fully dark for a set time, often 10 seconds. Usually quoted as a minimum.
Light resistance
The reading at a stated light level, commonly 10 lux. Usually quoted as a range, such as 8 to 20 kΩ.
Recovery
How fast resistance climbs back after the light goes. CdS cells are slow here, taking seconds rather than milliseconds.
Typical photoresistor resistance in dark and light
Exact values depend on the series, so the datasheet always wins. As a rough guide for the common 5 mm hobby cells, readings tend to land in these bands:
Bars use a logarithmic scale: each step is ten times the last.
The ratio between dark and bright readings matters more than either number. A healthy cell usually changes by a factor of a hundred or more between a covered and a well-lit state.
1Set up the meter
Plug the black lead into COM and the red lead into the Ω jack, then select resistance. An auto-ranging meter follows the reading as it swings. On a manual meter, start on the 2 MΩ or 20 MΩ range for the dark reading and step down for the lit reading. If you are new to the resistance function, our guide on how to use a multimeter covers the jacks and dial positions.
Small crocodile clips or a breadboard make this test far easier than holding probes by hand. At megohm levels your skin is a parallel resistor too, so fingers across both leads can pull a dark reading well below its true value.
2The cover-and-light test
- Connect the probes across the two leads and note the reading in normal room light.
- Cover the sensing face completely with a fingertip, black tape or an upturned bottle cap. Wait about 10 seconds for the slow dark recovery, then note the reading.
- Uncover it and shine a phone torch or desk lamp straight at it from a few centimeters away.
- Repeat two or three times. The readings should repeat closely each cycle.
Watch the transition, not just the end points
3How to test a photoresistor in a circuit
Most circuits use the LDR as one half of a voltage divider feeding a comparator, transistor or microcontroller pin. With a low-voltage supply running, set the meter to DC volts, put the black probe on ground and the red probe on the node between the LDR and the fixed resistor. Then cover and light the sensor and watch the voltage move.
Vout equals the supply times the fixed resistor divided by the sum of both resistances. For the 5 V, 10 kΩ circuit above, the expected values work out like this:
| Light level | LDR resistance (typical) | Vout (calculated) |
|---|---|---|
| Covered | 1 MΩ | ≈ 0.05 V |
| Dim | 50 kΩ | ≈ 0.83 V |
| Lit room | 10 kΩ | 2.50 V |
| Bright lamp | 1 kΩ | ≈ 4.55 V |
If the node sits at 0 V or at the full supply whatever you do, measure the supply first, then the LDR and fixed resistor separately with the power off. The method for each probe placement is the same as in measuring voltage across a resistor.
Reading the result: good or bad photoresistor
| What you see | Likely meaning |
|---|---|
| High when covered, low when lit, repeatable | Good cell |
| OL in every light level | Open element or broken lead; check the joints |
| Near 0 Ω even when covered | Shorted cell, or a short across it on the board |
| Changes only a little between dark and bright | Degraded or heat-damaged cell, or a fogged window |
| Drifts or jumps while the light is steady | Poor contact, moisture or a cracked body |
Seeing OL on a covered cell is not automatically a fault: some cells exceed a meter's top range in full darkness. Our explainer on what OL means on a multimeter explains why. The key test is whether the reading drops into range once light reaches it.
Common photoresistor testing mistakes
- Reading the dark value instantly instead of waiting for the slow recovery.
- Letting light leak in around a fingertip, which keeps the dark reading low.
- Touching both metal probe tips, adding body resistance in parallel with the cell.
- Measuring resistance with the circuit powered, which gives nonsense values.
- Judging a cell against another part number's datasheet; ranges vary a lot between series.
If high-megohm readings wander even with a steady light, see why multimeter readings are unstable; long leads and hand contact are frequent culprits at those values.
Which multimeter works for LDR testing
Any digital meter with a resistance range that reaches a few megohms can run the cover-and-light test, and a DC volts range covers the in-circuit check. Auto-ranging is the main convenience, since the reading crosses several ranges in a single pass of your hand. Precision barely matters here because the swing is so large; for jobs where it does, see multimeter accuracy for electronics repair, or compare options in our best multimeters roundup.
Meters for LDR and light-sensor tests
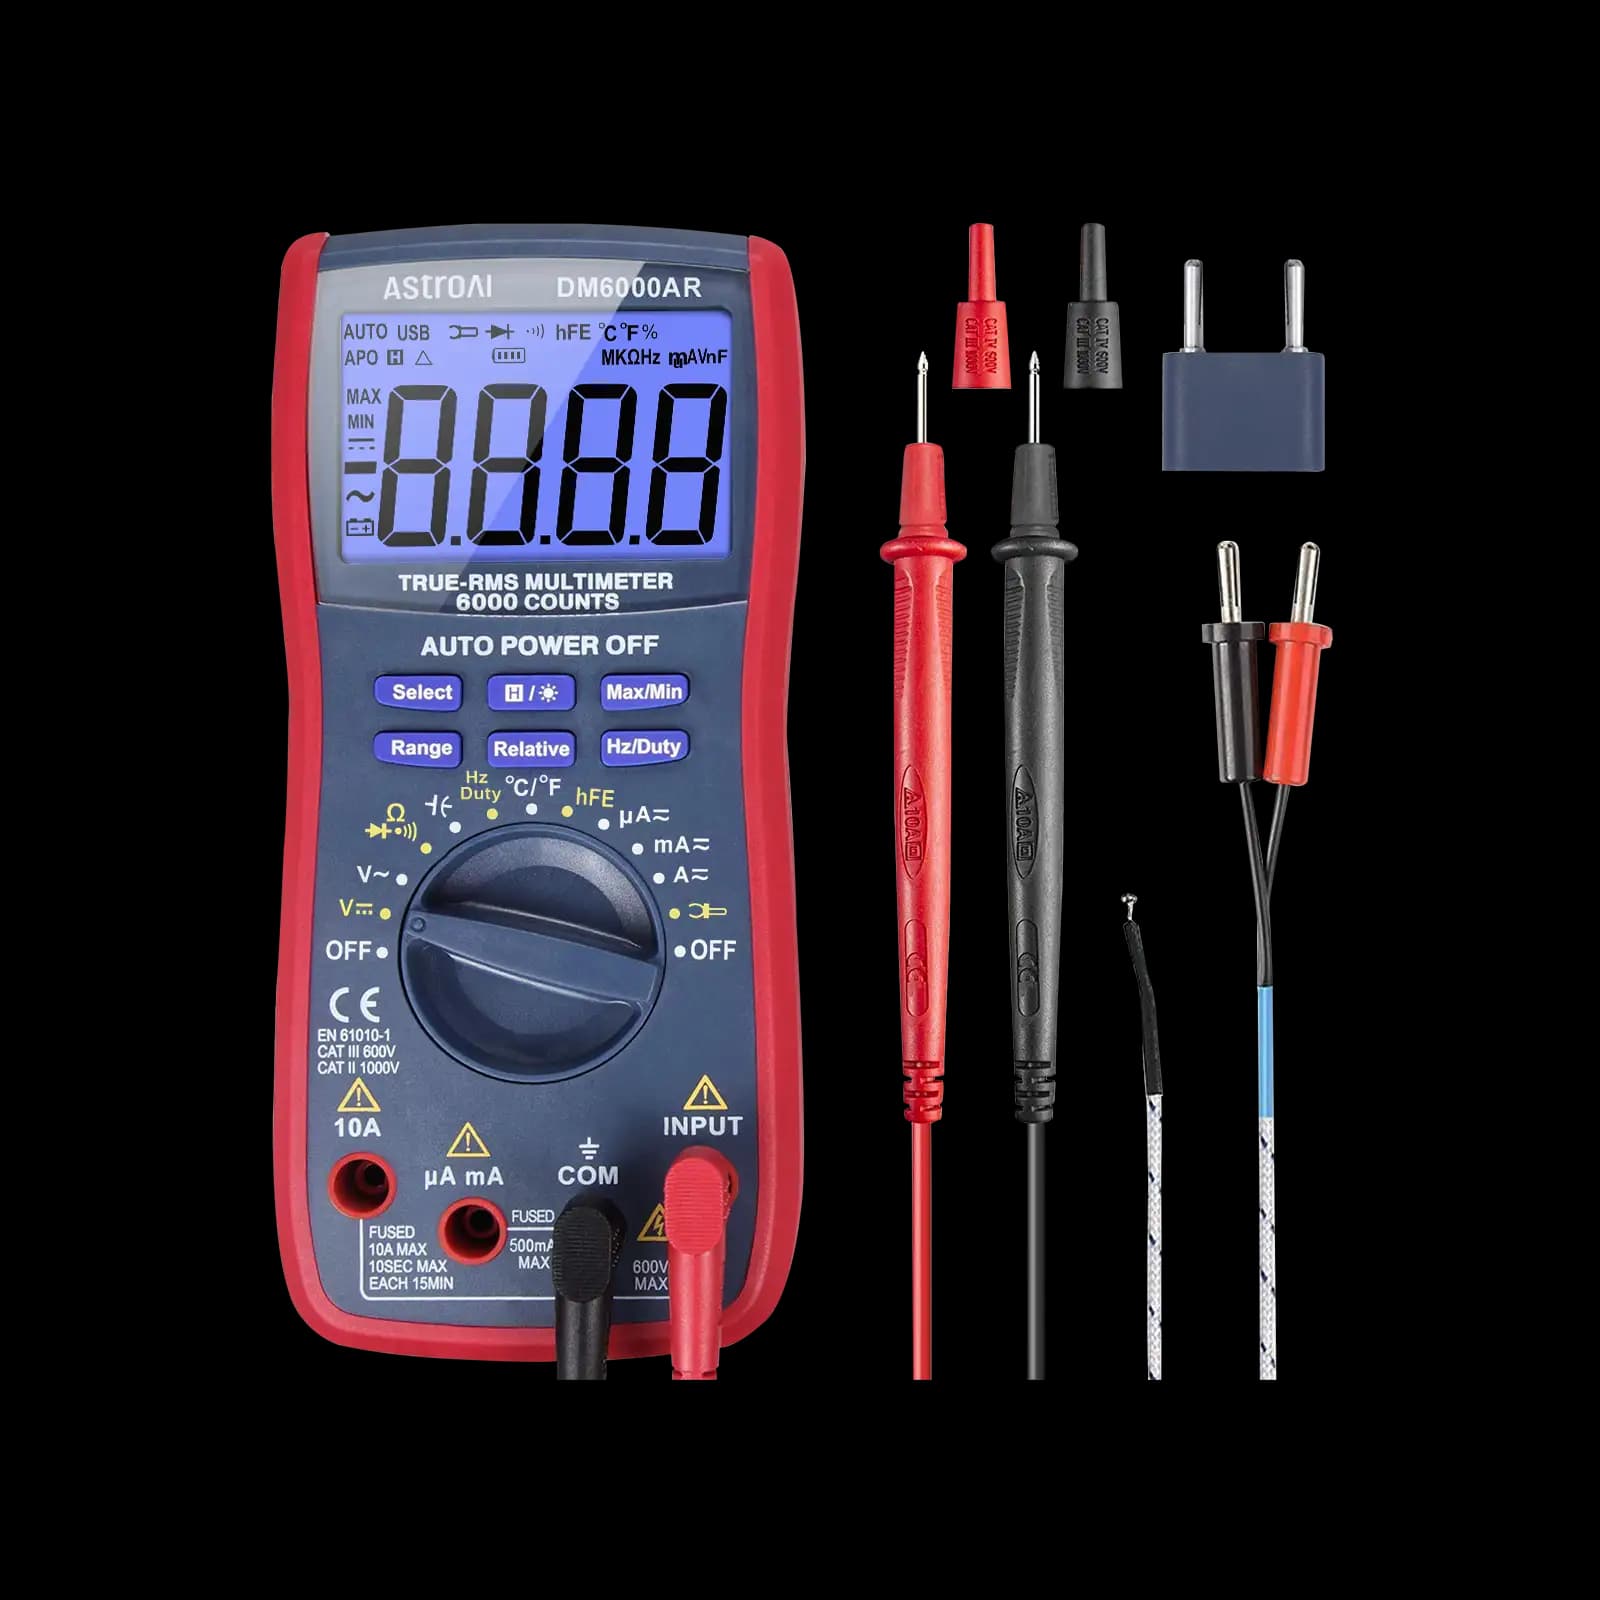
Auto-ranging 6,000-count meter, handy when an LDR's resistance swings across several ranges as you shade it.

Budget smart auto-ranging meter whose backlight helps when you are testing a sensor in the dark.

Hands-on tested. A CAT III 600V Fluke for when the light sensor sits in a mains-powered fitting.
As an Amazon Associate I earn from qualifying purchases. Prices and availability are shown on Amazon.
Frequently asked questions
Does a photoresistor have polarity?
No. A cadmium sulfide photoresistor is a plain resistive element, so it reads the same whichever way round the probes go and can be fitted either way in a circuit. If swapping the probes changes the reading noticeably, you are probably looking at a photodiode or phototransistor instead, and those need diode mode or a powered test.
What resistance should a photoresistor have in the dark?
Most small CdS cells used in hobby kits are specified at 1 MΩ or more in darkness, measured after they have been kept dark for several seconds. Some types reach tens of megohms. Check the datasheet for your part number, because dark resistance varies widely between series and even between cells from the same batch.
Why does my LDR reading climb slowly after I cover it?
That is normal. CdS cells react quickly when light arrives but recover slowly when it is removed, so resistance keeps rising for several seconds after you cover the sensor. Datasheets usually quote dark resistance after a set delay, often 10 seconds. Wait that long before judging the dark reading.
Can I test a photoresistor without removing it from the board?
Yes, with care. With the power off, a resistance reading taken in circuit includes any parallel paths, so it can read lower than the part alone, especially in darkness. With the power on, measure the DC voltage at the divider node instead and check that it swings as the light changes. That confirms both the LDR and its wiring.
Is a photoresistor the same as a photodiode?
No. A photoresistor simply changes resistance with light and has no junction, while a photodiode is a semiconductor junction that conducts in one direction and generates a small current when lit. Photodiodes respond far faster. On a multimeter, a photodiode shows a forward drop in diode mode; a photoresistor does not.


