HOW-TO GUIDE
How to Measure an Encoder Signal Using a Two Channel Oscilloscope
By the OhmSavvy Research Team ·

Safety: machines move and drives float
- Encoders sit on motors, spindles and conveyors. Keep hands, probes and leads clear of anything that can turn, and follow the machine's lockout procedure while you connect the probes.
- A bench scope's ground clip is connected to mains earth. Clip it only to the encoder's 0 V (common), never to a motor terminal or anything inside a motor drive or VFD, where conductors can sit at high voltage. If you are not sure the encoder common is safe to earth, use a rated differential probe, and never float the scope.
How quadrature A/B signals work
Inside the encoder, a slotted disc, a magnetic ring or a set of contacts switches two outputs as the shaft turns. They are offset by a quarter of a cycle, 90 electrical degrees, so between them they produce four distinct states per cycle: both low, A high, both high, B high. The order those states arrive in reveals the direction, and counting all four edges gives four times the resolution of channel A alone.
The two numbers that matter
1Identify the encoder wires from the datasheet
Find the supply (often 5 V, sometimes 12 or 24 V on industrial encoders), 0 V, A, B and, if fitted, the index channel, usually called Z or I. Wire colors vary by manufacturer, so go by the label or datasheet. Note the output type as well: push-pull outputs drive both high and low, open-collector outputs only pull low and need a pull-up resistor, and line-driver (differential) outputs add inverted A/, B/ and Z/ wires. Note the PPR too; you will need it for the speed calculation.
2Connect A to CH1 and B to CH2
Power the encoder from its normal supply, ideally with it connected to the controller it normally feeds, so you see the real loading. Put both probes on 10x, clip both ground leads to the encoder 0 V, and connect the tips to A and B. Set both channels to DC coupling and a V/div that shows the full swing, stack the traces with the position controls, and edge-trigger on CH1 rising. For a differential encoder, probe A and B against 0 V, or subtract A/ from A with the math function; never clip a ground lead to an A/ or B/ wire. The differential signal guide explains the two-channel method.
3Check the levels and the 90° offset
Turn the shaft at a steady speed. Each channel should be a clean square wave swinging close to 0 V and close to the supply, with a duty cycle near 50%. Then measure the delay from an A rising edge to the next B rising edge, as in phase difference measurement: phase = delay ÷ period × 360°.
The offset is rarely exactly 90°. Datasheets give a tolerance for phase and duty cycle, so compare with that rather than with perfection. An offset close to 0° or 180°, or a duty cycle far from 50%, leaves too little time between edges and causes miscounts at speed; it can mean a misaligned or damaged code disc or sensor.
4Read the direction
In the figure, A's rising edge comes first and B follows a quarter cycle later: A leads B. Turn the shaft the other way and B leads A. Which of those is called clockwise depends on the manufacturer and on which end of the shaft you look from, so check the datasheet. If a motor counts the wrong way, swapping A and B at the controller, or a direction setting in its configuration, usually corrects it. If the lead flips back and forth while the shaft turns steadily one way, suspect noise or a bad connection on one channel.
5Work out speed from the frequency
Measure the frequency of A, by period or with the scope's automatic frequency reading, and apply rpm = f × 60 ÷ PPR. Run it backwards to predict what to expect: f = rpm × PPR ÷ 60.
| Channel A frequency | Encoder PPR | Calculation | Shaft speed |
|---|---|---|---|
| 2 kHz (figure) | 500 | 2000 × 60 ÷ 500 | 240 rpm |
| 5 kHz | 100 | 5000 × 60 ÷ 100 | 3000 rpm |
| 18 kHz | 360 | 18000 × 60 ÷ 360 | 3000 rpm |
| 10 kHz | 1000 | 10000 × 60 ÷ 1000 | 600 rpm |
| 40 Hz | 24 | 40 × 60 ÷ 24 | 100 rpm |
6Check the index pulse
The index (Z) channel produces one pulse per revolution, used as a home or reference position. Move CH2 from B to Z, trigger on Z rising in Normal mode, and turn the shaft. You should see one Z pulse per turn with A cycles around it. Its width varies by design: some encoders make it about one A cycle wide, others gate it to a quarter cycle, so check the datasheet.
A missing index pulse leaves a controller unable to home. One that appears more than once per turn, or wanders relative to A, points to noise or a damaged disc.
Look for missing or extra pulses
A position error that builds up over time, or a motor that occasionally jerks, usually means the controller is missing counts or seeing extra ones. Those faults are rare events, so a single glance at the screen will not show them. Three checks help:
- Infinite persistence. With CH1 triggered on A rising and the shaft at a steady speed, every sweep should overlay the last. A B edge that sometimes lands in a different place, or a short extra pulse, shows up as a faint outlier. The persistence guide explains the method.
- Count between index pulses. Trigger on Z, use a long capture covering one full revolution, and count or zoom through the A cycles. The total should equal the PPR every time.
- Turn it slowly by hand. With the machine safely isolated and the encoder still powered, rotate the shaft slowly in Normal mode on a slow timebase. Each step through the four A/B states should be clean; a chattering edge at one particular angle points to a damaged disc or a dirty sensor.
Short extra pulses that are narrower than any legitimate edge spacing can also be caught with a pulse-width trigger, if your scope has one; check the manual for its trigger types.
Small panel-mount rotary encoders, the kind behind a volume or menu knob, are tested the same way at lower voltage: 0 V on the common pin, a pull-up on A and B (often already on the board), and the knob turned by hand. Expect some contact bounce on each edge. If the A/B pattern is missing or erratic on every detent, the part is usually worn out, and our guide to soldering a replacement rotary encoder onto a circuit board covers the swap.
Open-collector outputs, pull-ups and noise
An open-collector (or open-drain) output can only pull the line low. Without a pull-up resistor to the supply it never goes high, and the scope shows a flat low trace or a slow, floating drift. Pull-ups are often on the controller input; with the encoder disconnected from it you may need to add one, with a value from the encoder or controller documentation.
The pull-up value and cable capacitance form an RC time constant that slows every rising edge. A 4.7 kΩ pull-up driving a cable with about 1 nF of capacitance gives 4.7 kΩ × 1 nF = 4.7 µs, and a 10–90% rise of roughly 2.2 × RC, about 10 µs. That is harmless at 2 kHz, but at 50 kHz the period is only 20 µs, so the rising edges eat much of each high half-cycle. Falling edges stay fast because the transistor drives them.
| What you see | Likely cause | What to do |
|---|---|---|
| Flat low trace on one channel | Open-collector output with no pull-up | Add or check the pull-up |
| Rounded rising edges, sharp falling edges | Pull-up too weak for cable length and speed | Lower pull-up value within the output rating |
| Spikes on edges when the motor runs | Noise coupled from motor or drive wiring | Shielded cable, shield grounding, route away from power |
| Several fast transitions per edge | Contact bounce (mechanical encoder) | Debounce in firmware or an RC filter |
| Direction flips while turning one way | Noise or a bad wire on A or B | Check connectors, compare both channels |
Before blaming the encoder, rule out the probe: a long ground lead picks up motor noise, so use a short ground at the encoder's 0 V. Our guide to why an oscilloscope waveform is noisy covers the measurement side, and how to measure a square wave covers rise time and levels.
Which scope you need for encoder work
Two channels are the minimum, because direction and phase only show when A and B are on screen together. Three or four let you watch A, B and Z at once. Encoder frequencies are low compared with a bench scope's bandwidth, so any of the multi-channel models in our best beginner oscilloscopes roundup has plenty of headroom.
Multi-channel scopes in our reviews
100MHz, 2 channels, 1 GSa/s; an oscilloscope and waveform generator in one unit.
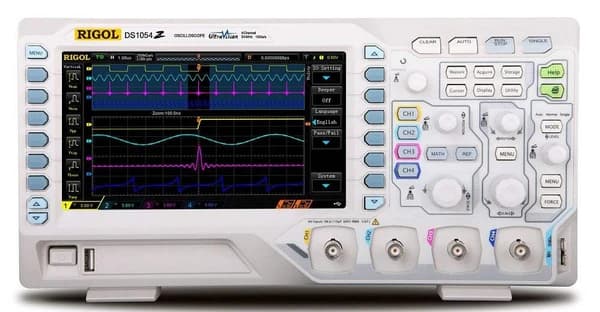
50MHz, 4 channels, 1 GSa/s; the default beginner recommendation for years.
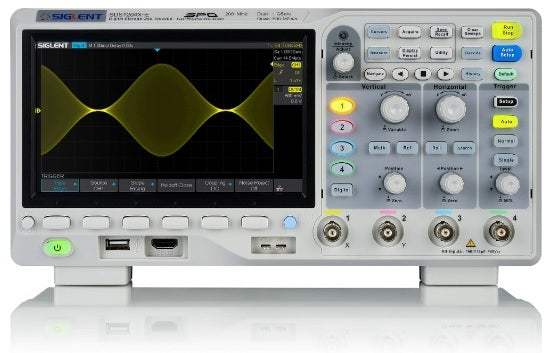
100MHz, 4 channels, 1 GSa/s; more bandwidth than the Rigol, for projects that will get more demanding.
As an Amazon Associate I earn from qualifying purchases. Prices and availability are shown on Amazon.
Frequently asked questions
What is the difference between PPR and CPR on an encoder?
PPR, pulses per revolution, is the number of full square-wave cycles on channel A in one turn. CPR, counts per revolution, often means the number of edges a decoder counts using both channels, which is four times the PPR in full quadrature decoding. Manufacturers do not all use the terms the same way, so check the datasheet.
Why is one encoder channel missing on the oscilloscope?
The most common reasons are a missing pull-up on an open-collector output, a broken wire or connector pin, the wrong supply voltage, or a failed output stage. Check the channel with the encoder turning slowly. A trace stuck at 0 V or at the supply, while the other channel switches, points to that channel's wiring or output.
Can I check an encoder with a multimeter instead?
Partly. Turning the shaft very slowly, a multimeter on DC volts shows each output switching between low and high, which proves the outputs work. A meter cannot show the phase relationship, edge quality, noise or missing pulses at speed, and many meters average a fast signal into a meaningless middle value. A two-channel scope is the right tool.
Do mechanical rotary encoders produce clean signals?
Not usually. Hand-turned rotary encoders, like those on volume knobs, use sliding contacts that bounce, so each edge can show several fast transitions on the scope before it settles. The firmware or an RC filter is expected to deal with this. Optical and magnetic encoders normally give cleaner edges.
How do I find the PPR of an encoder without a datasheet?
If it has an index output, put Z on one channel and A on the other, run the shaft at a steady speed and measure both frequencies. Because Z fires once per turn, the A frequency divided by the Z frequency is the PPR. Without an index, mark the shaft, turn it exactly one revolution by hand and count the A pulses on a long timebase or with the scope's edge counter, if it has one.